


The Textile reconstruction project
Imagine all the fabrics waiting in displays
As a museum visitor, I am always let down by the fabric displays, no matter how hard the team (including mines!) have worked on it. There are a few reasons for that, first and foremost related to conservation issues. Textiles are fragile. The older they are, the brittlest they become. Most of the time, they are shown neatly fastened and supported with incredible skills by textile conservators.
On top of that, light is their natural death sentence. No need to go to the Louvre to witness that, just have a look at your curtains: they lost their shine approximately 3 months after you put them up. It is just how it is.
Textile exhibition in a preservation context is therefore limited in time, in space and in lighting.
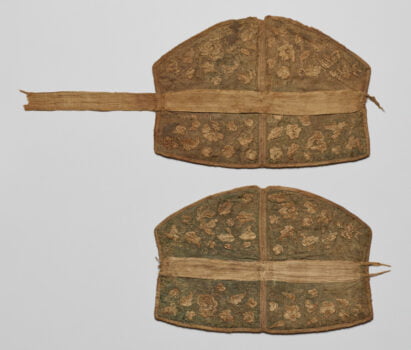
Despite or maybe because of these limitations, I am always intrigued by the tattered, incomplete pieces. You know the ones. These small pieces, usually flattened, showing a bit of decor in brown and greyish tones, relegated to corners of the displays. It triggers my imagination into wondering how the full original fabric may have been and what it was used for.
Once again, I would like to try using my 3D skills to emulate that idea.
So, yes, yet another exercises source ! (insert “I have a problem wry smile”)
Steps and goals
There are numerous examples both IRL and online of textile reconstruction. The good thing is that the highly specialized teams that worked on them have most of the time published their work. We can have access to both methods and useful tips.
It boils down to this:
1/ Scientific, historic and graphic studies
2/ Model creation: weaving pattern, decor, and colours. This last part is tricky. I will not go into the chestnut tree debate of “original” state of things. I know, dear reader, that I made you go through these diatribes too many times already. I will just add that the good thing with 3D is that one can try things out without damaging the artefact.
To these key points, I would like to add, as an objective:
3/ a way to turn things into a Web experience of the final piece, so the audience can manipulate and see things for themselves, as they want and in the time frame they want.
And also:
4/ We can have a little fun and try the reconstructed fabric on different “plausible shapes”. Because we can ! Without any harm done to the original piece !
Preparation
In order to do all this wonderful things, we need a few tools. Starting with an accurate way to fine-tune our reconstructed material.
Creating a presentation gizmo
I typically use my homemade material balloon when I’m creating textures without a specific piece in mind. You’ve probably already seen it around.
However, I think it is not fully suited for textiles.
These materials have different ways to wrap around shapes depending on their weight, weaving patterns etc. They have a hang and a behaviour related to their thicknesses and threads types.
So, I think I need to create a new “generic” form or display specifically for textiles.
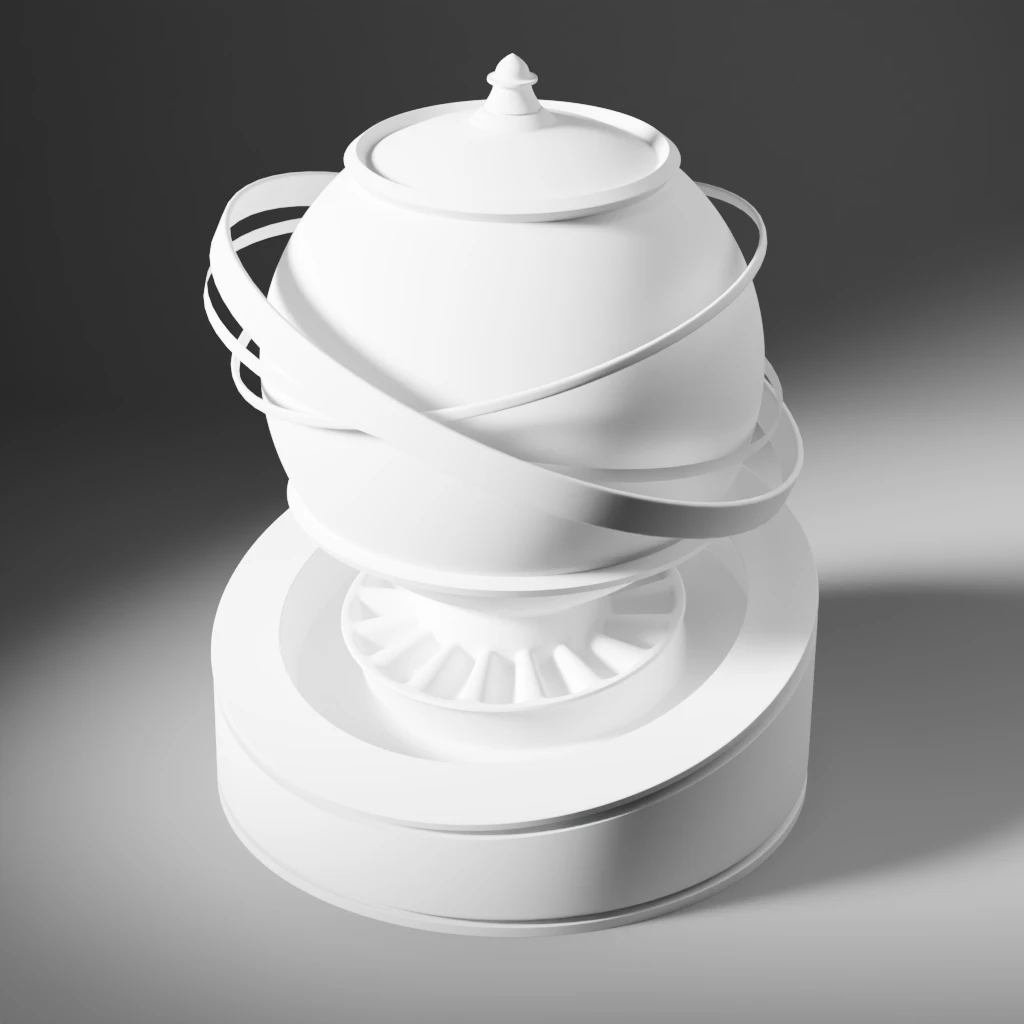
In the case of textile reconstruction from heritage sources, the final destination of the textile is often unknown (cloth, furniture, decor… ?). However, It would be nice to have a feel of the textile in order to understand it. For example, a very thick, heavy, wool-based textile should be visibly discernible from a light, thin, soft silk. This is something we’ve learned to appreciate in our lives almost at first sight. In my opinion, an accurate 3D rendition of textiles should allow for this feeling to appear also.
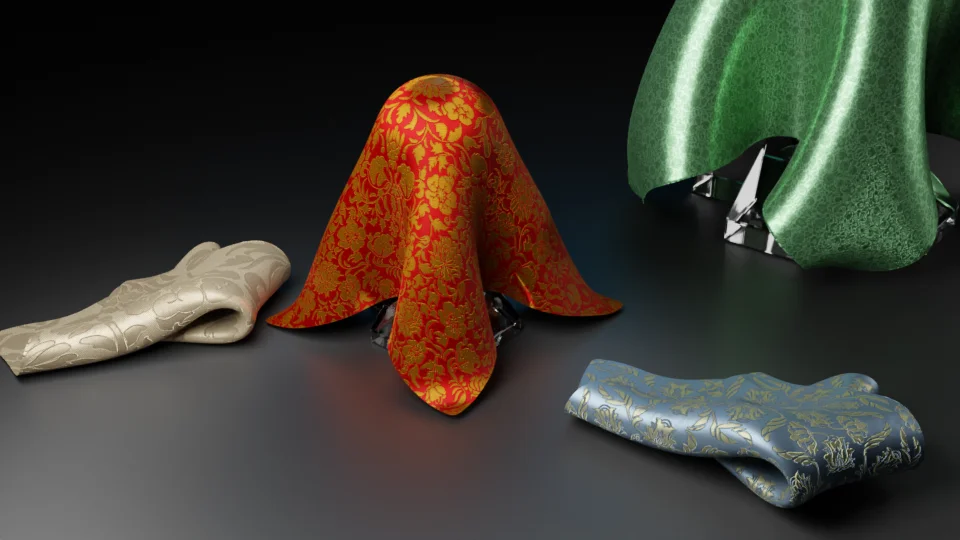
So, the question is also: do I need many forms to pick from according to the characteristics of the textile I’m working on or only one “standard” to be able to compare things ? So far, I’m not sure.
We’ll see how it develops.
Benchmarking : What is already done on the subject ?
There is no need to try and re-invent the wheel, as I am sadly too prone to doing. Let’s try to be efficient and see how 3D textiles materials are already being presented.
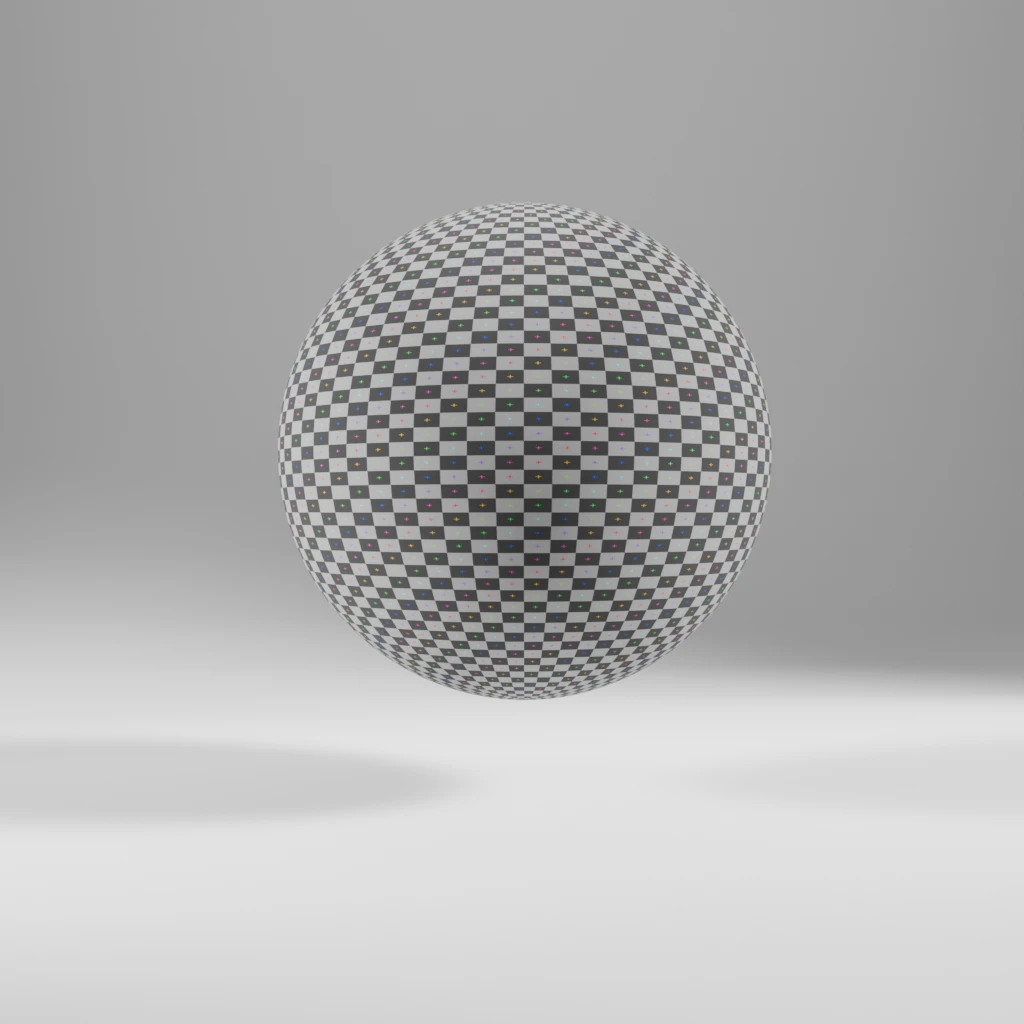
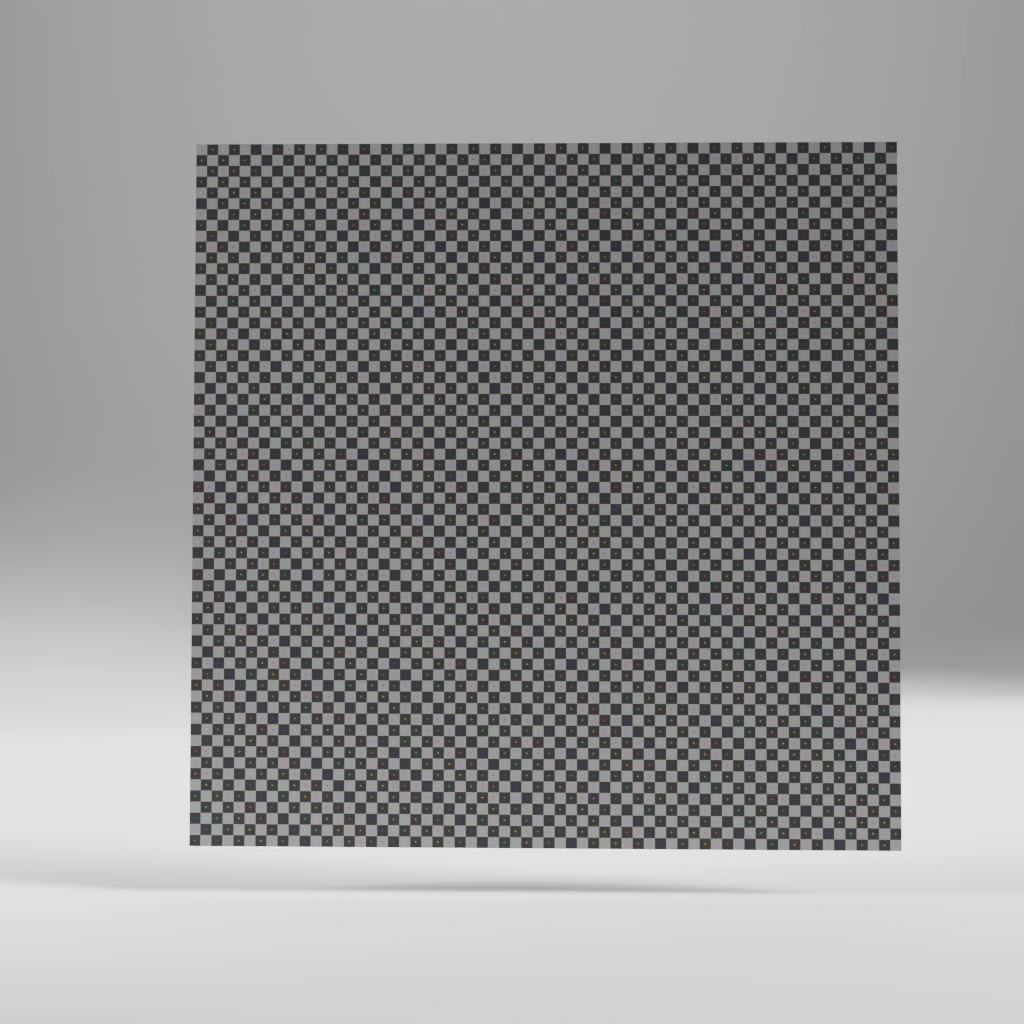
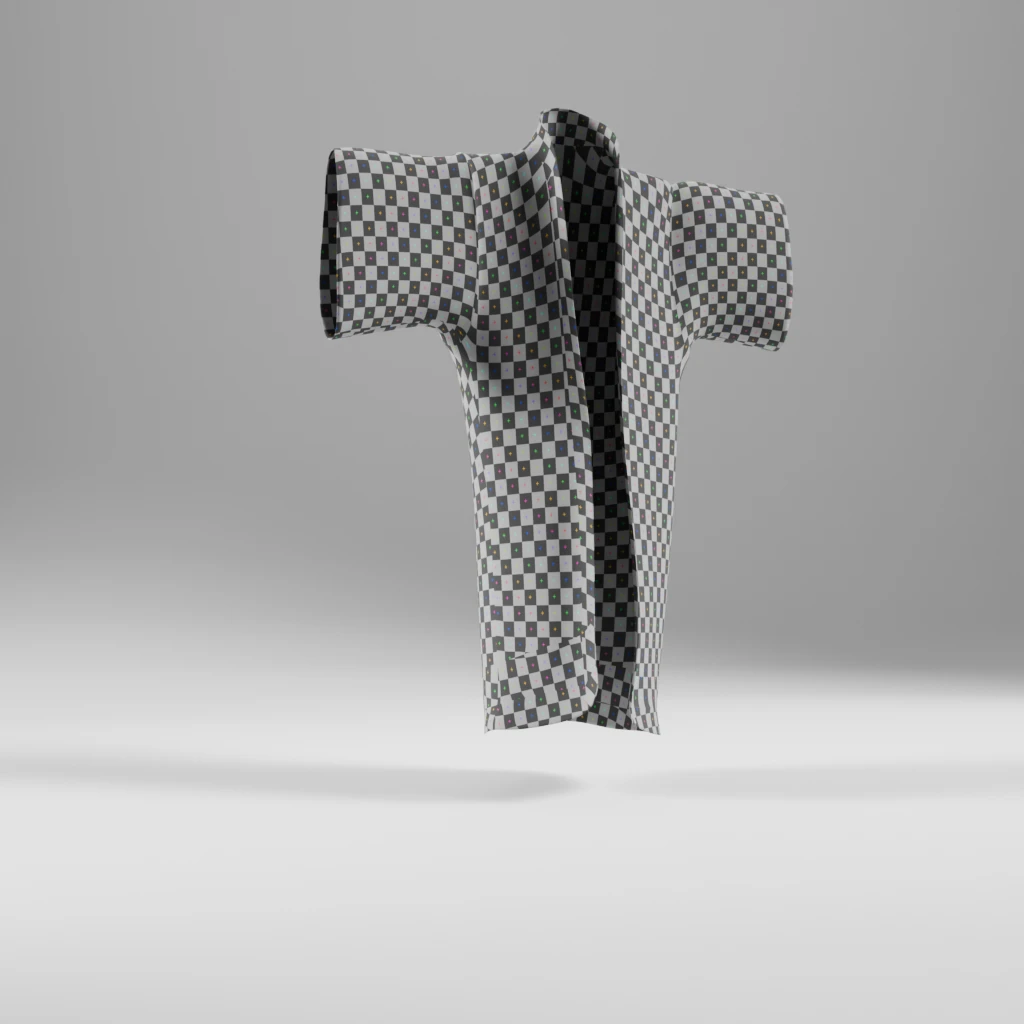
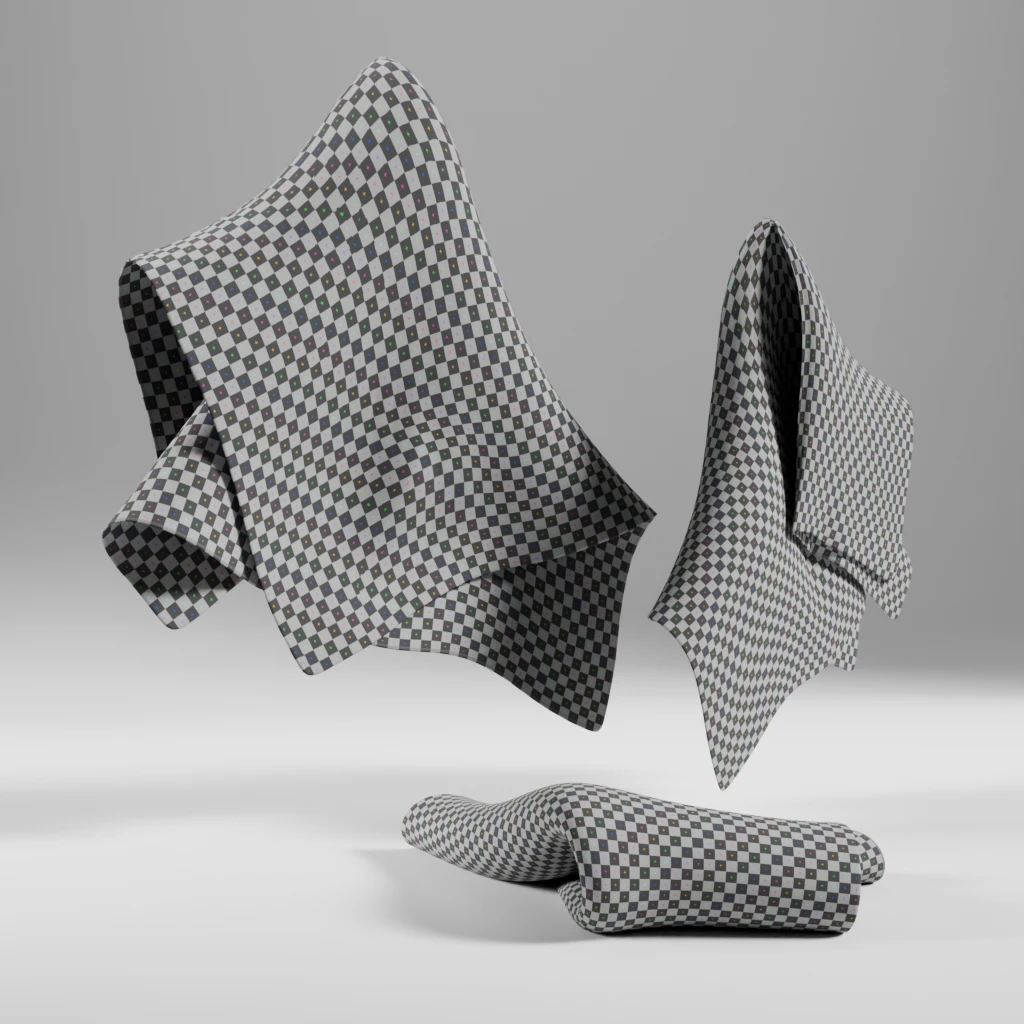
From most common to least, using my very own “wet finger” statistics after a quick internet search:
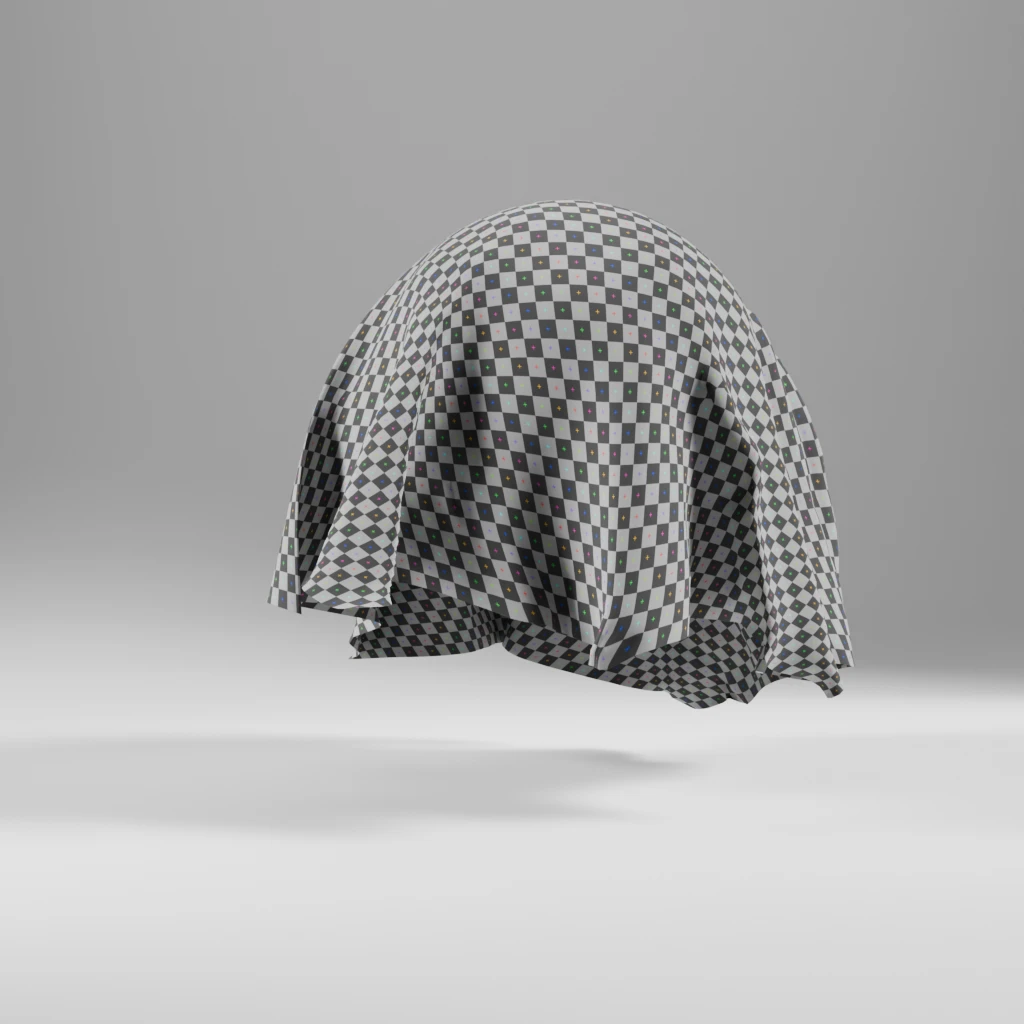
What are our needs ?
As I am not versed in fibre art but did a little work in textile production studies, I think I can say we need the textile model to be able to showcase:
- the weaving pattern: how the weft and weave are knotted. That means a close up
- the draping: how the fabric hangs, wrap around shapes. That means the model must have reliefs to show how the fabric behaves.
- the overall aspect: a sufficiently sized portion so that the fabric general appearance can be appreciated.
- Eventually, we might add something about putting forward the effect the fabric may have: moiré, satin etc by allowing it to be seen on some of its parts. That means we also require adequate lighting. I will not be showing this part of the research. It’s a subject on its own and requires numerous tests, so maybe on another article. Do assume that I am using a classic three points lighting system as a base and working from there to manipulate the effect of t
Introducing the blurb
With all this in mind, it is time to try to create our own shape.
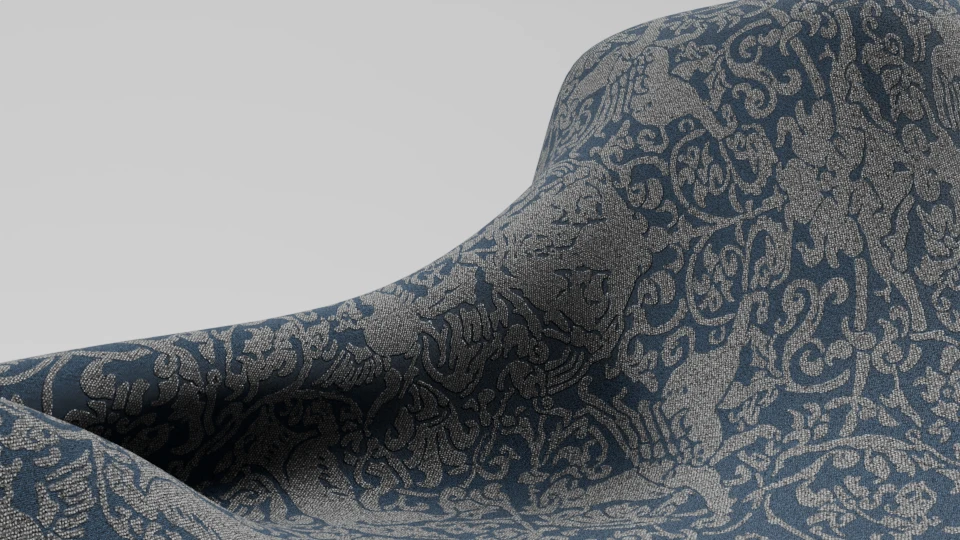
I like the rotundity of the common sphere presentation that allows the fabric to wrap around softly. I think it requires flat parts though, whether hanging or flat on the ground to showcase a motif pattern or the weaving pattern. Movement is good too: tubes, rolls, folds, and waves. It lets the flow of the fabric be seen.
As we have quite a lot of ground to cover still, I’ll spare you the trials and tests. Just know there were many ! From them was born the blurb. Sorry: “The Blurb”. Trademark, patent pending and all that.
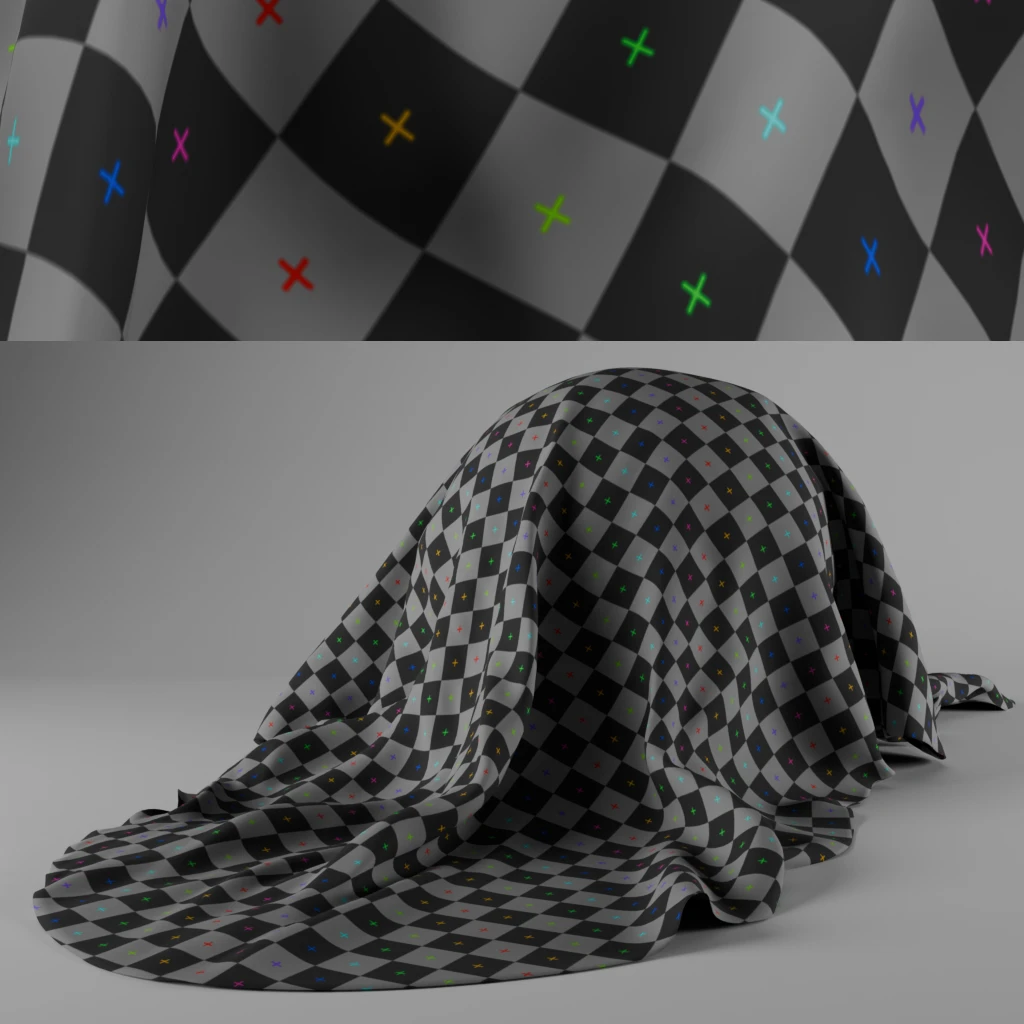
The upper part is rendered using an edinting trick to showcase the weaving pattern. It’s a variation on the idea of the automatic model sheet used by the Blender Studio. Set at different frames and re-composed in the video editor, it allows for a single key (F12) full render of the material and its close-up.
Now, we have to try it out and see if it behaves as expected. Spoiler alert, it does !
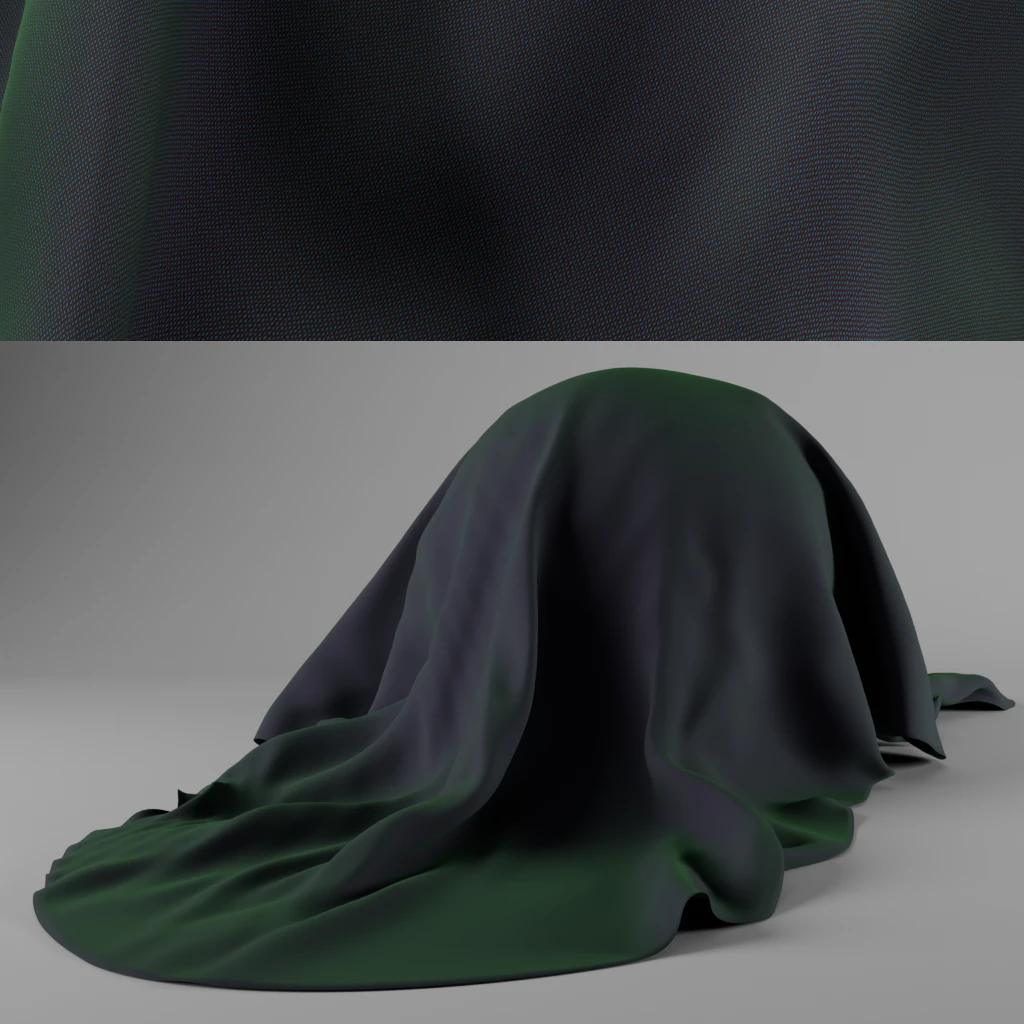
The material was created using Ryan King’s concept for procedural woven fabric.
Digital loom: pattern recognition and creation
Now that we have a gizmo to work upon, I need to straighten a few things out before reconstruction work can begin.
A weavy wavy line
The weaving patterns of fabrics are defined by a unit repeated an umpteenth time. In this unit, there can only be 2 state for the thread to be in, whatever side one looks at: weave or weft. It is easy to represent for single colour fabrics or fabrics with overall effects where weave and weft have a different colour and which repetitions are cyclic.
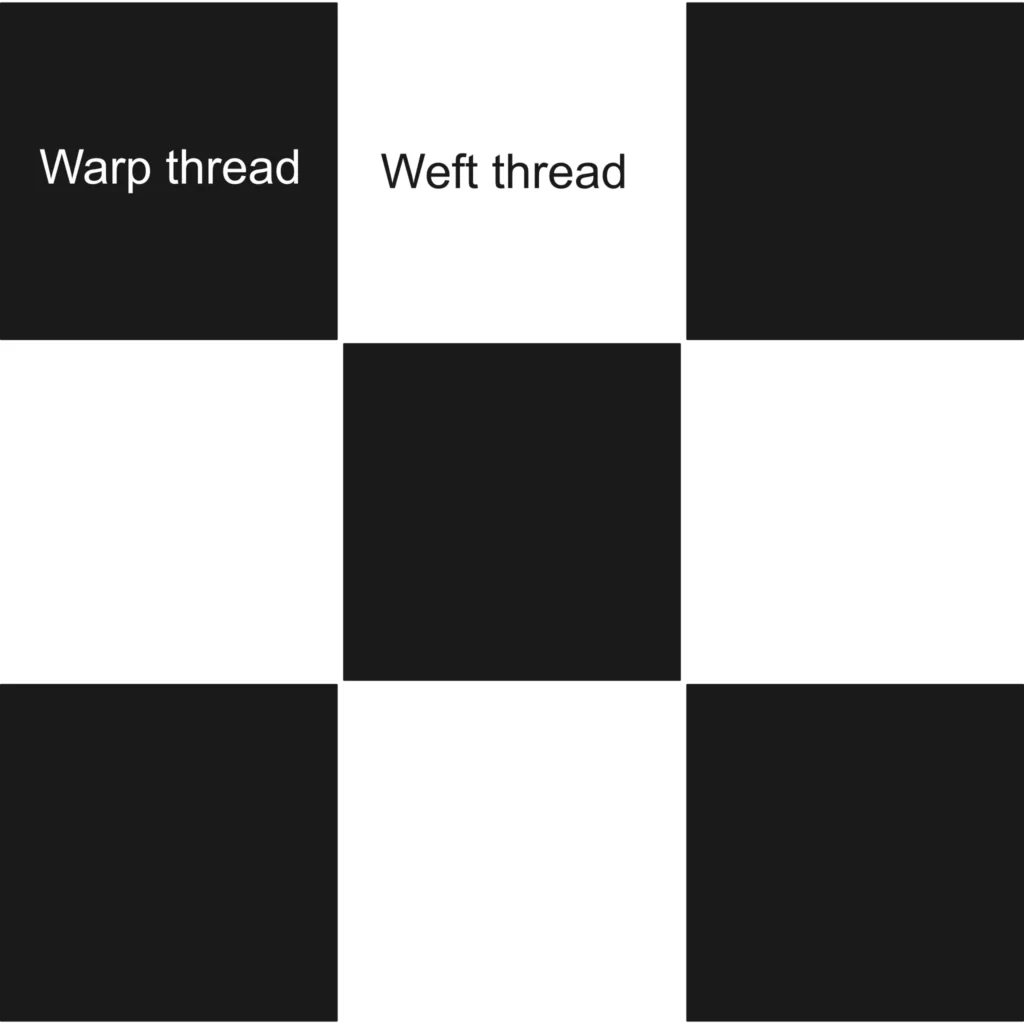
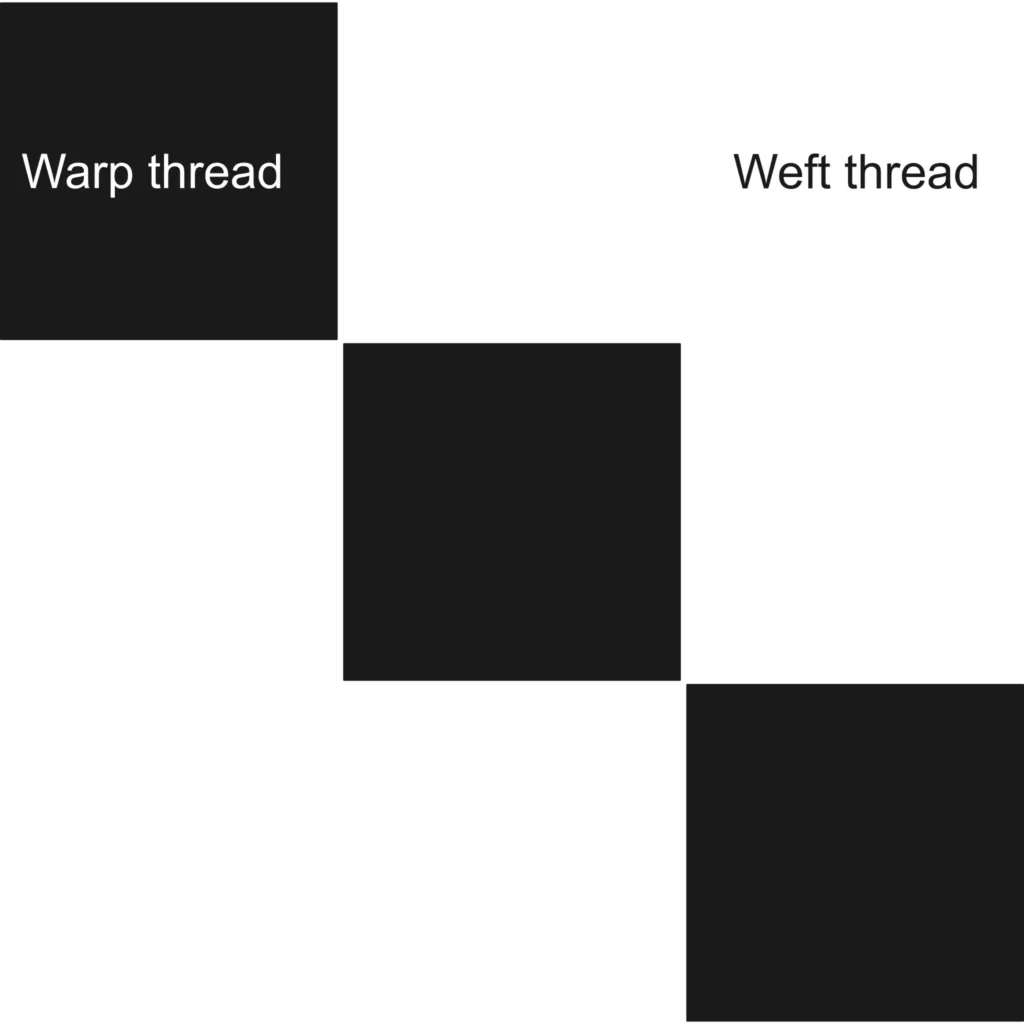
For woven motifs, it is not. The unit, if any, is not regularly repeated on the same span, if at all.
Let’s drop the stitched or embroidered over fabrics, they are on another category altogether. They are ultimately two different textiles joined together.
For the weaved in motifs, such as Jacquard, I’d like to find a way to make sure that the textile material respects the motif fully. Ultimately, there cannot be a stitch that is “half motifs and half not”.
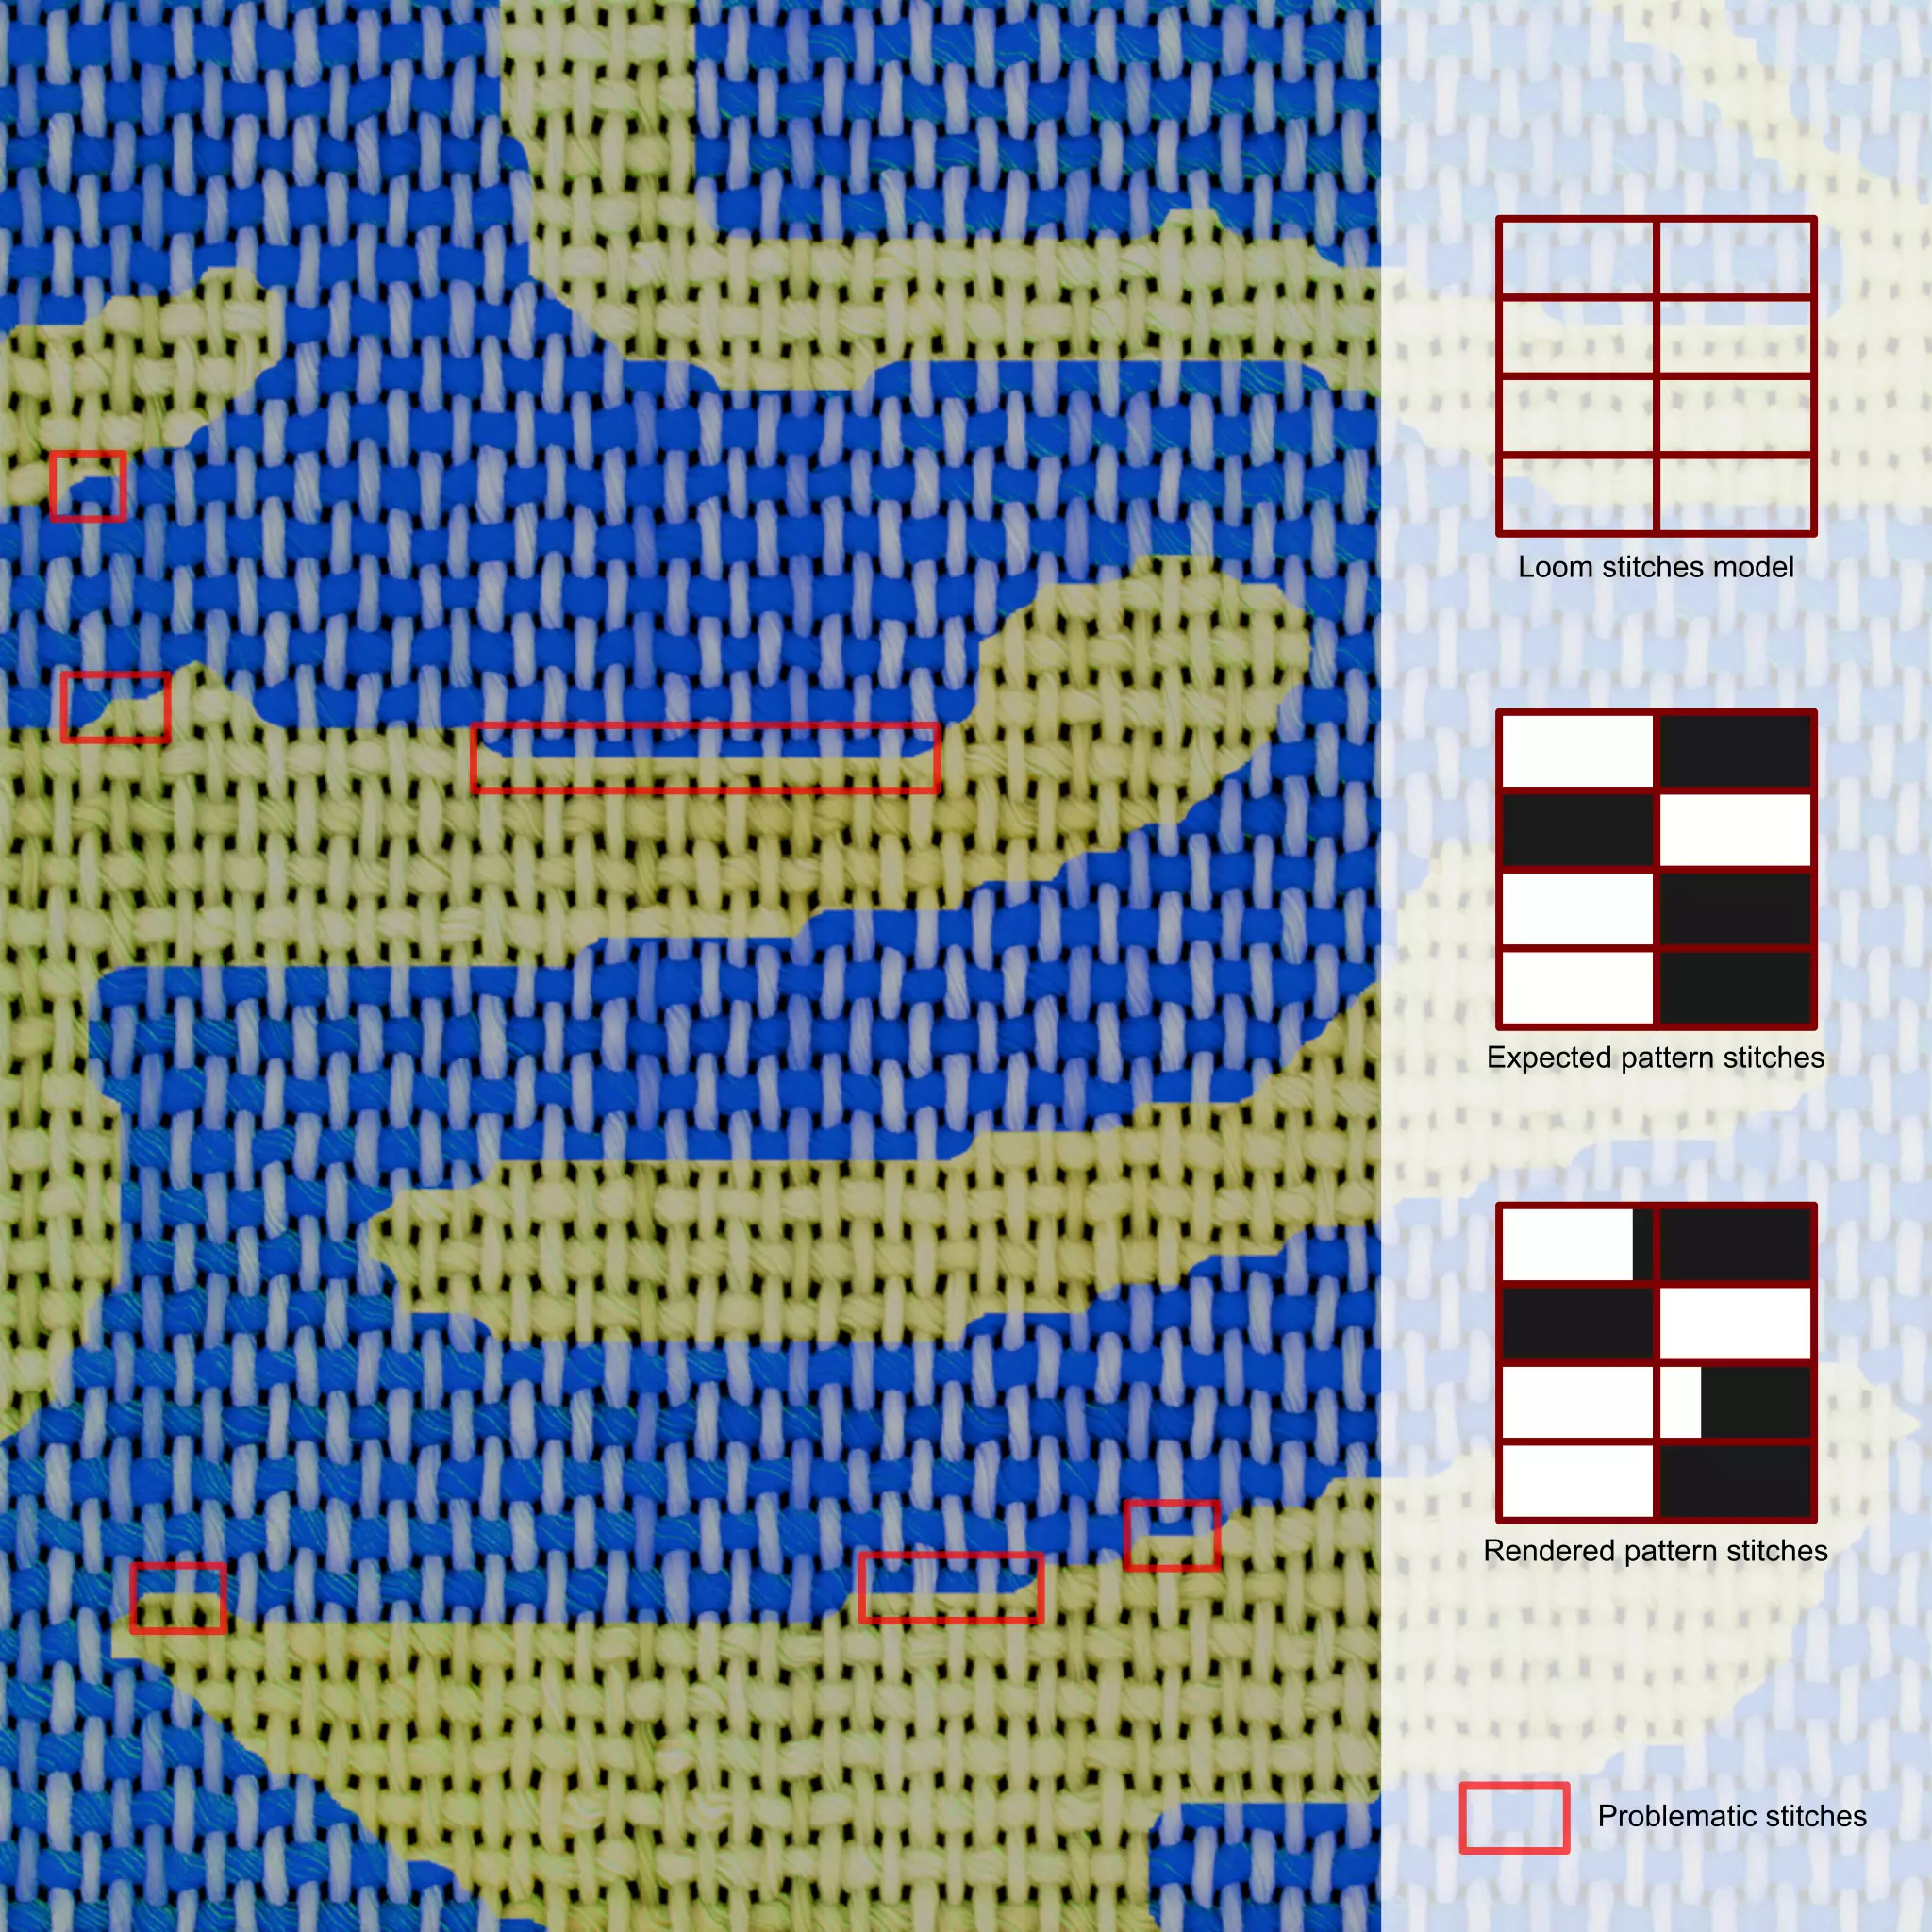
The idea is to get what is akin to a digital loom, able to reproduce a weaving draft. Of course, that would also imply that I can read one and then potentially extrapolate one from an artefact. Believe me, we are not there yet ! In the meantime, if ever in the case of complex motif, I will be useing semi-procedural material for these specific kinds of fabric. That means the motif will be given by a mask, i.e. a white and black image of it. This is also why I come to the issue mentioned above.
This concept something I have been experimenting with and failing to succeed at for a while now. I think it all boils down to maths. So far I was not able to find a simple enough method to manage that an up close inspection would not reveal the truth.
Spoiler alert: it won’t be this time either. So, do not hold your breath, dear reader.
I’ve tried many (many) different shaders and concepts from very different sources. The most accurate ones I came across are from Lance Phan and Simon Thommes. The bi-coloured stitch problem I mentioned earlier is still an issue, and I’m not sure if it can be solved easily in a shader context. I already mentioned the procedural woven fabric concept used by Ryan King that I think was a great first step into the subject of procedural textile material.
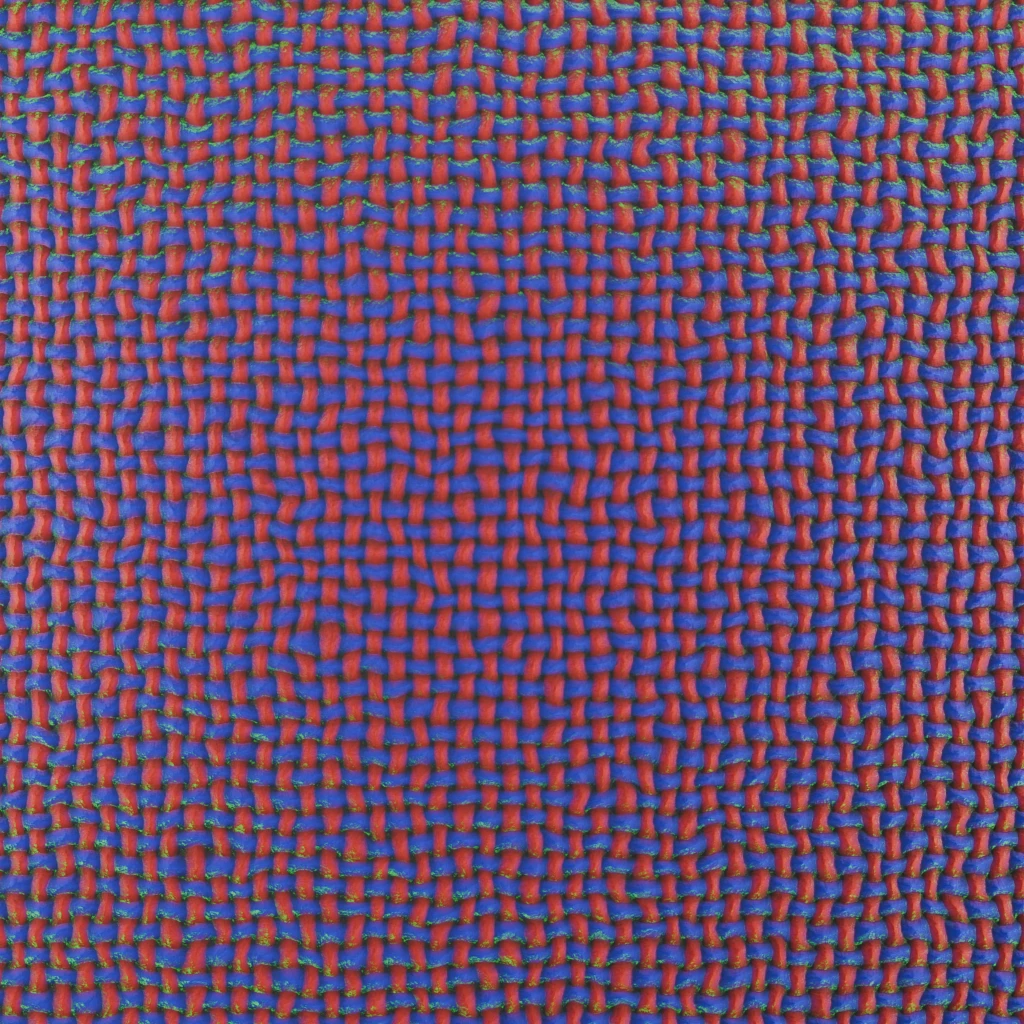
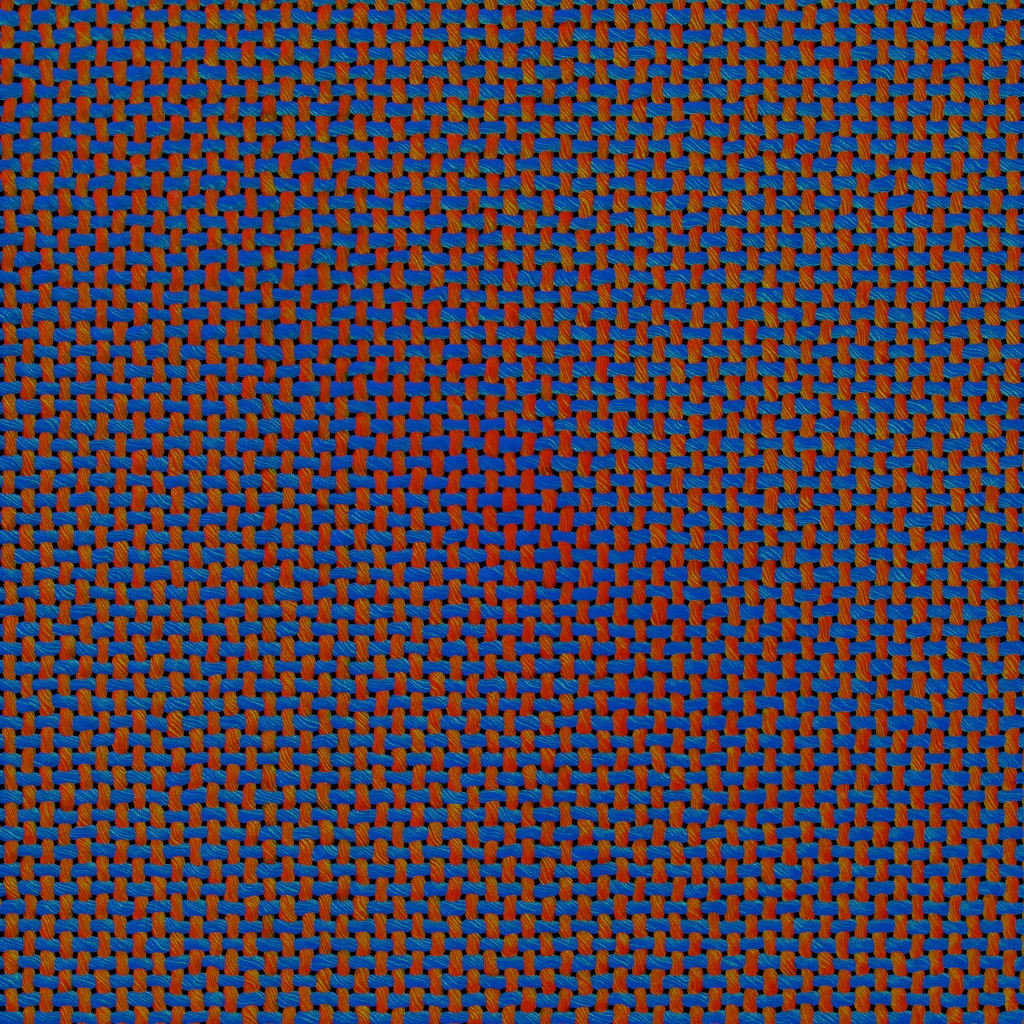
I finally settled on Simon Thommes’s work as a base instead of creating my own. Why re-invent the wheel and all that? It is more versatile a method and I can have more control over the results. Sadly, I can’t say I understand everything about the engine so, I’m probably only using an umpteenth amount of its capacities ! I watched over and over again the explanation videos on Procedural Shading fundamentals the author did for Blender, as well as Erindale’s ones on the subject. I tested things a lot, tweaked, broke things, and started again from scratch to get a better grasp of things. Every time I understood things a bit more but let’s face it, this is not my comfort zone.
So, because we need to move on, I will be tweaking the Weavr’ engine to try to suit my needs (and to the best of my very limited knowledge). It won’t be pretty and most probably technically inaccurate while mathematically inane, but the idea is to get results and see how far I can get. A few maths tricks already allowed me to basically turn the soft edges of the mask into sharp ones and have interesting results !
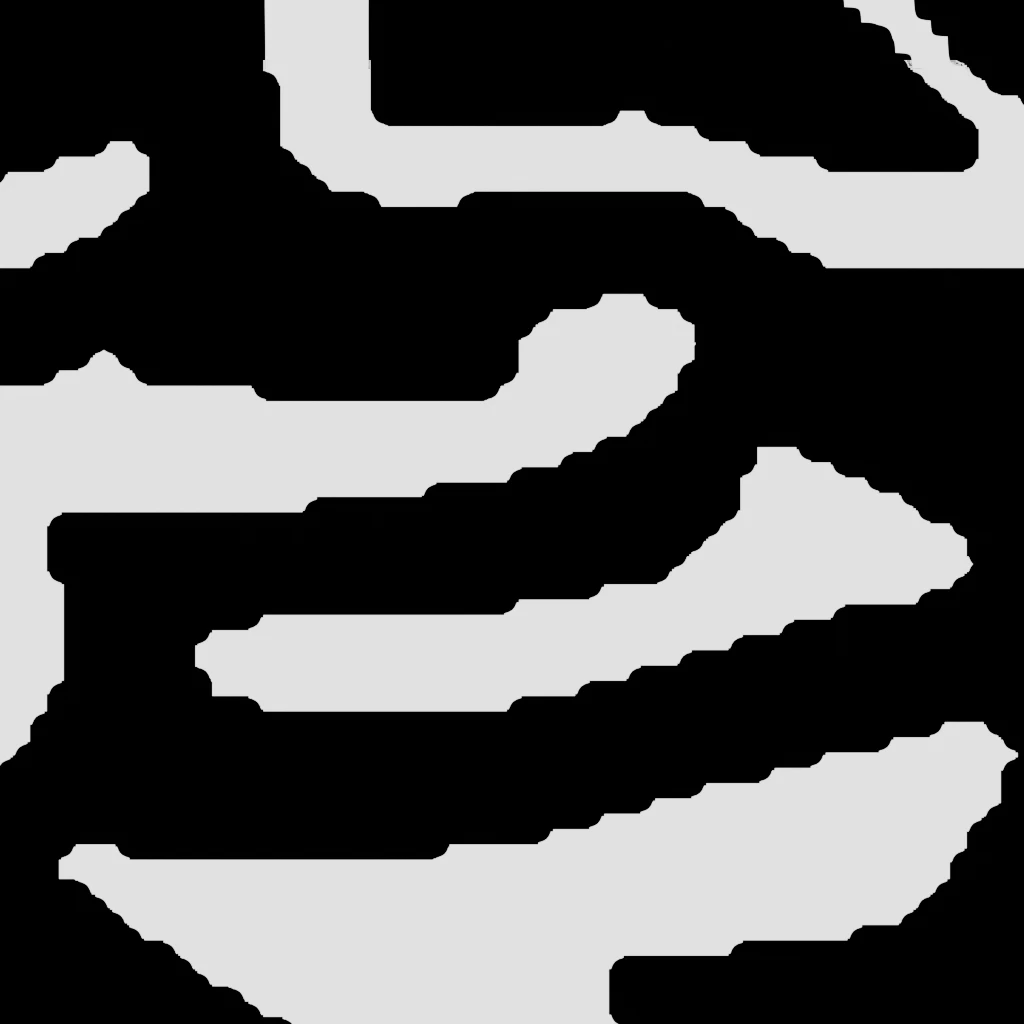
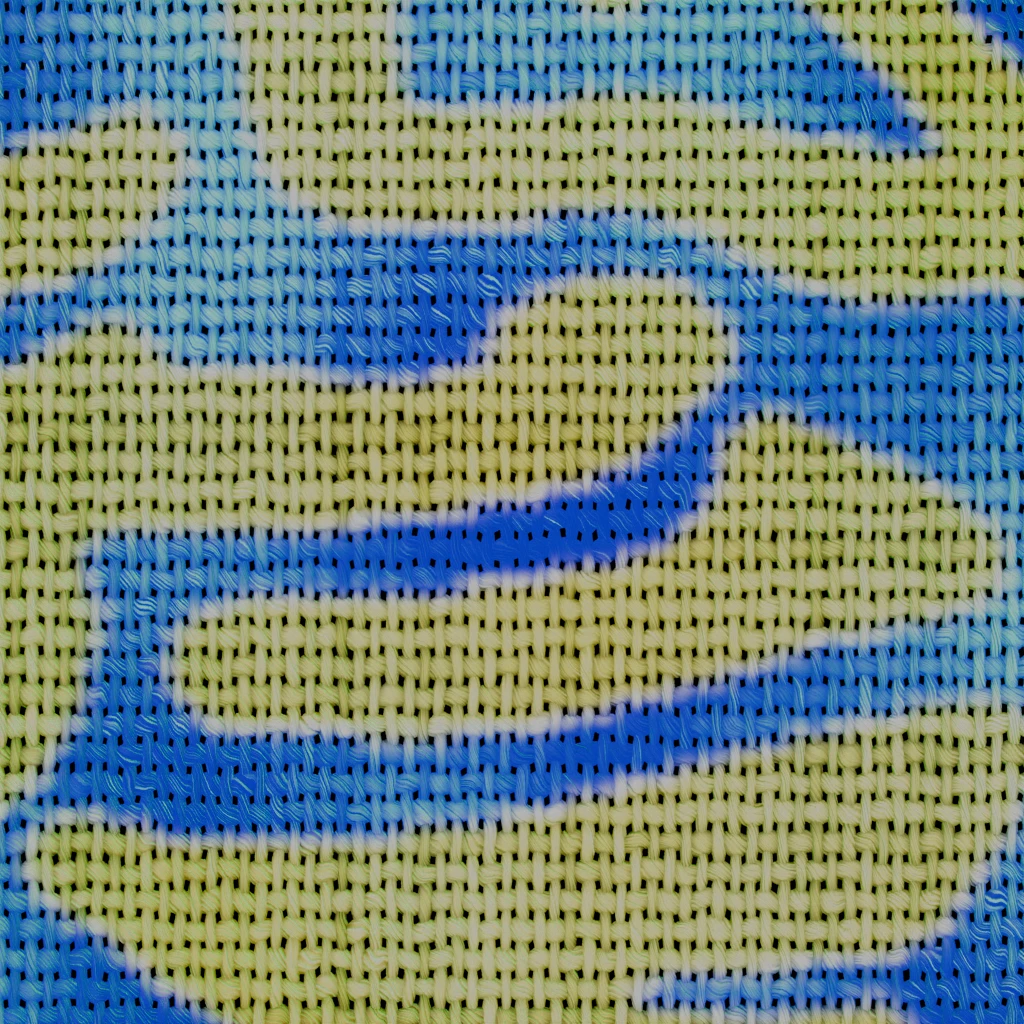
Thus, I have different ways to try to render an accurate pattern according to the project at hands: ““regular nodes”, plain weave patterns and more complex ones (hopefully).
Testing different type of fabrics
Here are a few examples, extracted and quickly re-worked from already existing projects as a proof of concept. I think it works for different kinds of fabric.
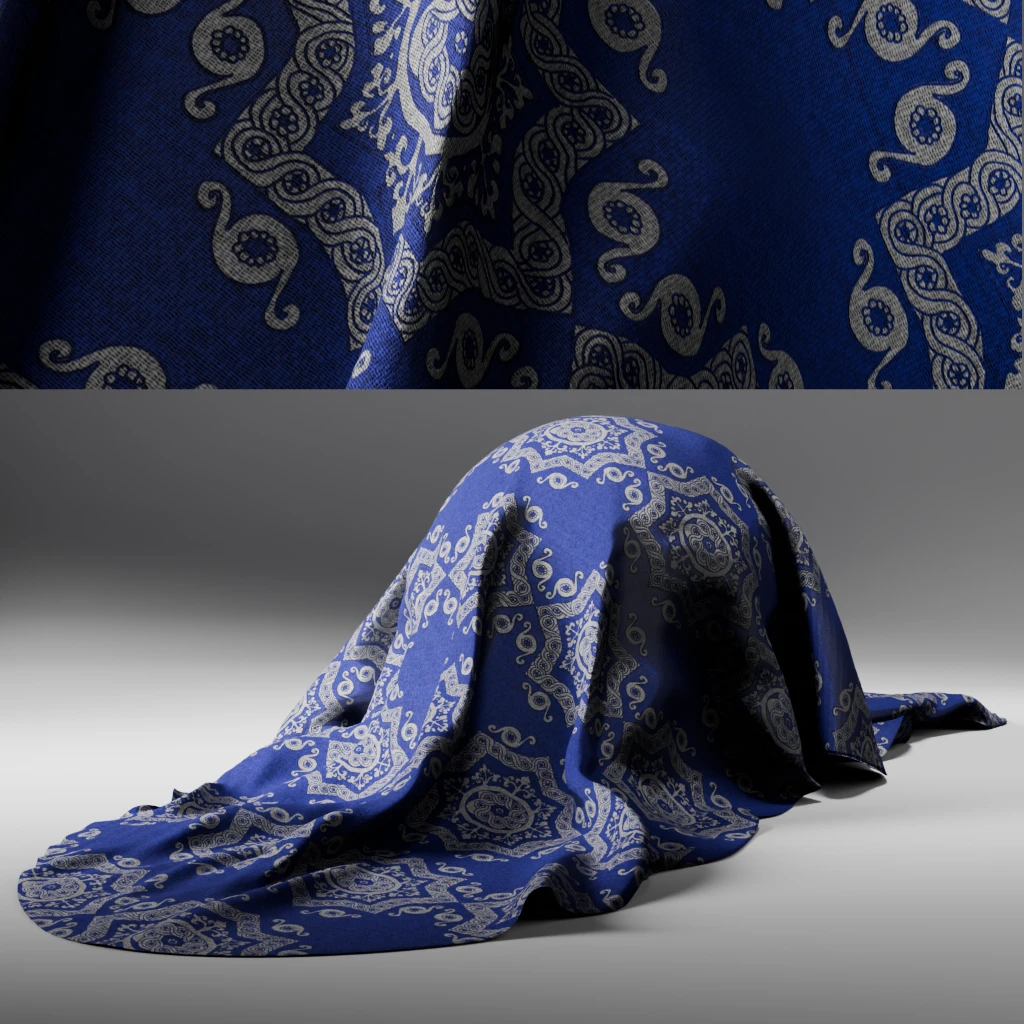
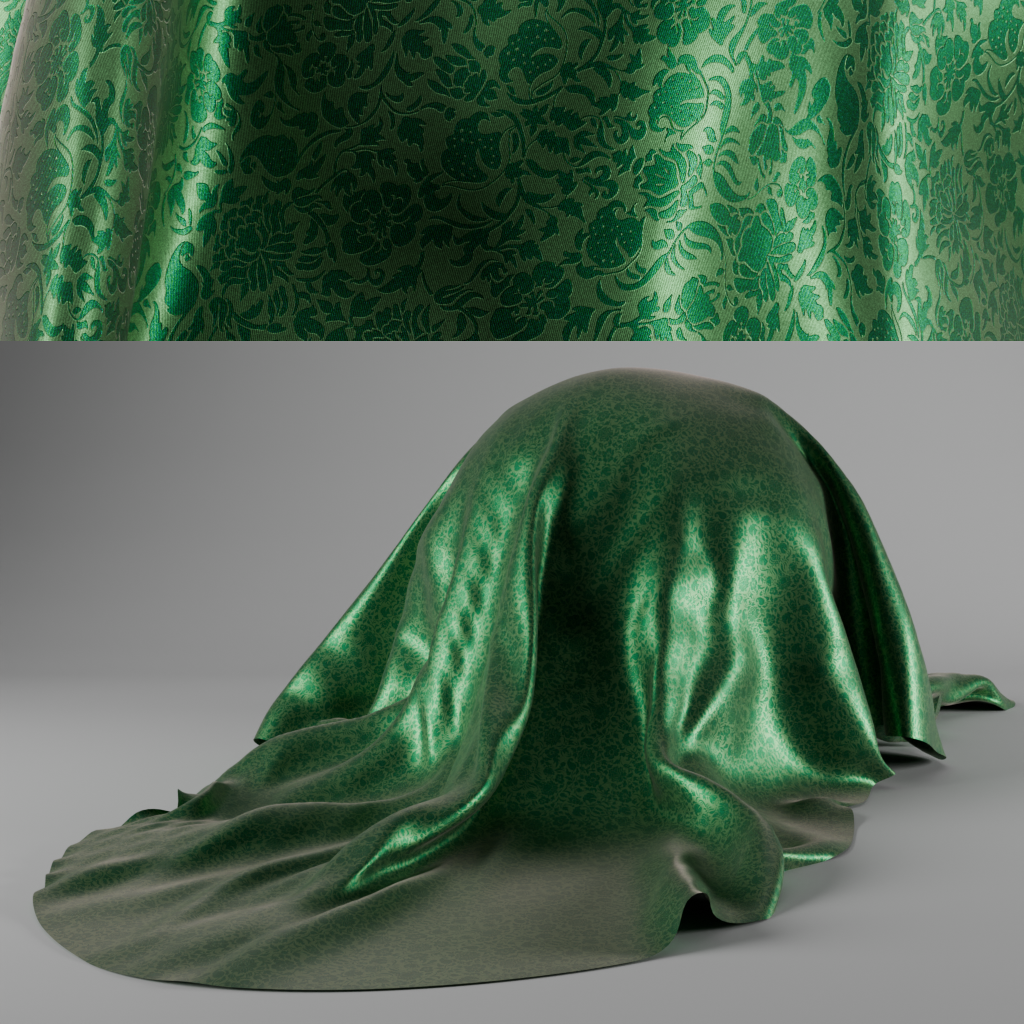
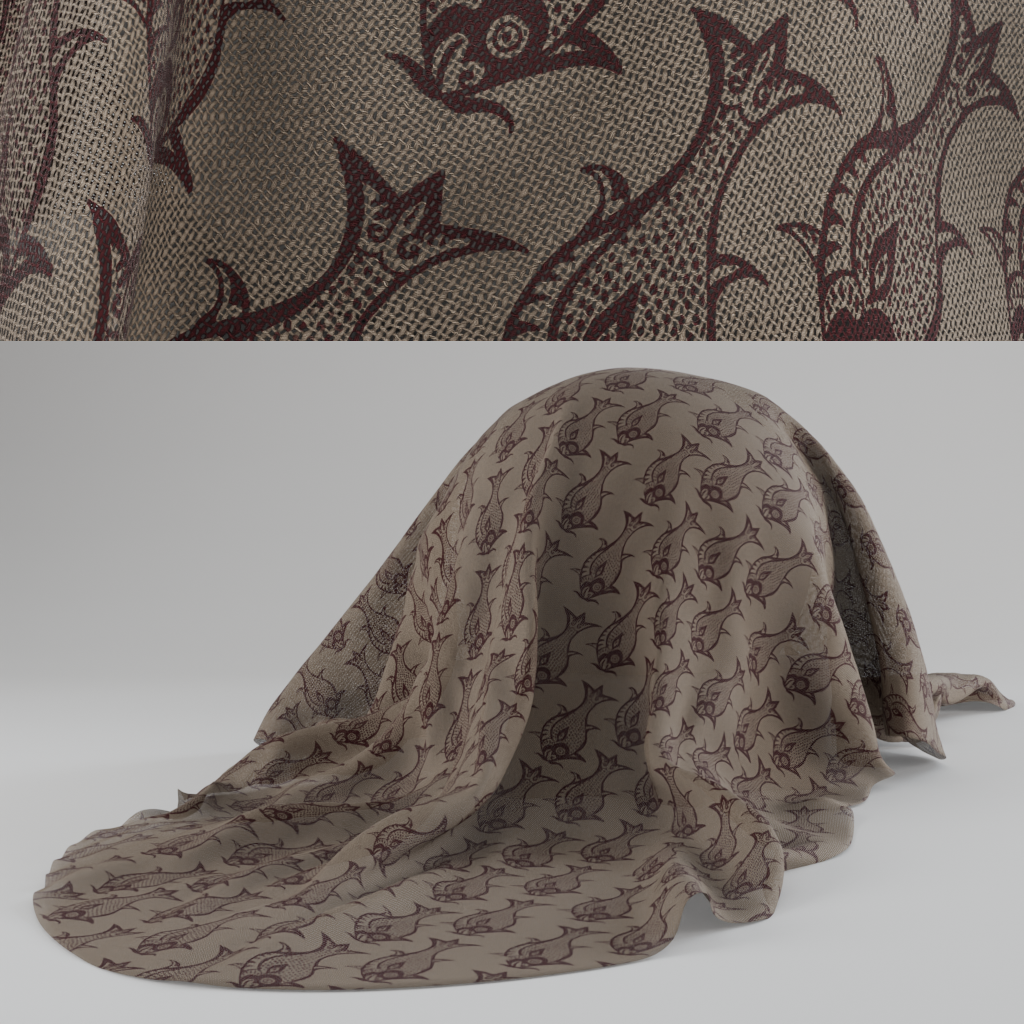
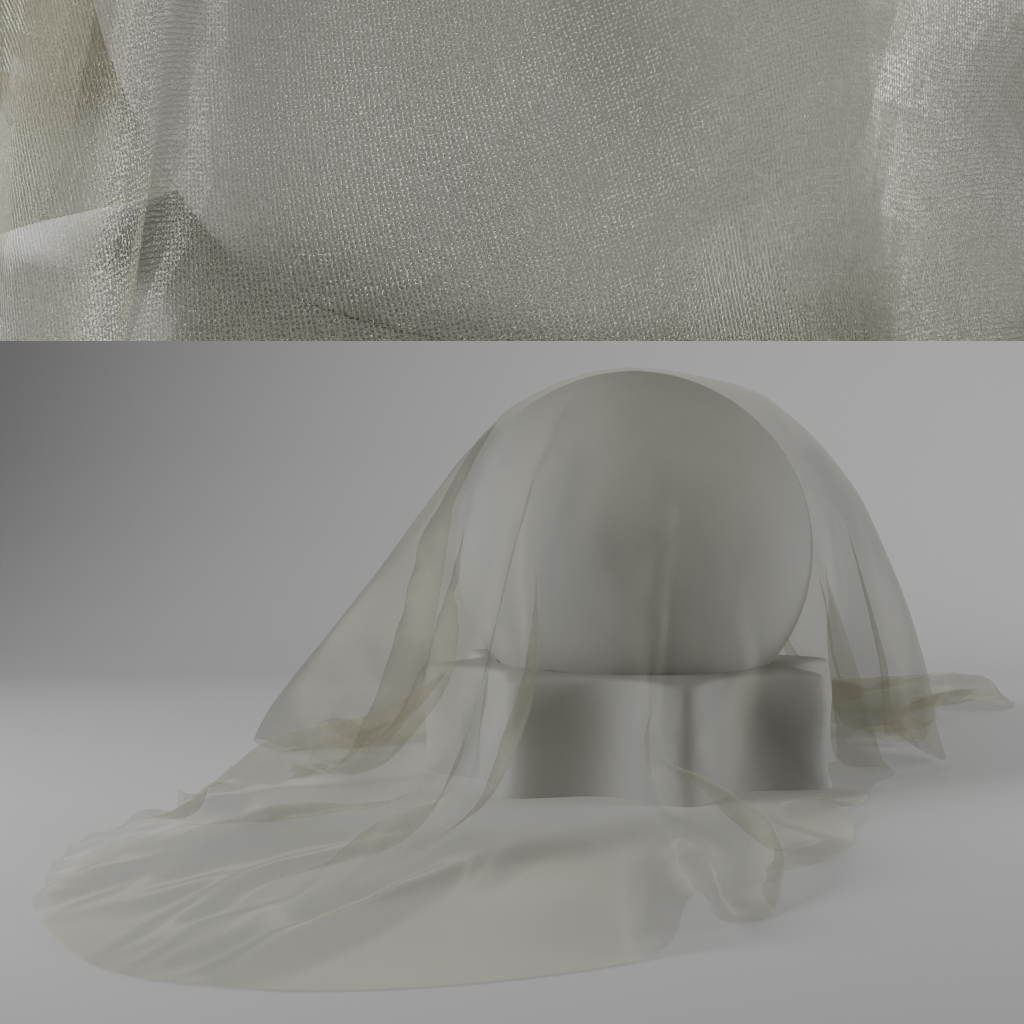
The preparation work is done for now ! We’re now off to the real textile reconstruction adventures !
Contact
If any of you, dear reader, want to further the conversation, you can do so on Mastodon or Pixelfed.
Credit
Unless otherwise mentioned, all images credit to LGS.
Images and references
Pair of Headpieces, Liao dynasty, China, Cleveland Museum of Art