

Blue as a cat
The following texts and images are the results of a training exercise to go from the pictures or the description of an artefact to the creation of a 3D digital double, sometimes restored version of it. If you wish to know more about the process, explanations are in A journey into learning a (3D!) restoration process workflow article.
As we’ve already established in this article about the Egyptian gods’ physiology, lapis-lazuli is a very important part of their cults and therefore is highly regarded.
In order to create a material for a 3D web version of the bronze, I set for myself the exercise to create a PBR version of it.
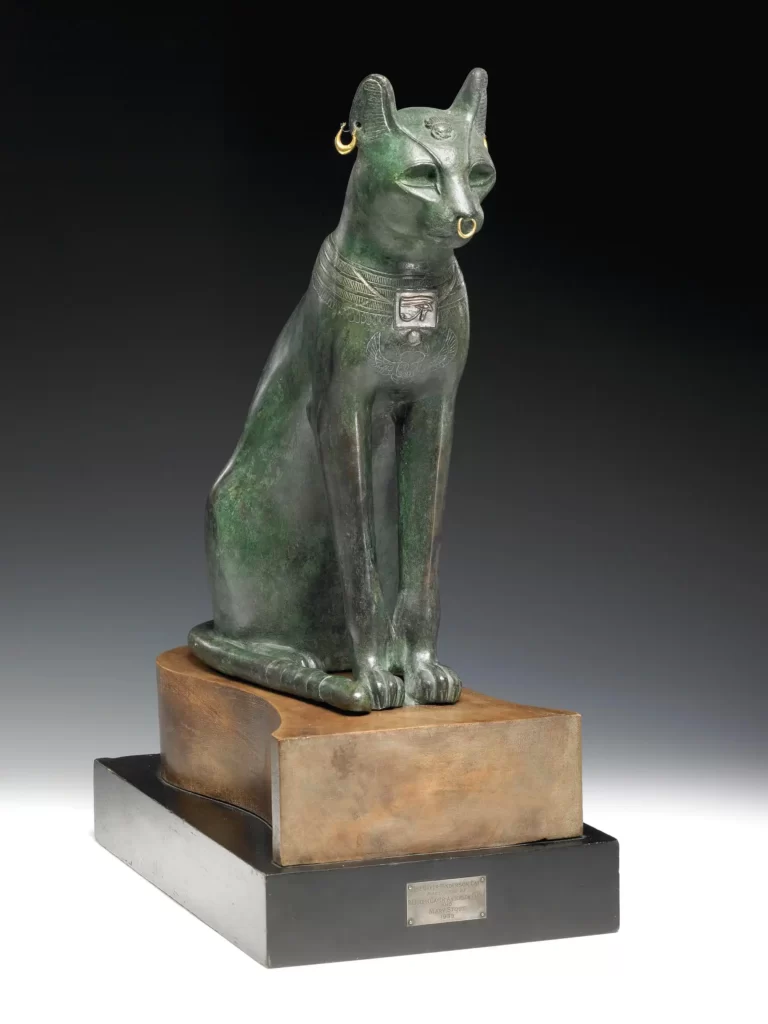
Title: Gayer-Anderson Cat
Datation: Late Period (ca. 713–332 BCE)
Provenance: Saqqara, Memphis ?
Dimensions:
Height: 42 centimetres (With base)
Width: 14 centimetres (Without base)
Weight: 7.8 kilograms (Without base)
Media: Copper alloy
Description
Historical context
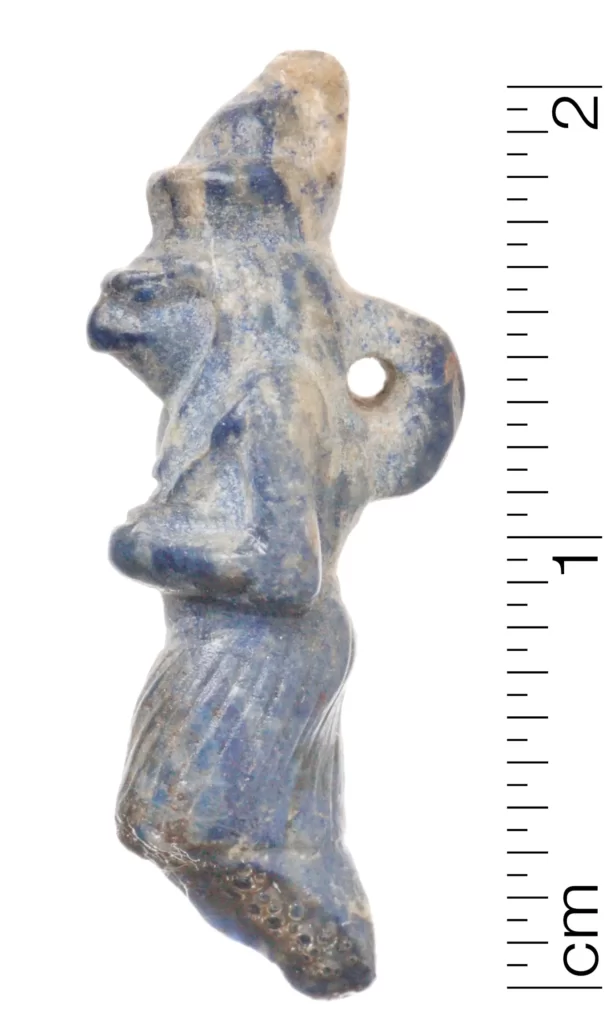
Lapis-lazuli utterly poetical name is derived from the Persian word for “sky” or “heaven”.
The lapis-lazuli used by the Egyptians appears to have mainly come from Afghanistan. It was excavated in the mines of the Badakhshan region, on sites like Sar-i Sang. It then follows a long and perilous trade route to pharaoh’s land.
As such, it is a rare and precious item. Almost all the pieces known of antique Egyptian craftsmanship only use a few centimetres worth of the delicate stone (jewellery, scarabs, amulets…).
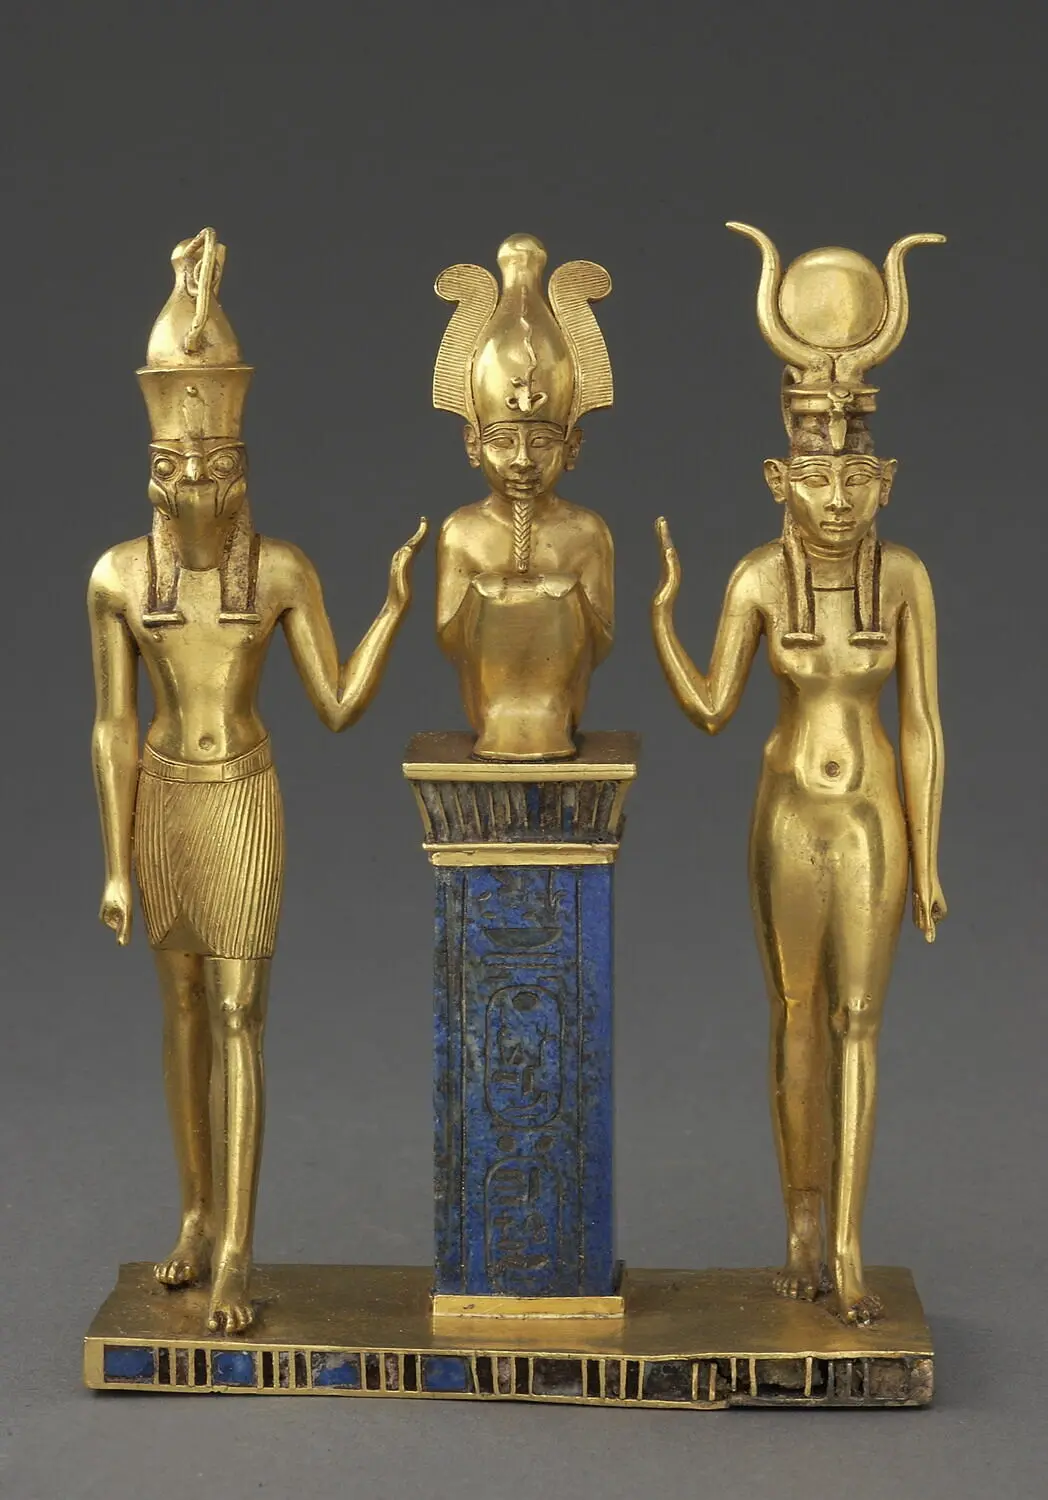
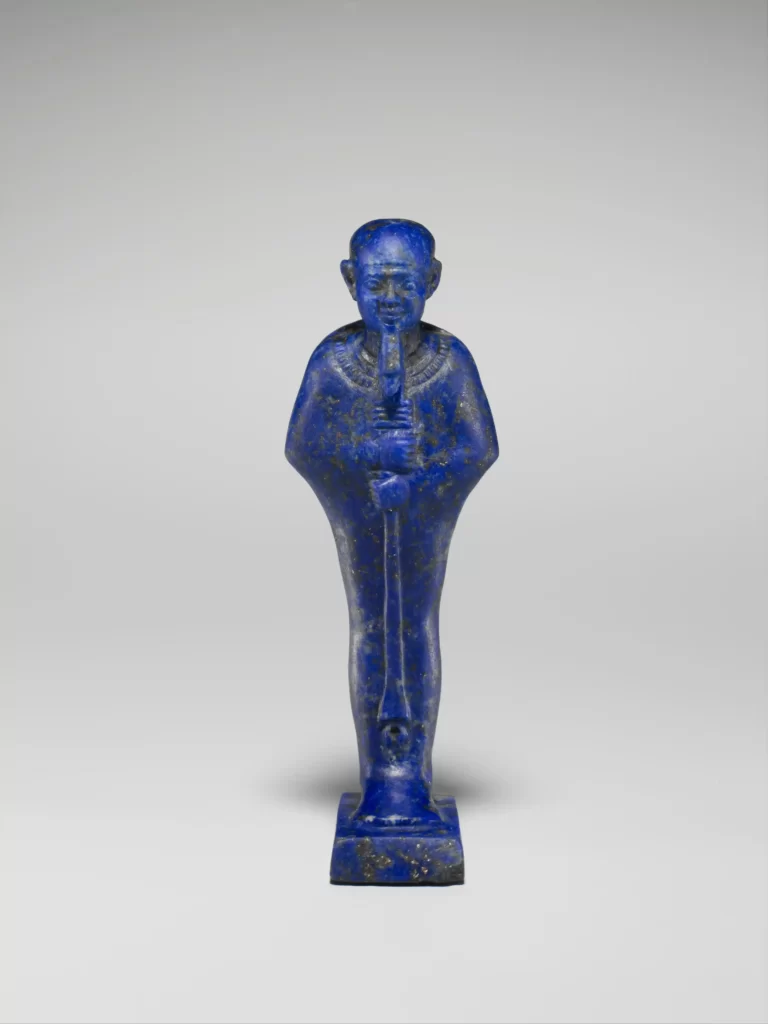
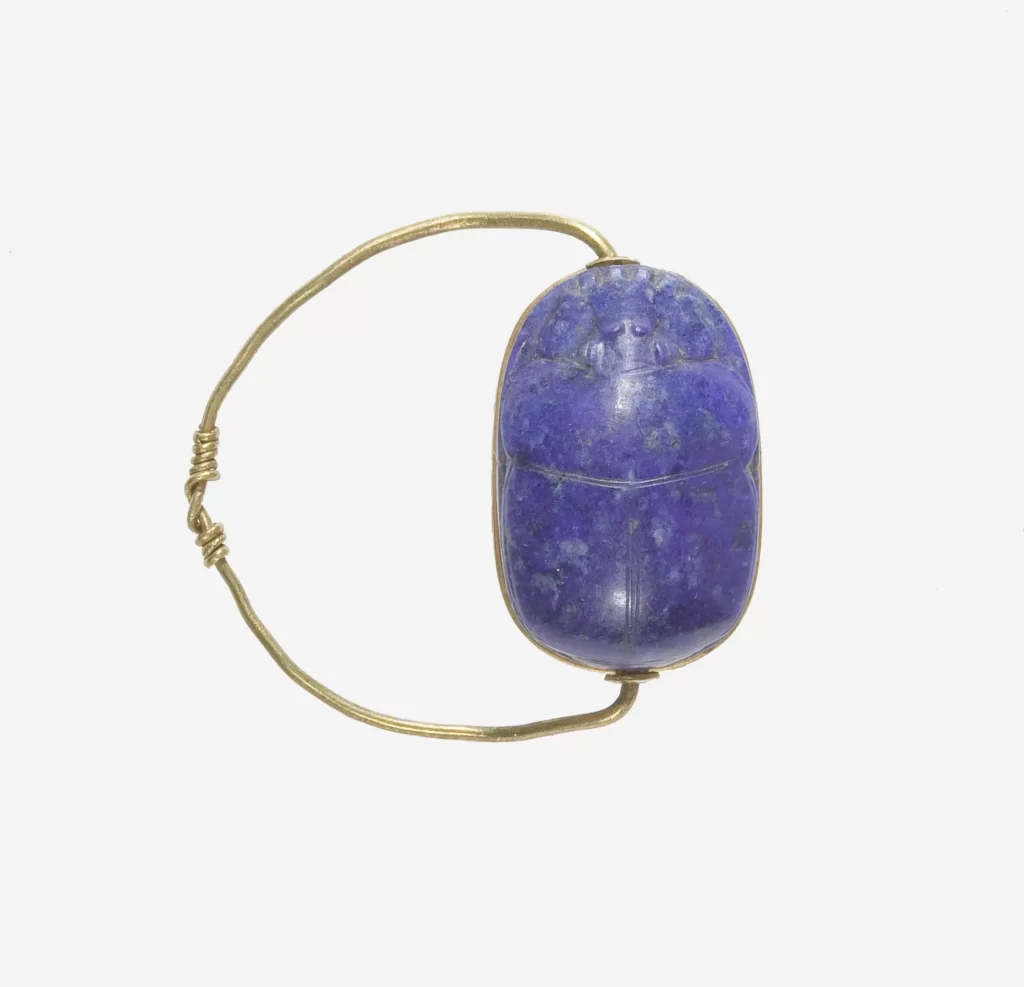
Shape, decor and colours
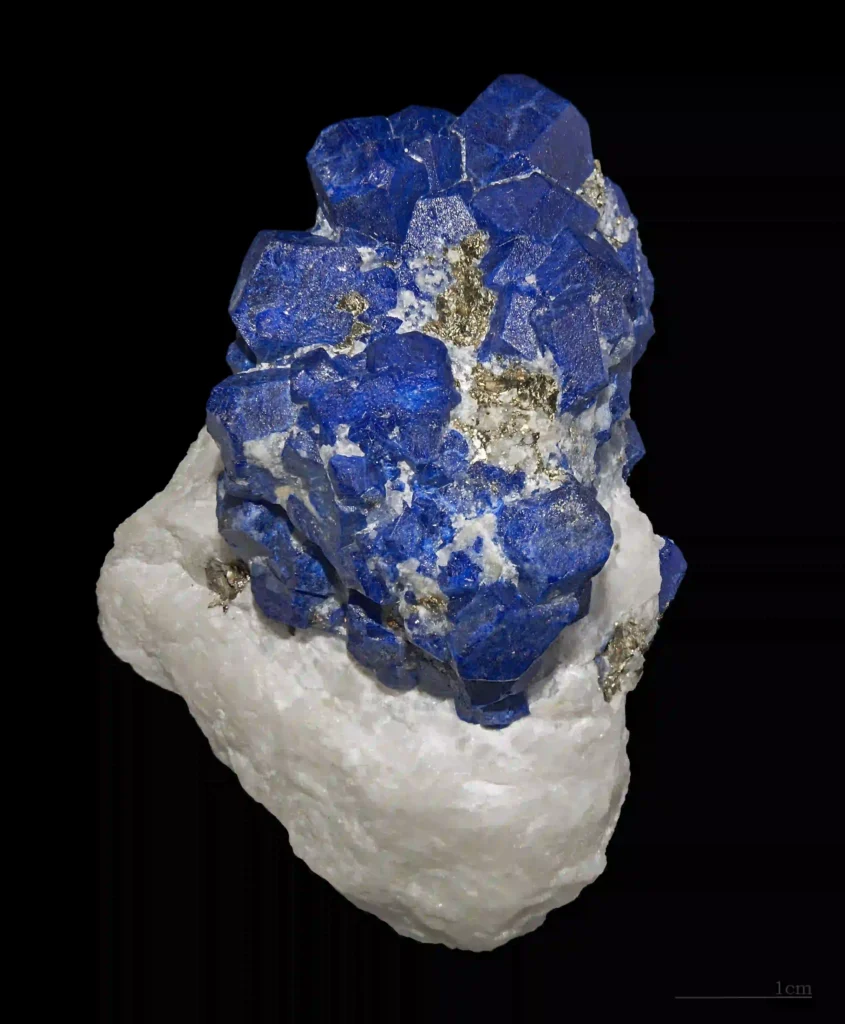
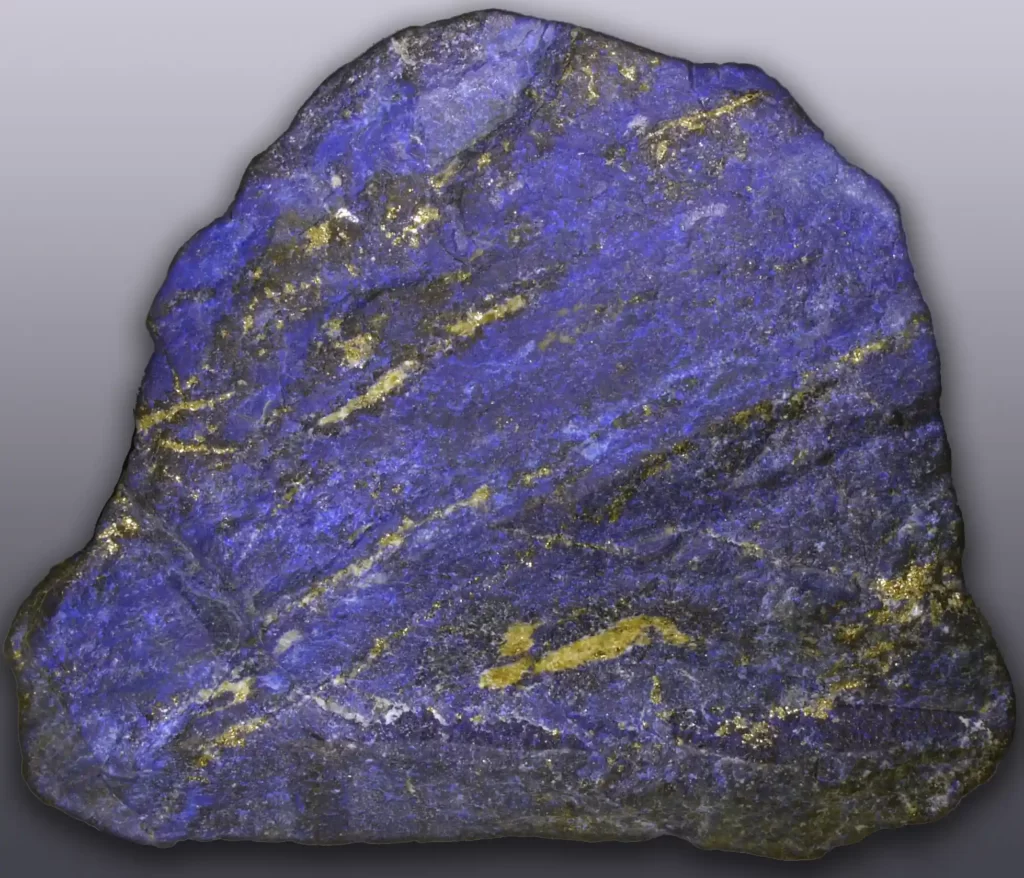
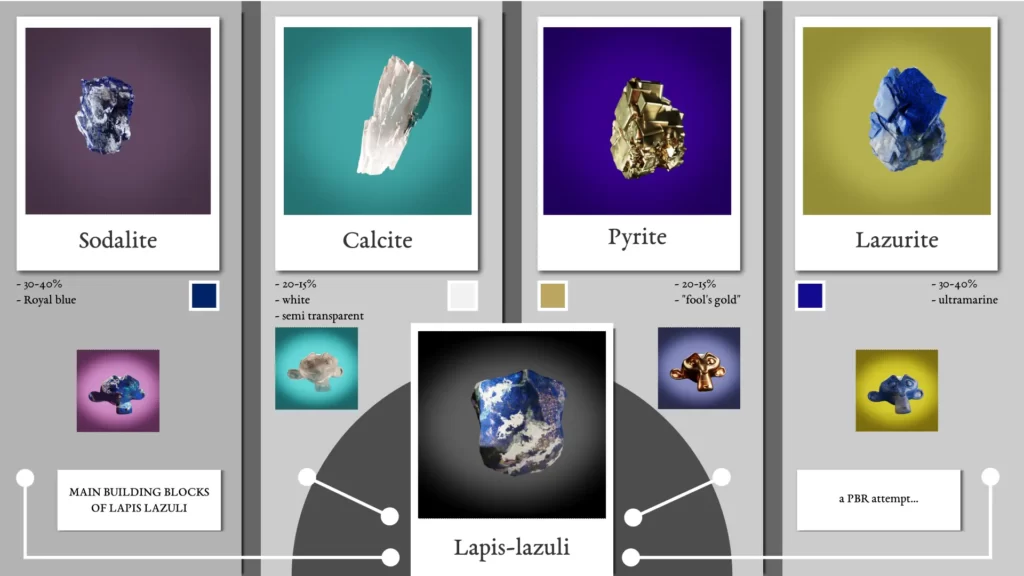
Lapis-lazuli is a metamorphic rock composed of lazurite (25-40%), calcite (white), sodalite, pyrite (metallic yellow) and traces of other minerals, depending on the stone’s origin region. Its hue and shades can vary a lot, as the previous examples showed. The more blue the stone shows, the pricier it is.
How to do it: a 3D reconstitution process
Disclaimer : this is an exercise, shown for documentation purposes only
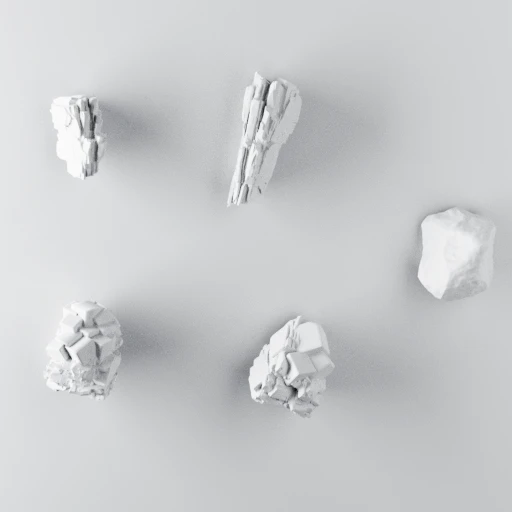
As this is an exercise, I tried to think of a way to train myself to use as much as Blender PBR node system as possible. That means I chose to separate the main components of the rock to texture separately and then assemble them to create the gemstone.
Slightly mad ? Probably. I intend to then do a substance painter version of it to compare it to.
Modelling the shapes
The Gayer-Anderson cat.
The shape has already been extracted from a 3D scan of the piece, available on this page. However, this model is too heavy to be used easily in my 3D viewer application. It needs heavy retopologizing to be web-ready. I also need to create height and normal maps. This is a regular, though sometimes tedious and time-consuming, process, and I won’t bore you with the details.
The crystals
Each component of the rock, when grown separately, have a specific spatial conformation. While I have tried to not stray too much from these, I must say I didn’t take absolute care for them to be completely scientifically accurate. The crystalline shapes are more general outlines. I do love gemmology, but that is not the point of that exercise.
Texture the shapes
Before I start on the trials and errors process, I did a little investigation as to how 3D artists were already doing and what paths they chose. I was able to find a lot of them ! I liked this node tree found on Artstation and this one from reddit user OddExt.
Lapis-lazuli constituents decomposition
Lazurite
Lazurite is a deep blue to greenish‐blue. Its crystal shape is cuboid. It’s always opaque. Its most known hue is ultramarine. It has a vitreous lustre. All the images of this stone I was able to find show a modicum of calcite (the white parts). I tried texturing the Lazurite without it. It looked so weird without it that I decided to keep some of it for context.
The first iteration is a little cartoony, I think. After a little refinement, the end result is acceptable.
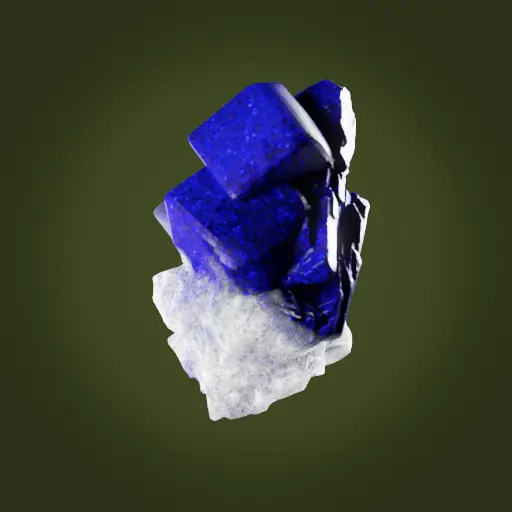
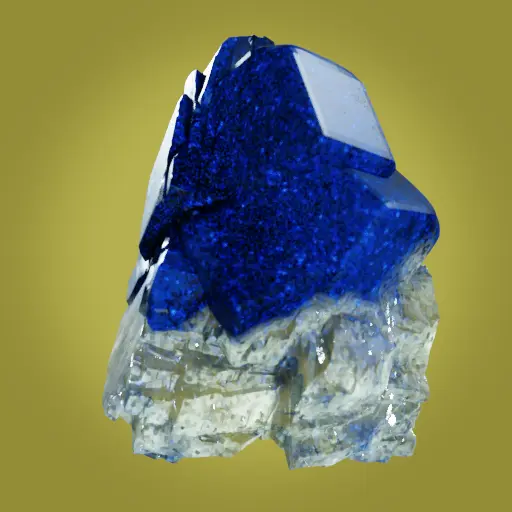
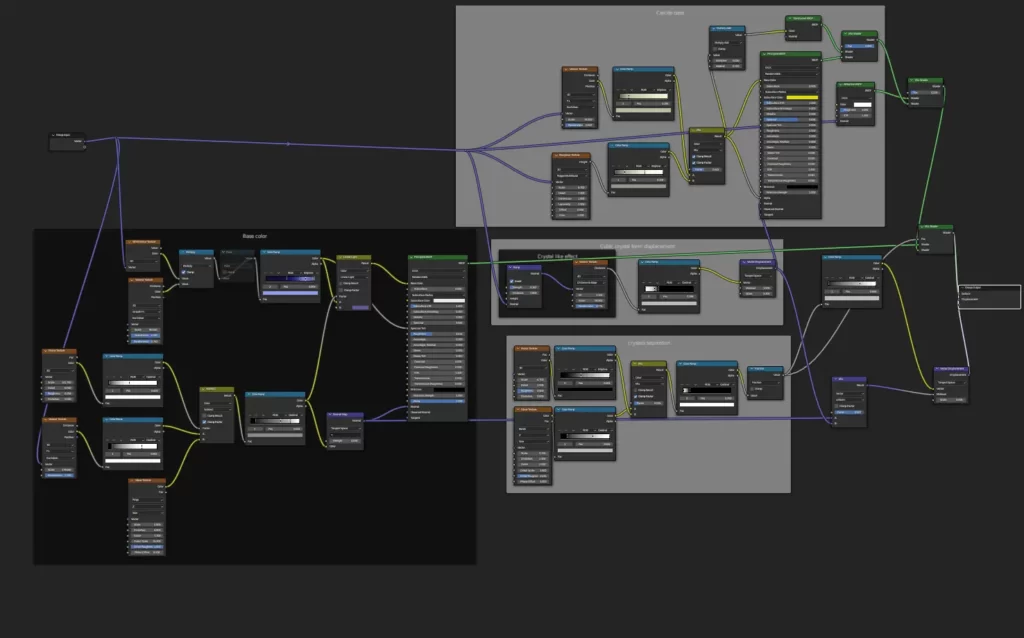
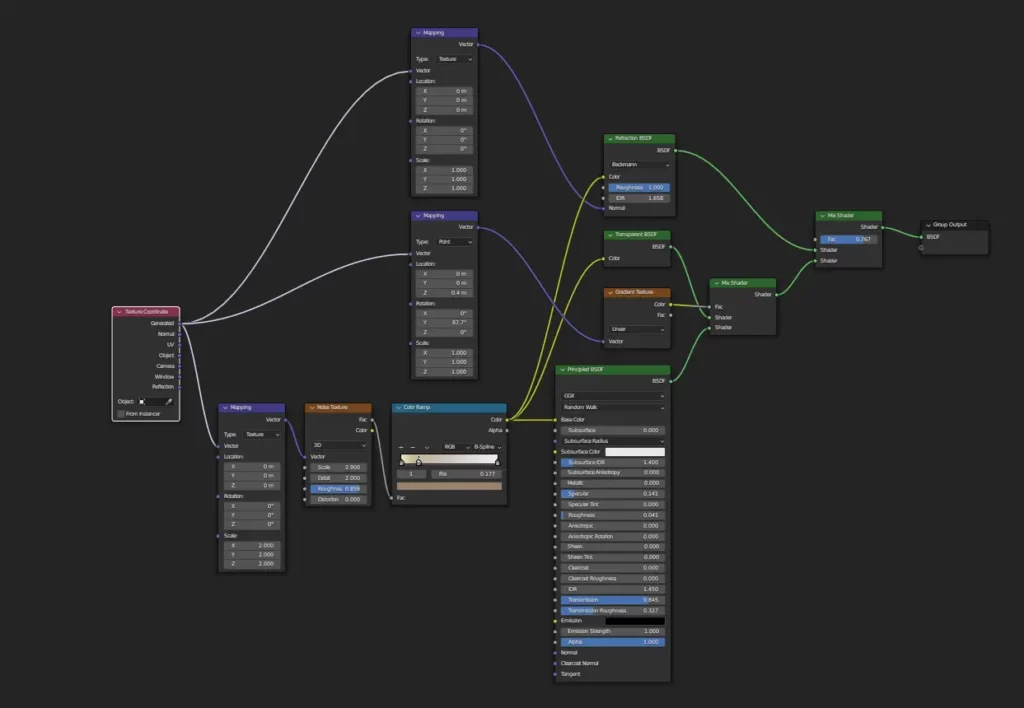
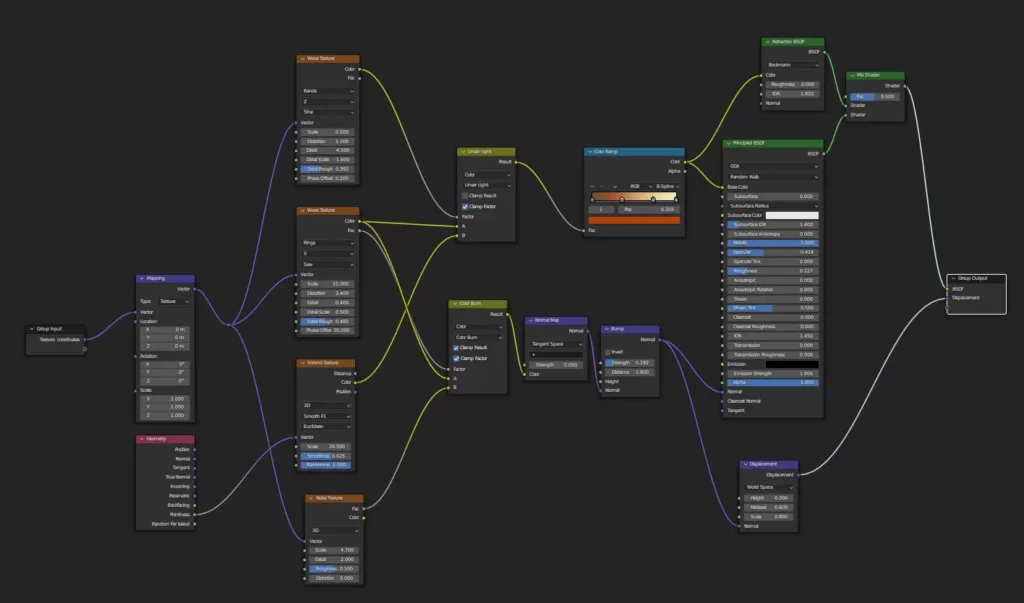
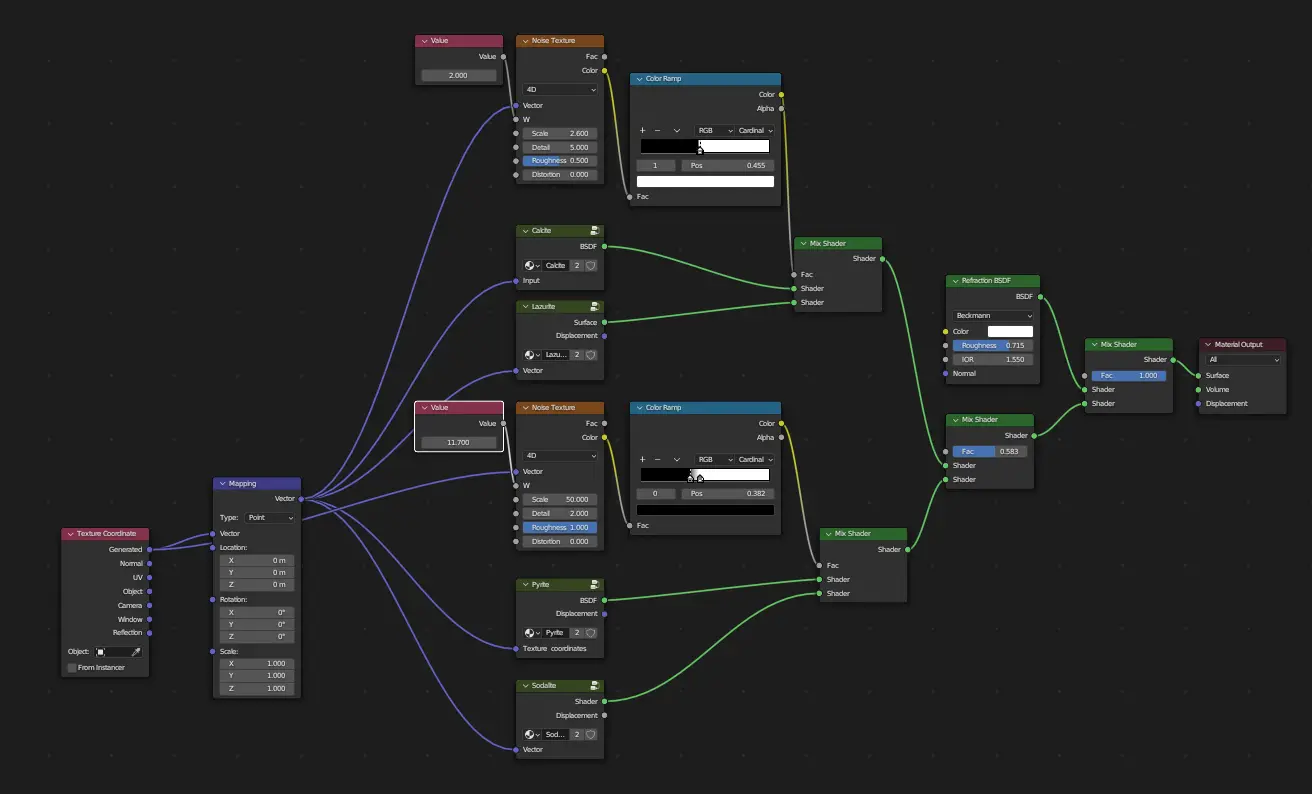
Just for giggles, here’s what the node network looks like. Messy, right ?
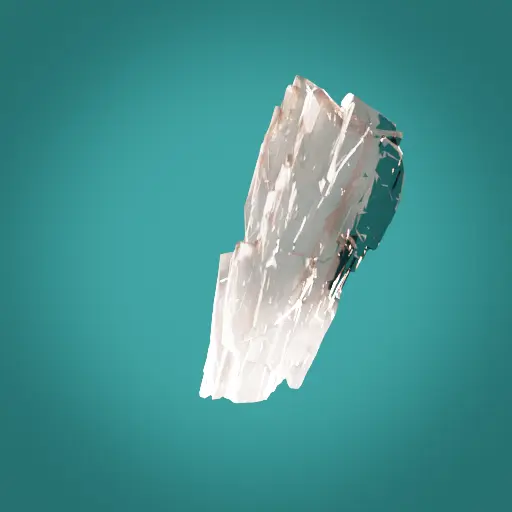
Calcite
I have de facto already created a texture for the calcite, but for the sake of training, let’s go back to it.
Calcite is a transparent to opaque carbonate mineral. It is a relatively soft mineral, with a Mohs hardness of 3. It can have a variety of hues, though it is mostly known as white-yellow when it’s not transparent. Furthermore, it has a vitreous lustre and a rhombohedral crystalline form (that I did not take into account at all!).
Sodalite
Sodalite is a rich royal blue to green, yellow and or violet. White veining is common. It is semi transparent. It is mostly known for its royal blue hue. Its crystalline shape is cubic. It has a vitreous to dull lustre.
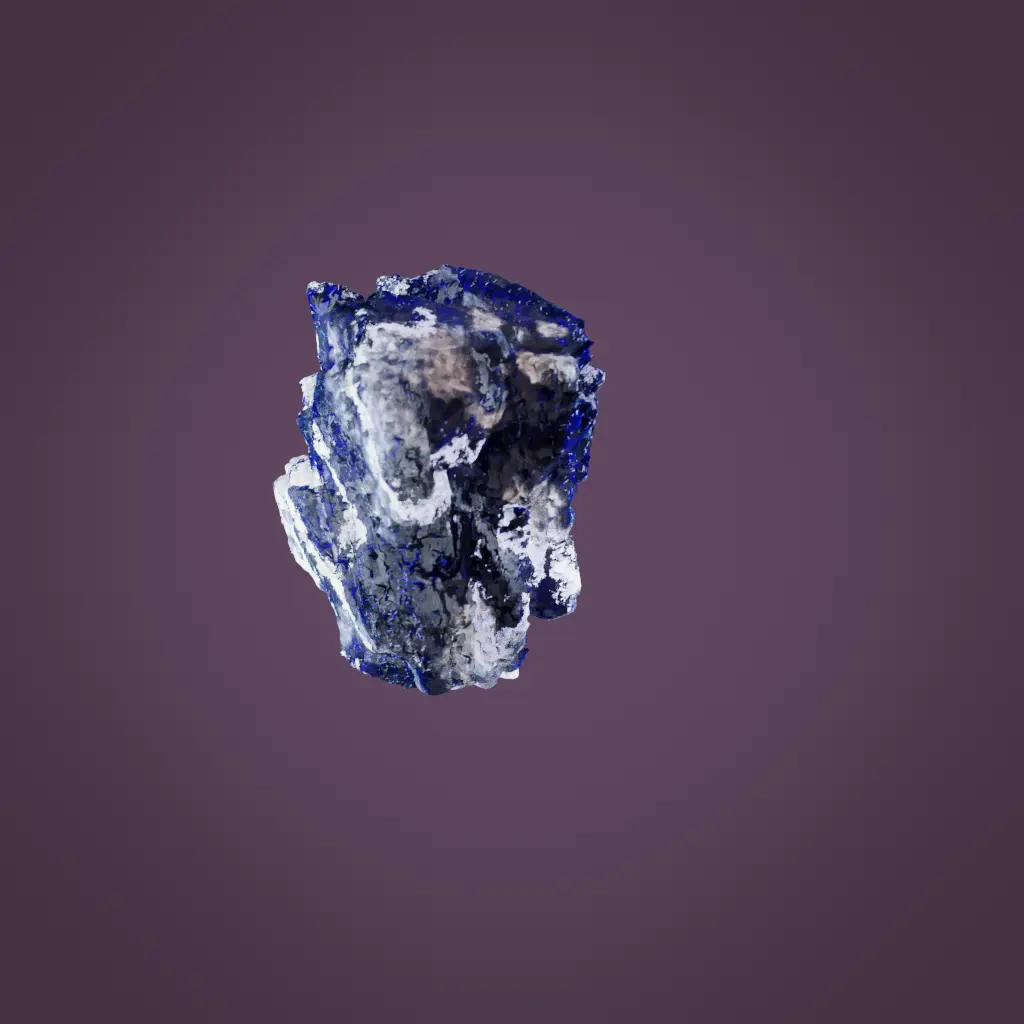
The first iteration is a little cartoony. That seems to be a pattern here ! The second iteration is a little too flat. The third iteration, with added displacements inspired by Max Tux method, gives a nicer result. For the fourth iteration, I added scaled up the transparency.
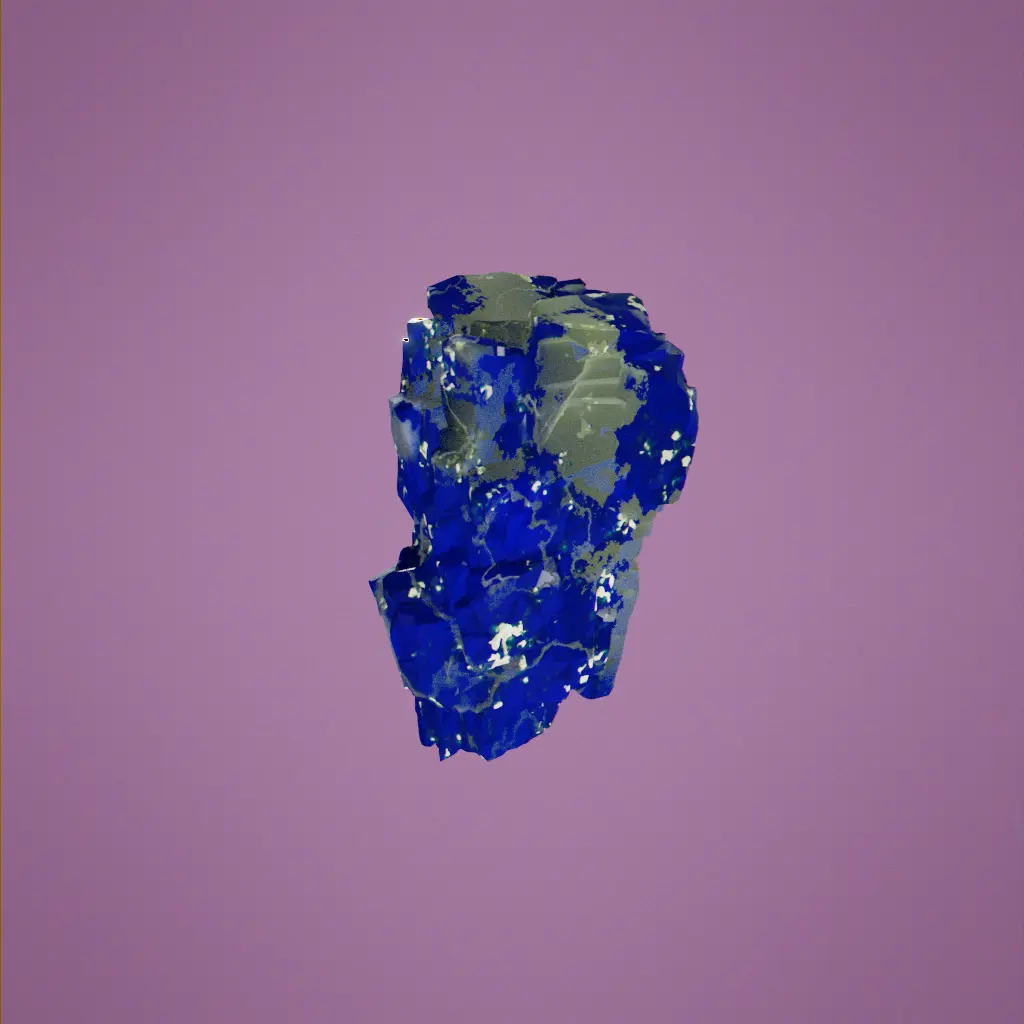
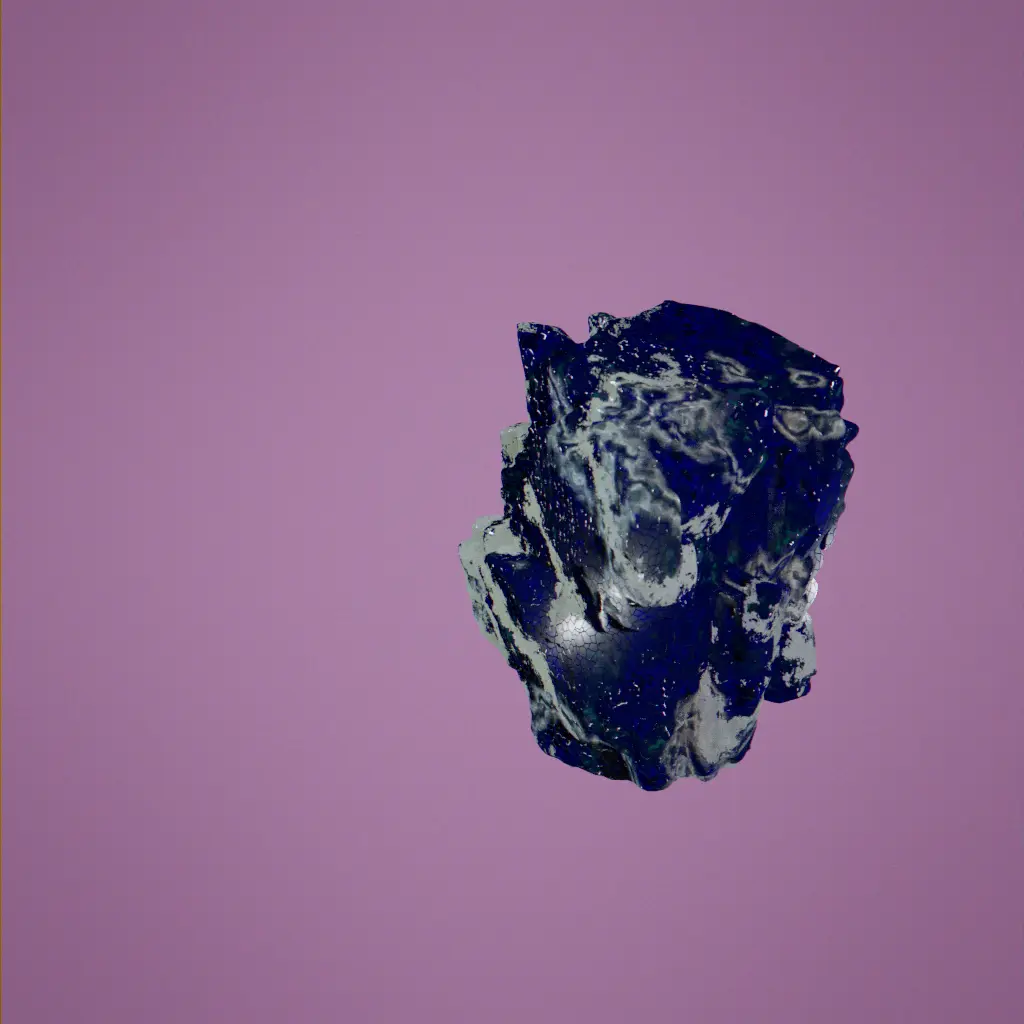
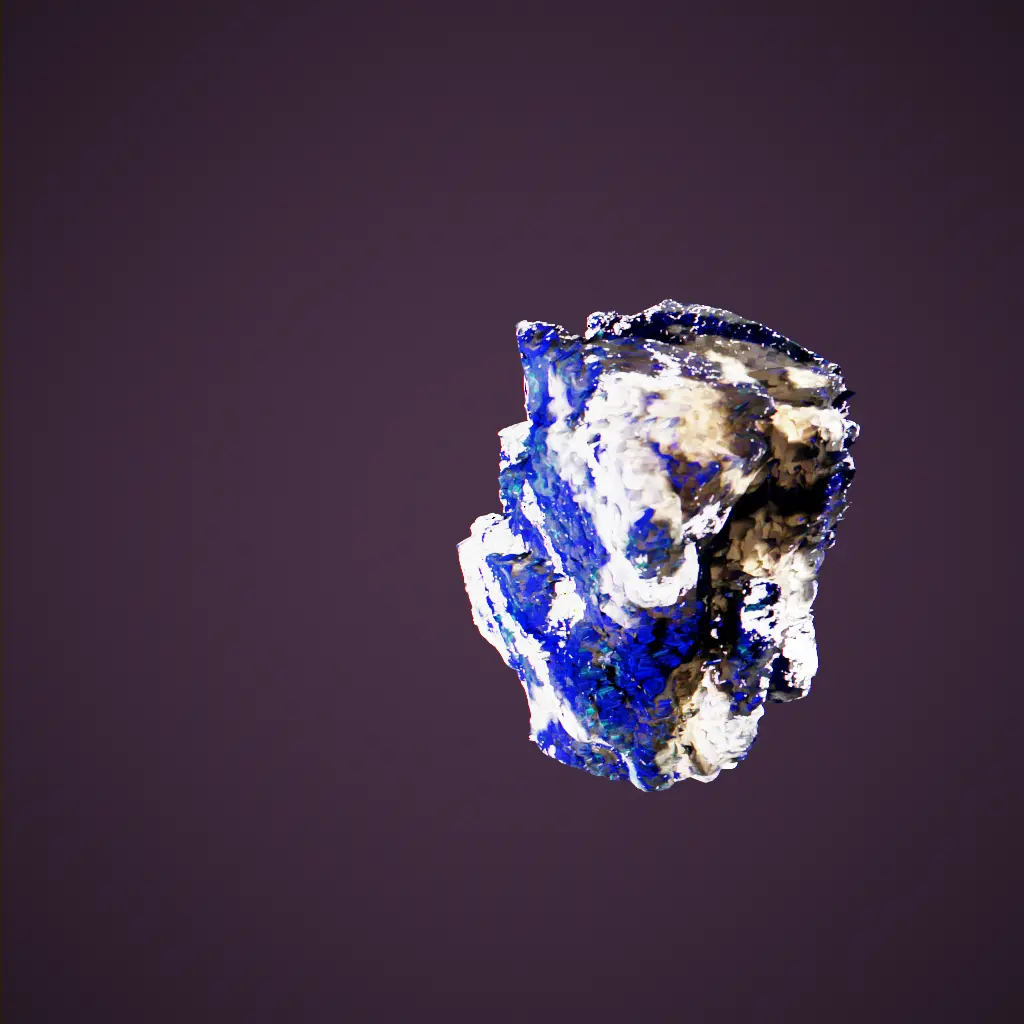
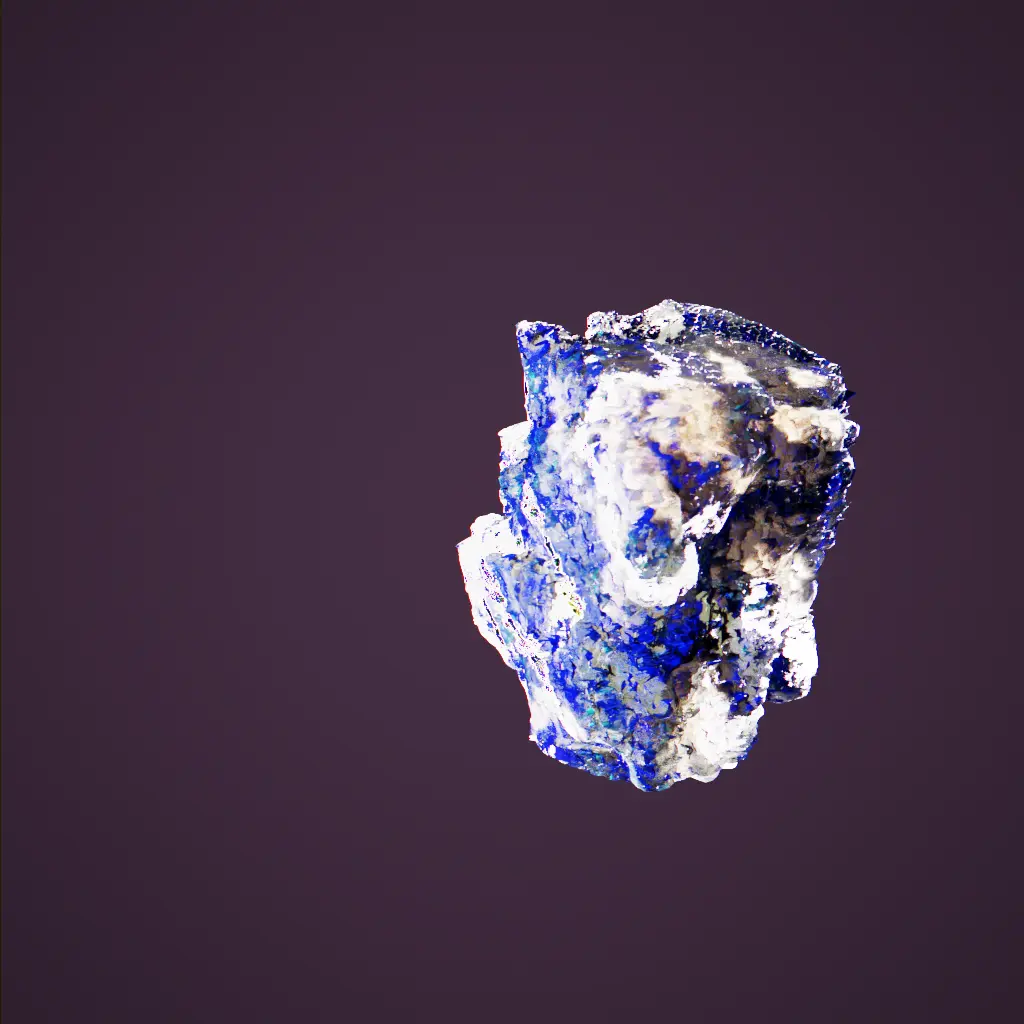
For the last iteration, it’s all about a little light tweaking. It’s more a render thing than a proper PBR issue.
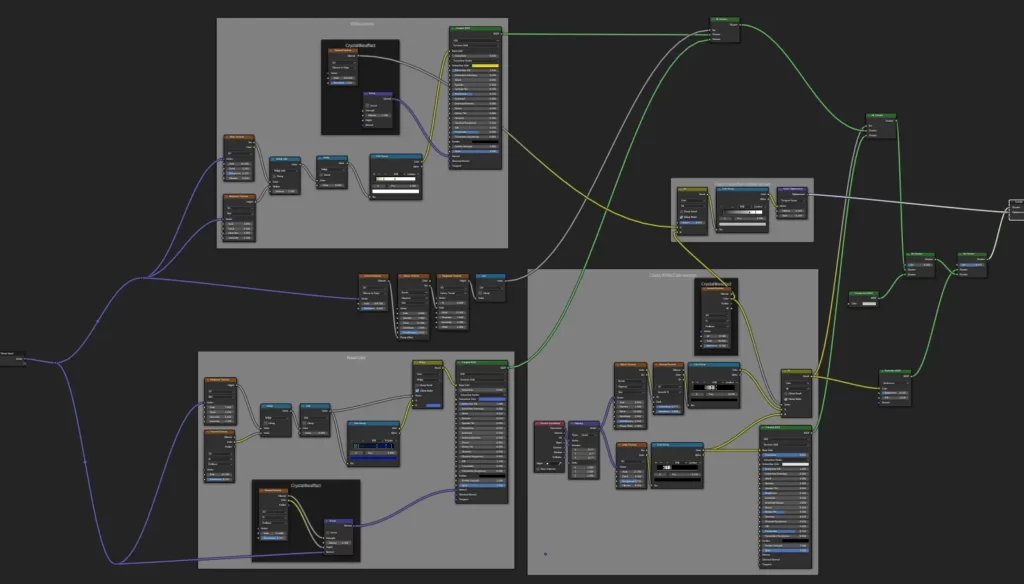
Again, that’s a messy noodle soup !
Pyrite
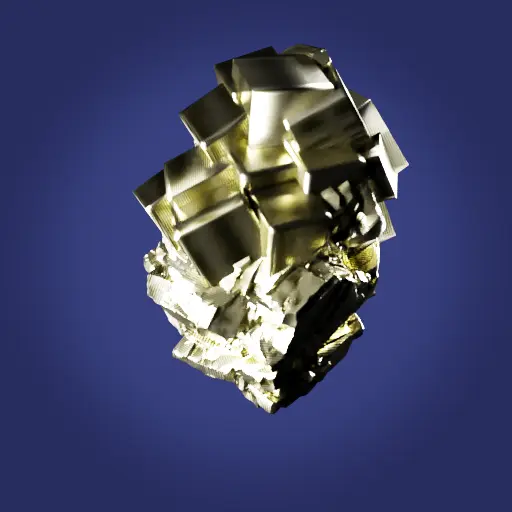
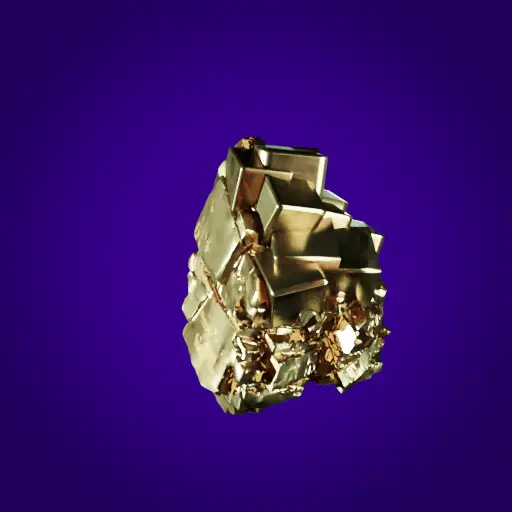
Pyrite is also known as “fool’s gold”. It’s pale brass-yellow, reflective with darker tarnished areas and small iridescences. It has a cubic crystal system and a metallic and glistening lustre.
As it is now a habit, the first iteration is a little cartoony. For the last iteration, I warmed up the colour and played with the lights on the render.
And now we mix everything up !
Remember the neutral image of the rock shapes, here’s what it looks like now:
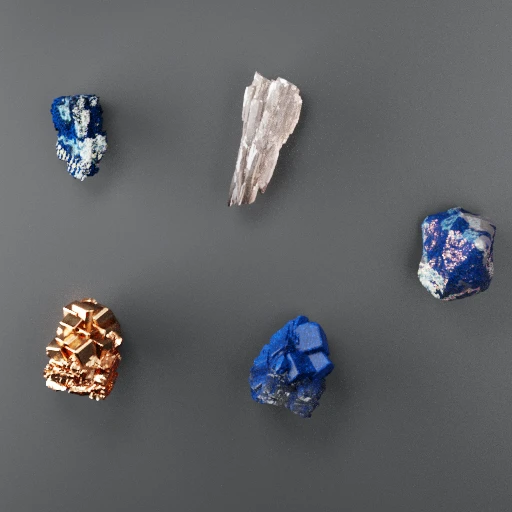
Here are the results:
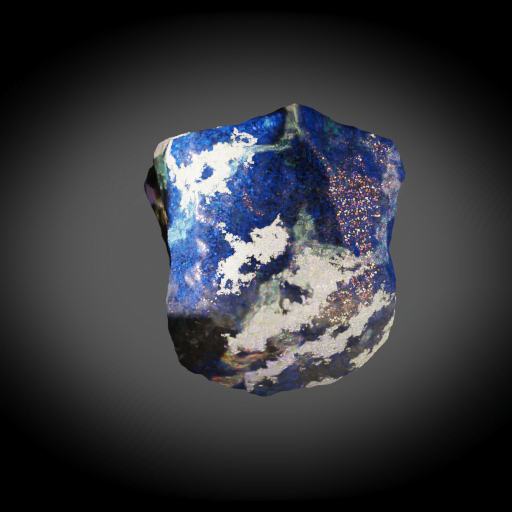
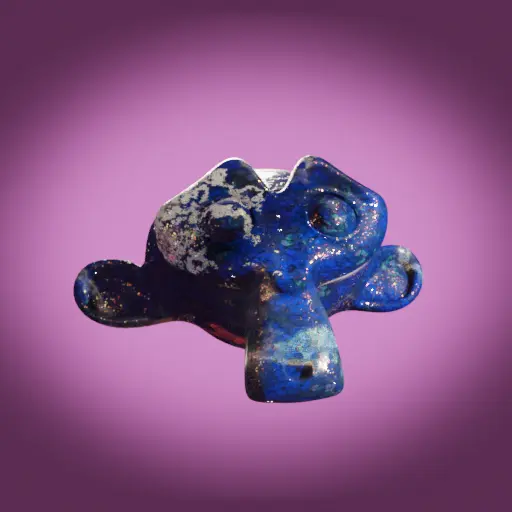
Lapis-lazuli PBR nodes
To mix everything, my idea was to group every stone species in its own node so that I can mix them up with a simple ratio tweak.
Rendering tests
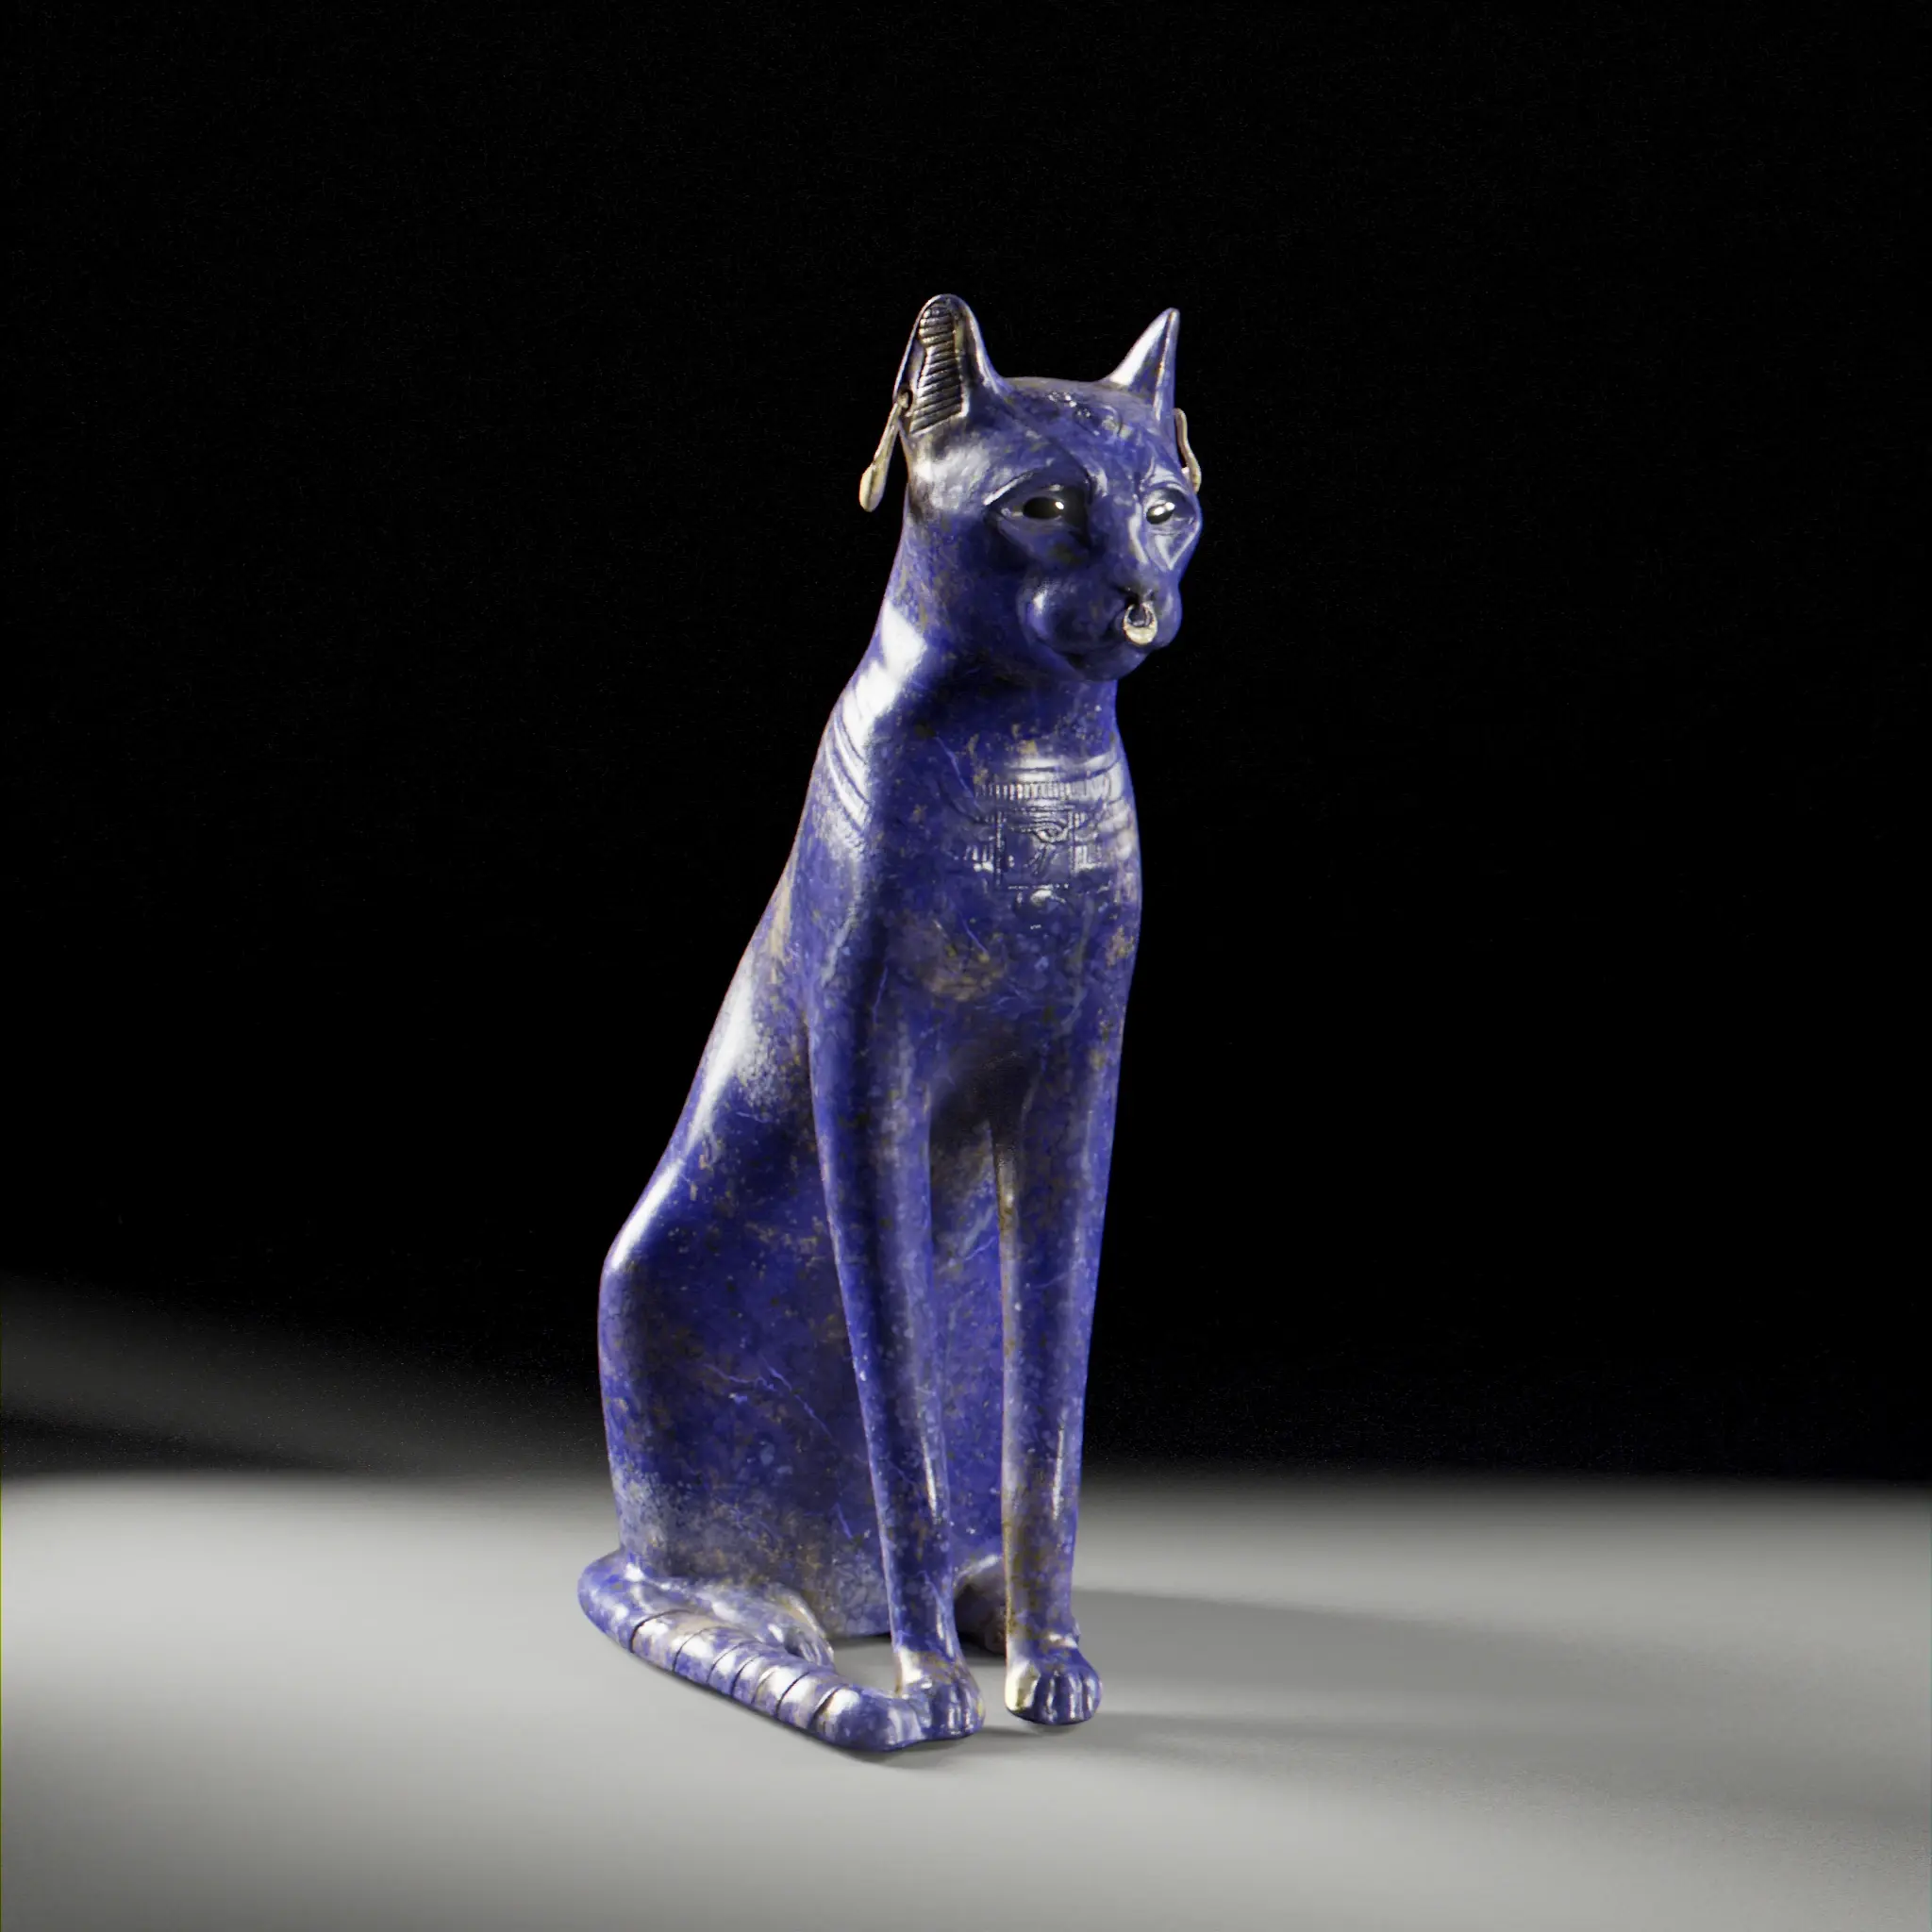
Side by side comparison

Okay.
These are very different results. There are elements I like in both textures. I like the shades of blue on the substance one, but I prefer the speck of pyrite on the nodes’ version. The calcite is way too present on the latter and maybe too discrete on the other one.
I tried to tweak the node workflow to accommodate for that, but it mostly resulted in aberrant results. My method is at fault here: the node system is too complex to be easy to use. Its computation time is too long. Besides, the normal map from the model is not as visible.
That is an important part of the original model, therefore I’m keeping the substance version.
Conclusion
I’m not seeing this experiment as a complete fail on the PBR nodes point of view. The materials work, but they don’t work together well as parts of a bigger material. It seems that it is enough for something with a jagged and irregular mesh structure. A more global approach would certainly have been quicker for a mesh like the Gayer-Anderson cat’s one.
On the specific case of a mesh that is not generic and that needs to be treated as a focal point on a scene, maybe the node method as a whole is not as interesting as a bespoke “painted” one.
This is one of my first forays into creating a complex material using this method. I learned a lot and I will eventually revisit this material.
Practice, practice, practice.
On a last note, as far as I was able to measure, the PBR node approach is slightly slower than the regular image based one. I most certainly have not optimized anything in this project. This is something I should be more cautious about in the future.
3D view
So, without further ado, here’s the lady Bast in her lapis-lazuli glory !
Disclaimer : technical limitation to material render in web app can let artefacts show, particularly in zoomed views.
You can have a full view window following this link.
Context
Now, how about we try and put this in context ?
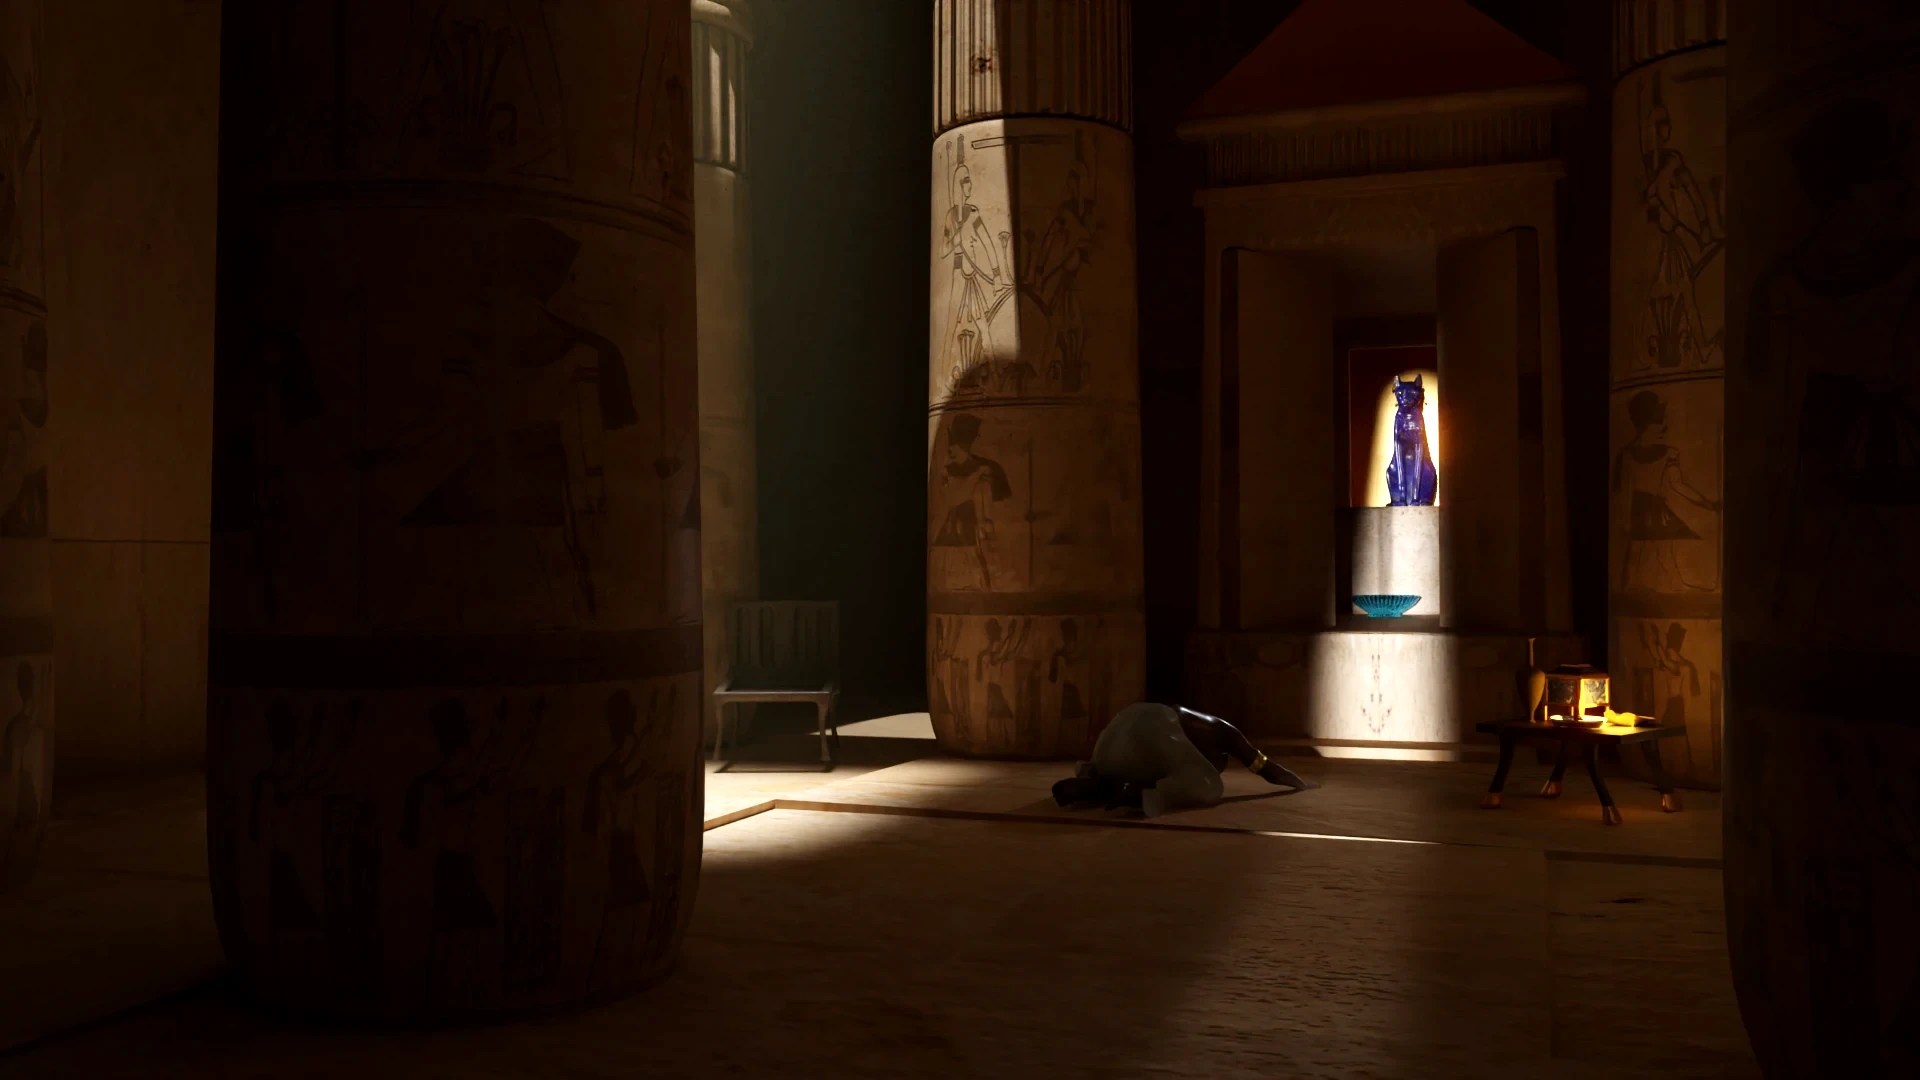
If you wish to know more about the creation and the explanation of this scene, this article will tell you everything !