

Anatomy of a zebu
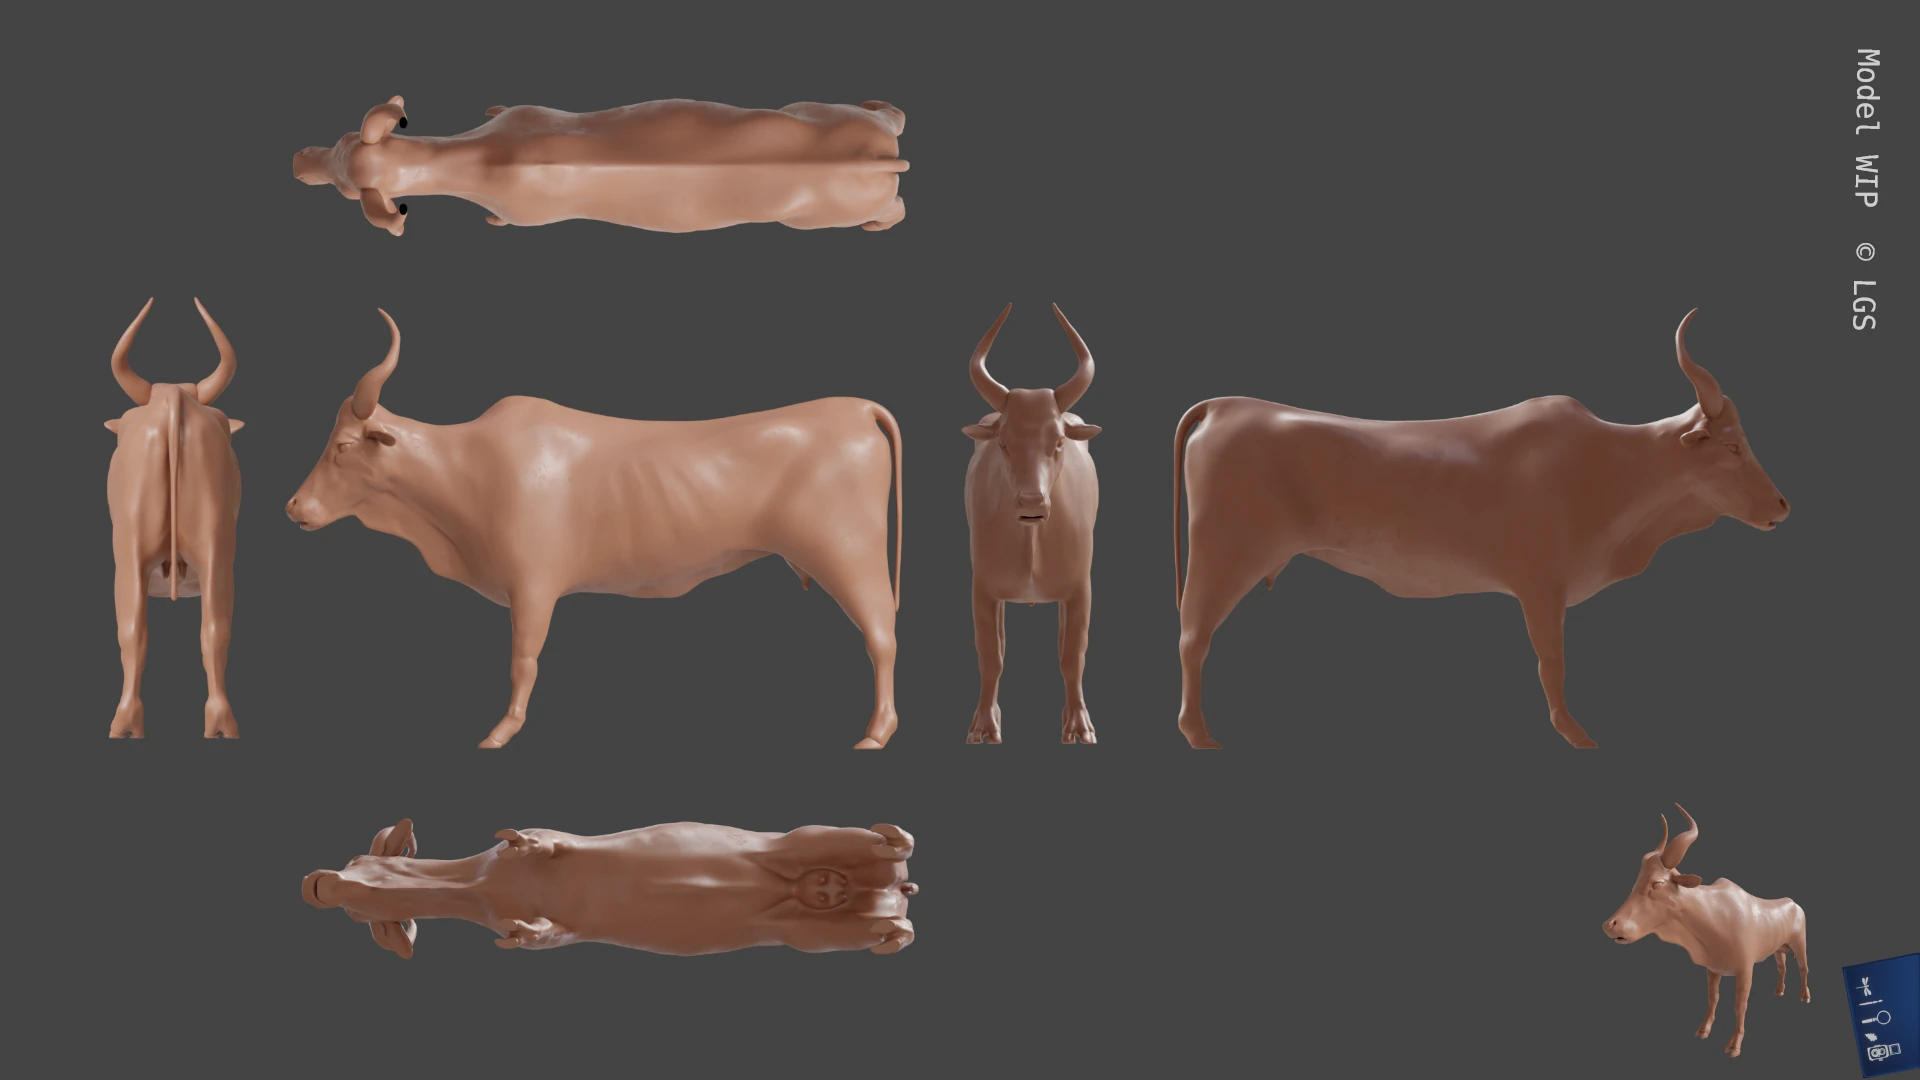
As I already mentioned, I’m on a 3D modelling never-ending path of training. It is while trying to copy the relief of a zebu on a museum piece that I decided this was a great animal to jump start my anatomy studies journey.
Why ? Because with the “classic” humans and horses starter models, bovines are one of the most studied animals. Less so for artistic than agricultural reasons than the other two but definitely for a longer period of time. Therefore, many many many references exist.
The following musings describe my forays into this exercise.
Description
What is a zebu or Bos indicus/ Bos taurus indicus ?
Long story short, it’s a cow.
Its genetics supposedly comes from the Indian form of the ancient aurochs, Bos taurus primigenius. Cross-breeding and human selection created the species while the wild aurochs was going extinct. The science, researches, and projects around the wild aurochs and their revivals are fascinating but way beyond the scope of that exercise.
There seem to be two different zebu families with distinct ancestors, that is to say, variants of the aurochs: the African kind and its descendants (Bos taurus indicus) and the Indian kind and its descendants (Bos indicus). The western cow, Bos taurus, is another variant of the auroch but it seems it may also have had an effect on nowadays zebus forms through cross-breeding.
Because, of course.
I have to confess, I basically gave up trying to sort out the mess of information on the subject available on the web. I know biology is indeed always messy (and glorious) but I did not foresee politics entering the debate (though I probably should have, cattle farming is one of the world’s biggest industry after all). If any of you, dear reader, has any definitive and indisputably sourced and researched study on the subject of zebus’ origin and families, please let me know !
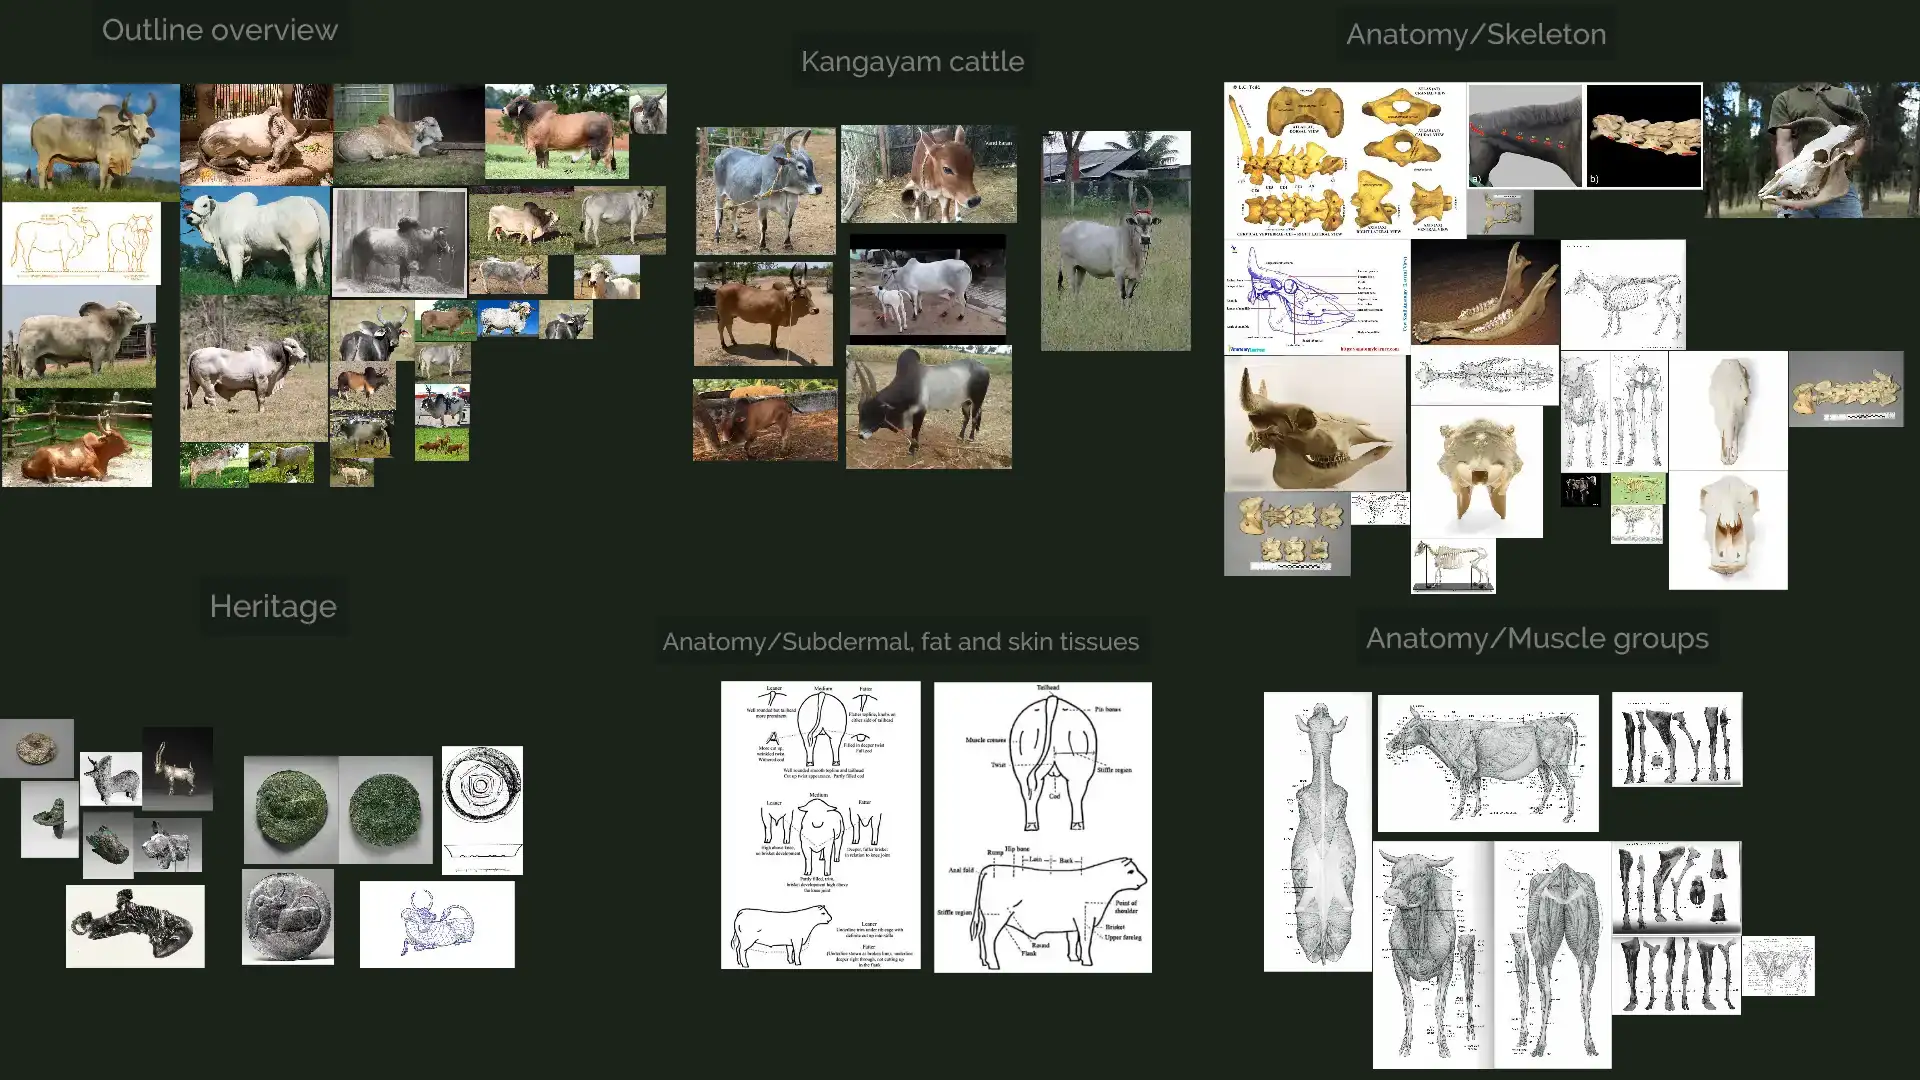
Because I know genus and species are a good determinant but not enough in most human-meddled animal cases, I need to settle on a more specific breed. Doing so allows for more specific references and more accurate description.
I will go for a Kangayam cow. Because I like them.
Now, full disclosure, don’t be fooled, dear reader, by the apparent decidedness of this assertion. It only happened late in the modelling process. For a long time, the zebu was of a “generic” kind, which is an issue because of the extreme variation the species presents.
Looking at the references I gathered, I noticed I favoured this breed more than others.
References studies
General flow and details
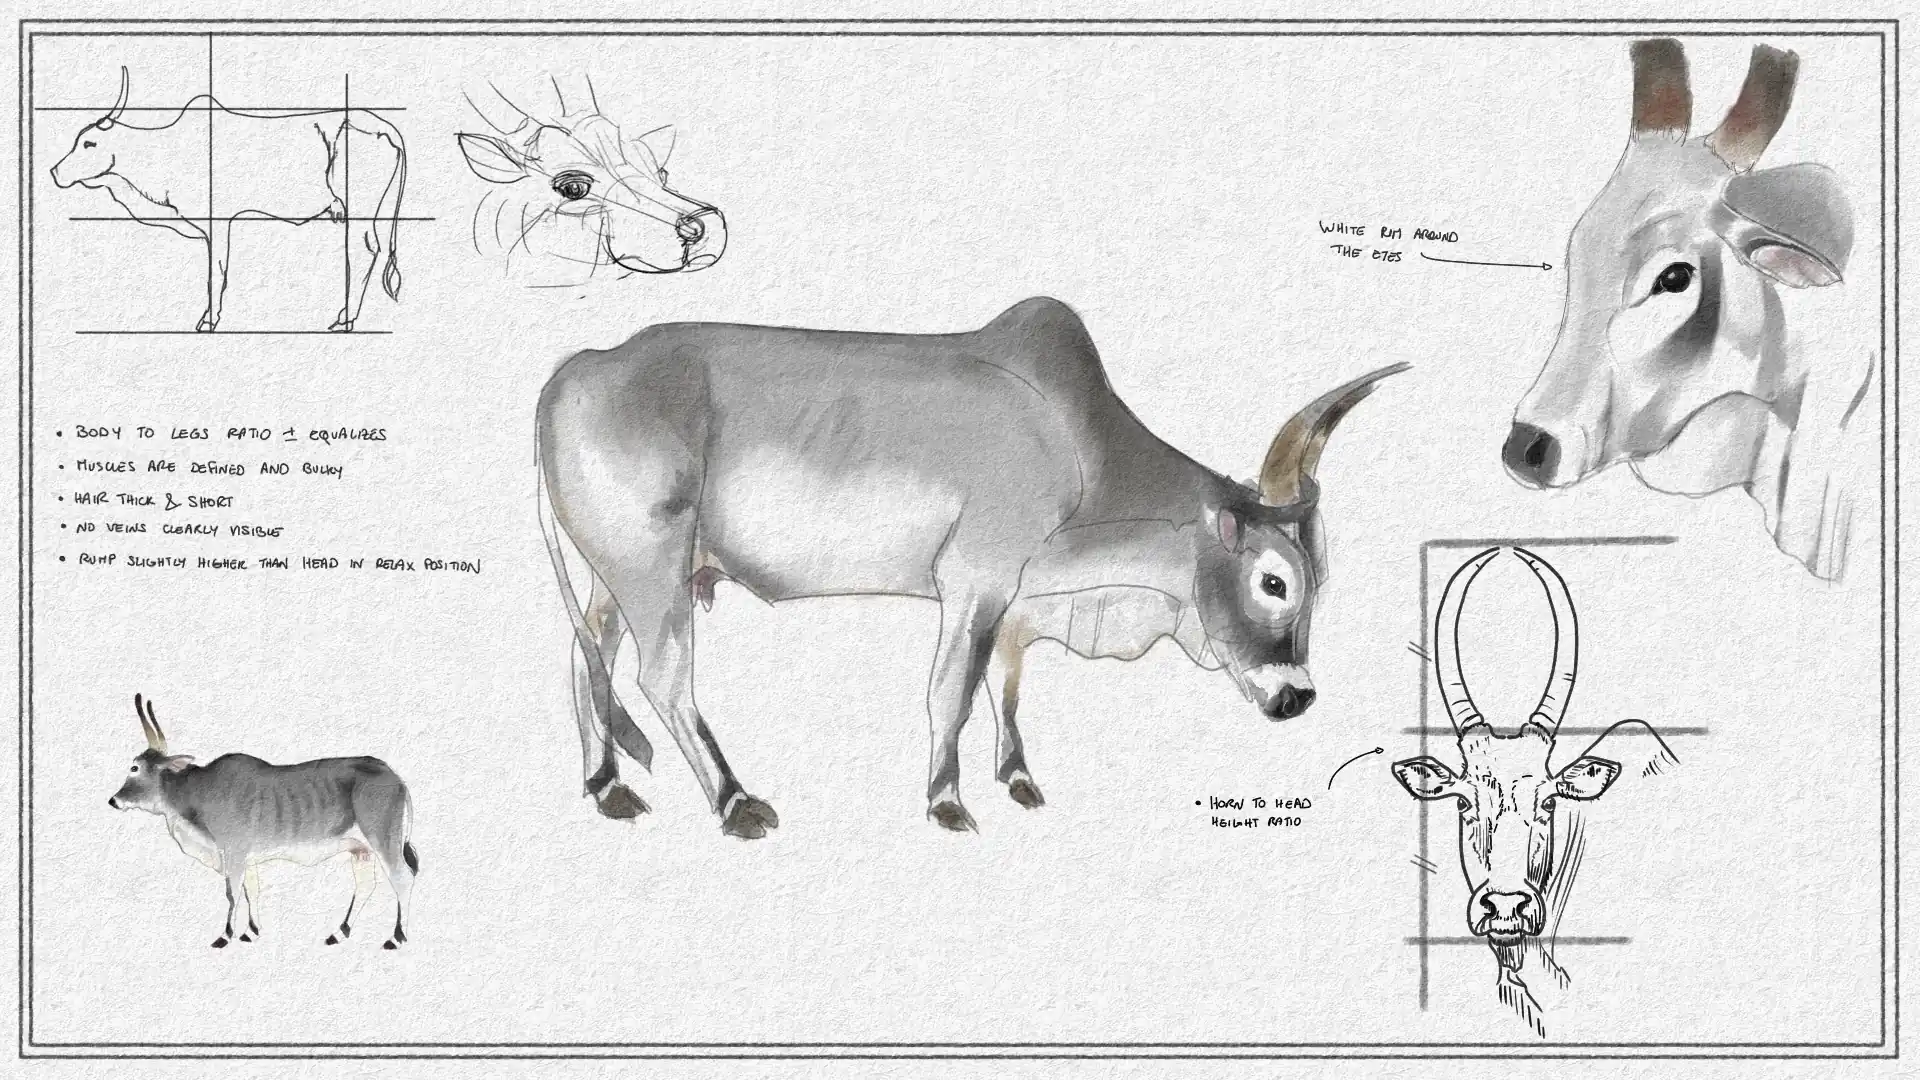
The idea there is to try to get a feel for the outline of the animal and how the planes flow from one another and create the silhouette. I know and understand this doesn’t seem to be the conventional approach to modelling but, so far, it has worked for me.
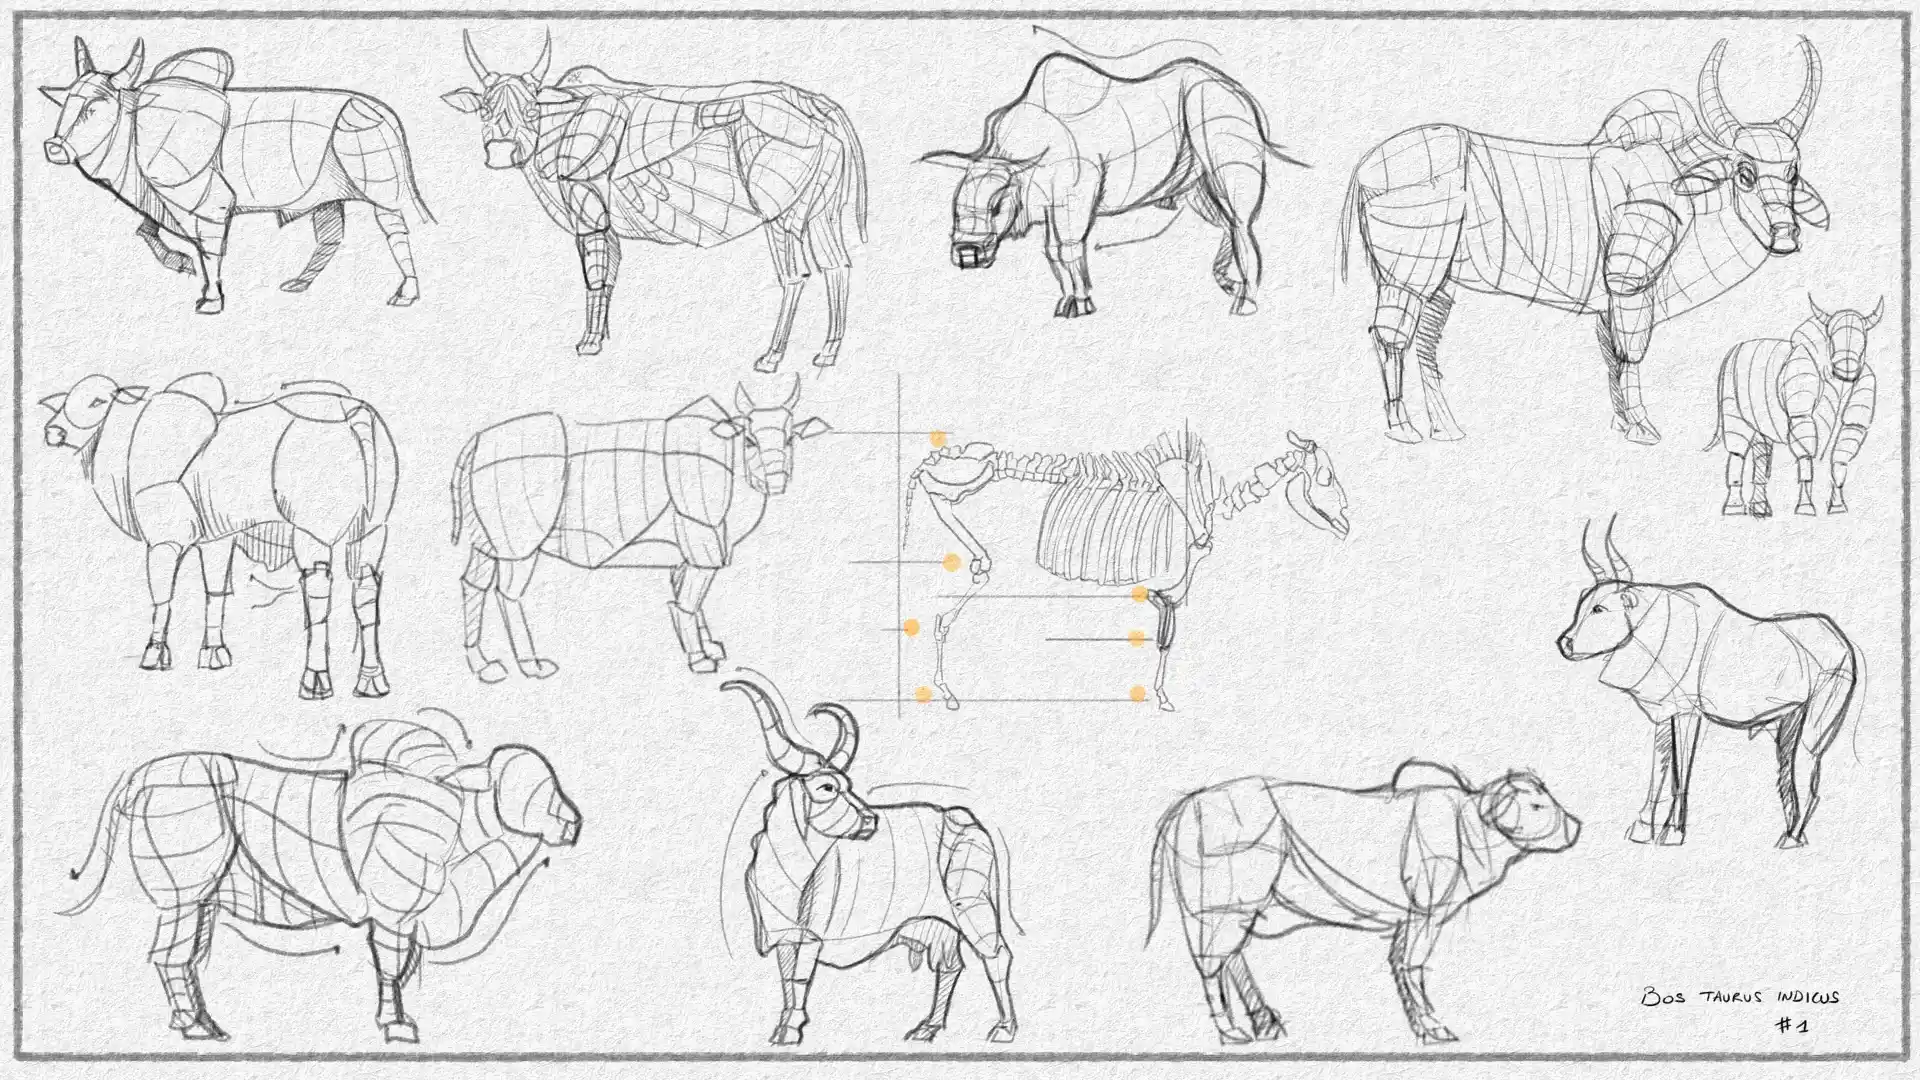
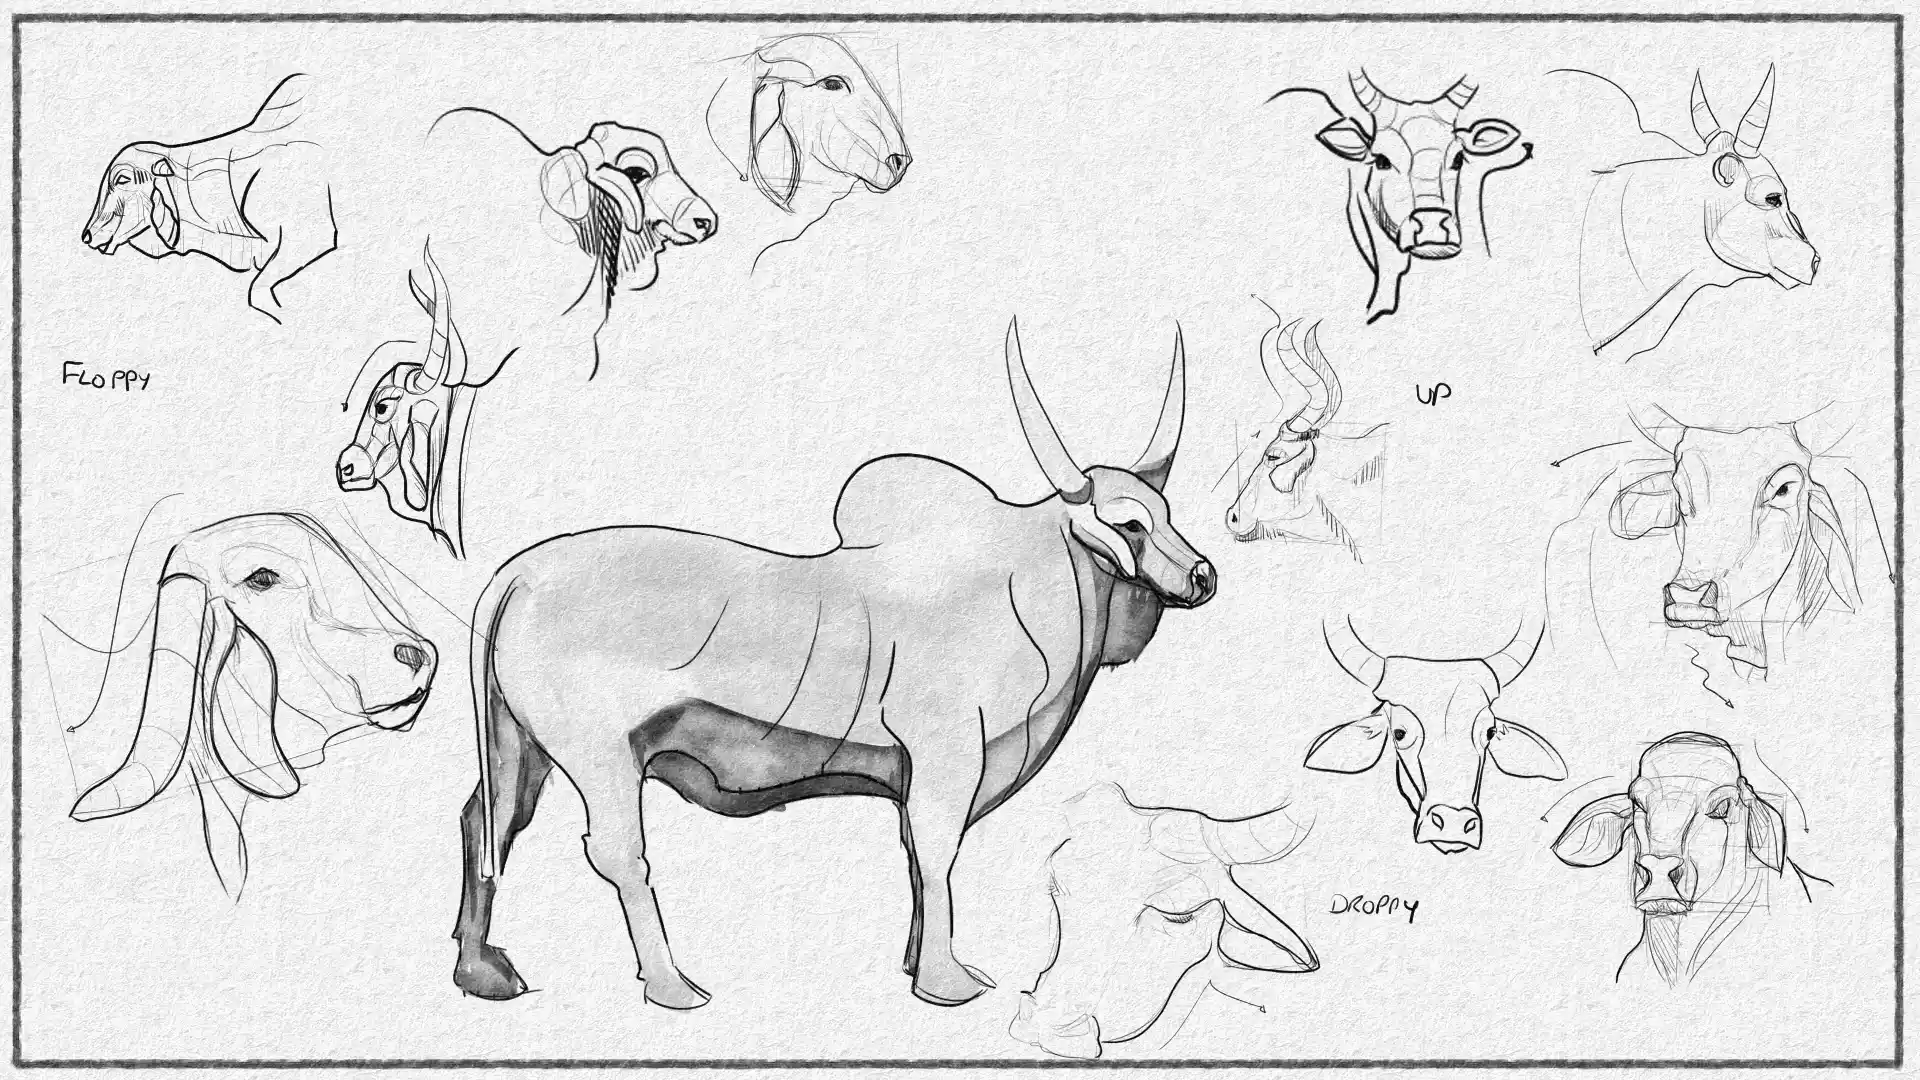
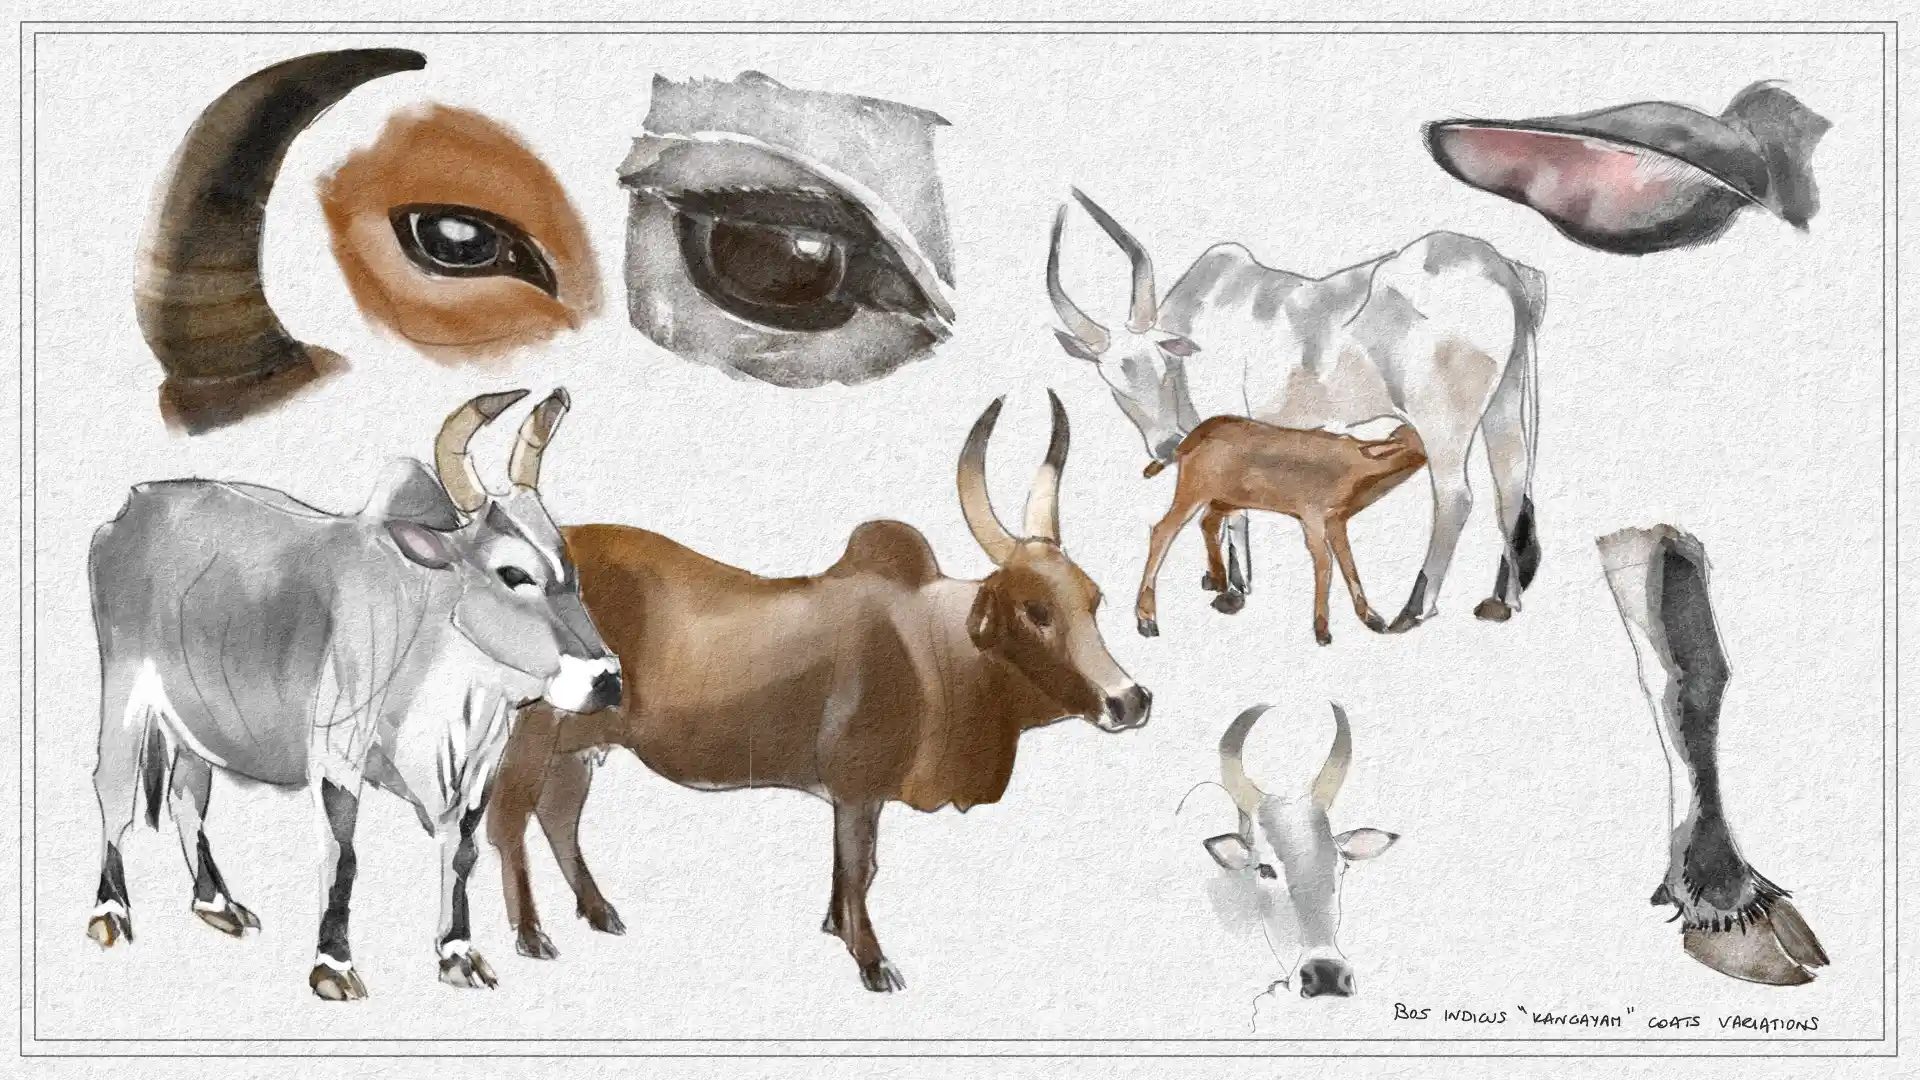
I spared you the bulk of the very bad drawings. I was aiming for a discovery of the shapes of the parts like the ears, horns, hooves etc. It will need some refinement and other studies later on. My aim at that point is to try to use these references onward to give a context and sense to the underlying anatomy.
Modelling a zebu
Disclaimer : this is an exercise, shown for documentation purposes only
First draft: what do I think they look like
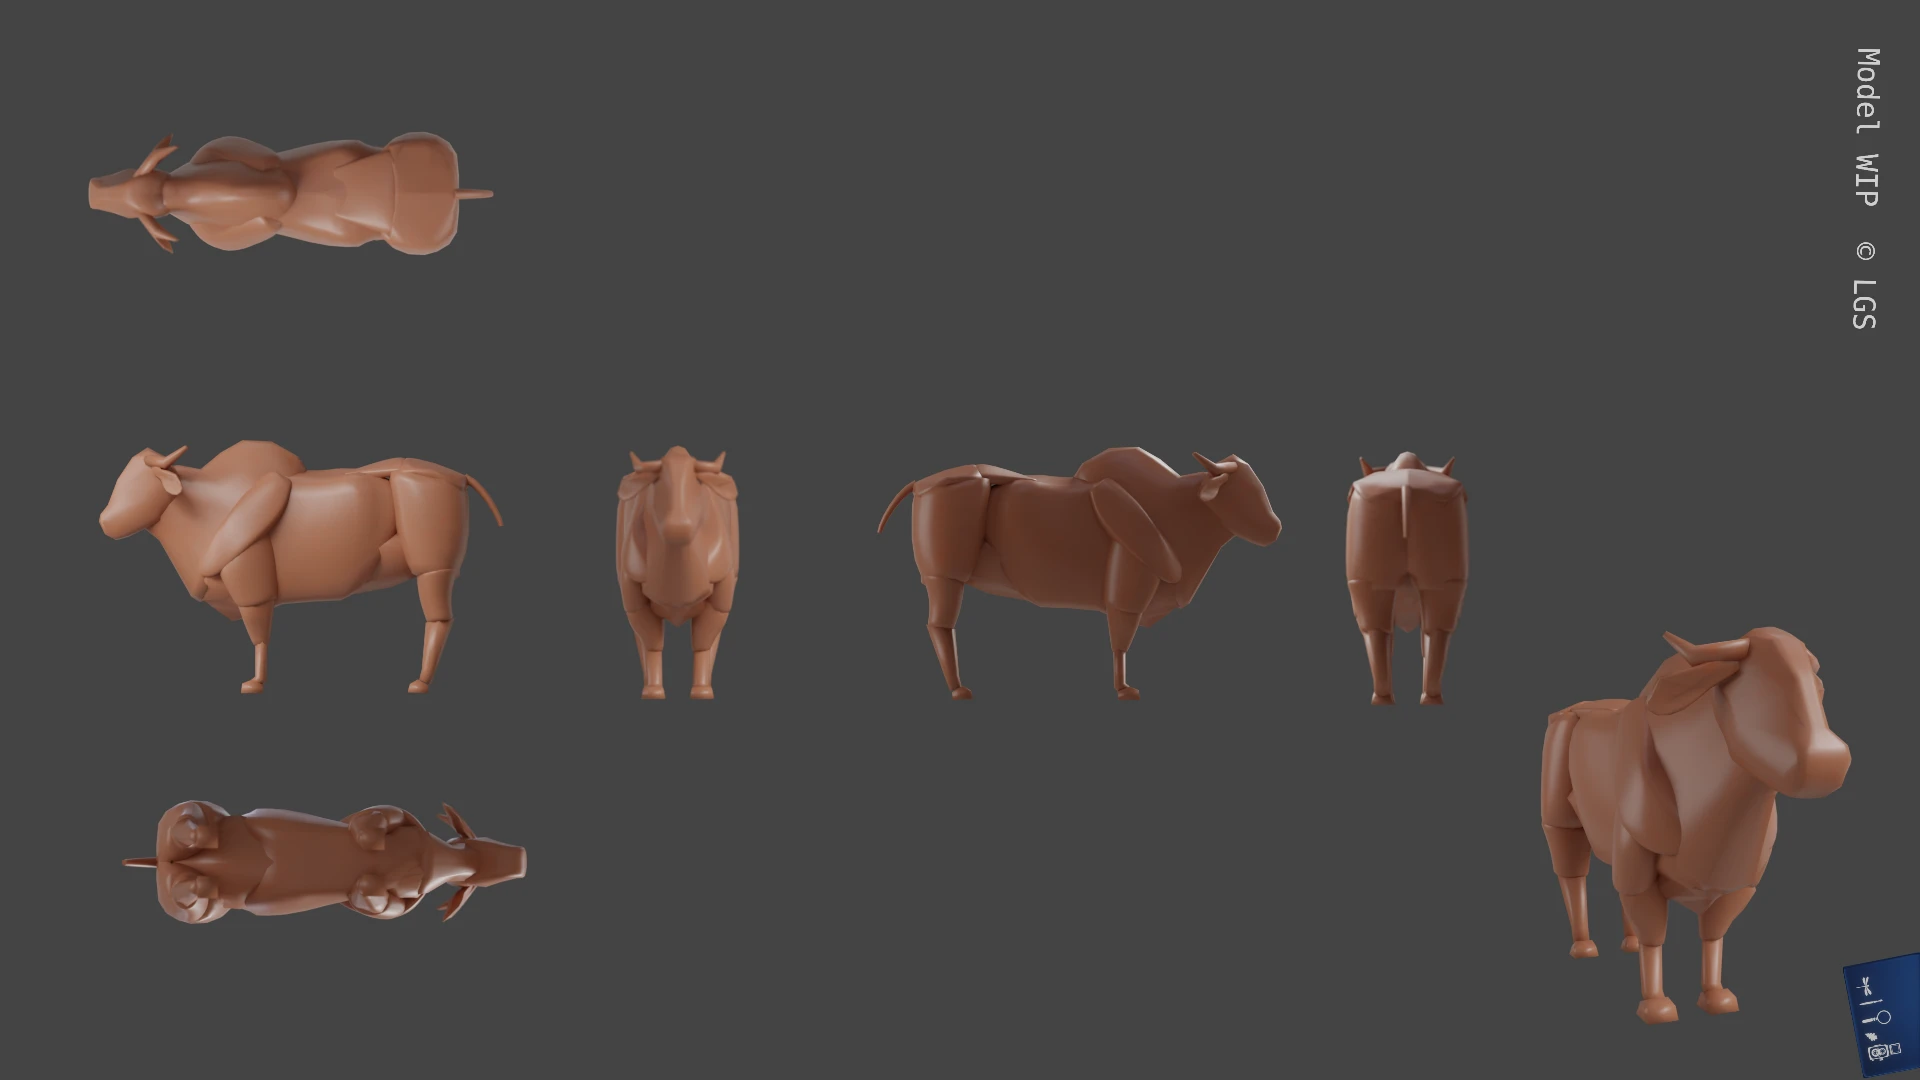
Once the overall sketches were done, I turned to the sculpted version of it.
Let’s start with a first volume blocking sculpt, to have a first step summary of what I’ve encountered. I used the quadruped model I created as a base and modified the proportions according to the preliminary sketches and studies.
Anatomy studies
Skeleton
Overview
Using bibliographic sources and online references, I was able to put together a seemingly relevant skeletal system. Fun fact, I could not find a specific anatomy model for zebus. But as we already mentioned, they are close to Bos taurus. The main interrogation I had was regarding the hump: authors do not seem to agree on what it is, mainly because it changes from subspecies to subspecies. I gathered, but I may be wrong, that it is mainly a muscle mass on slightly more prominent spinal bones.
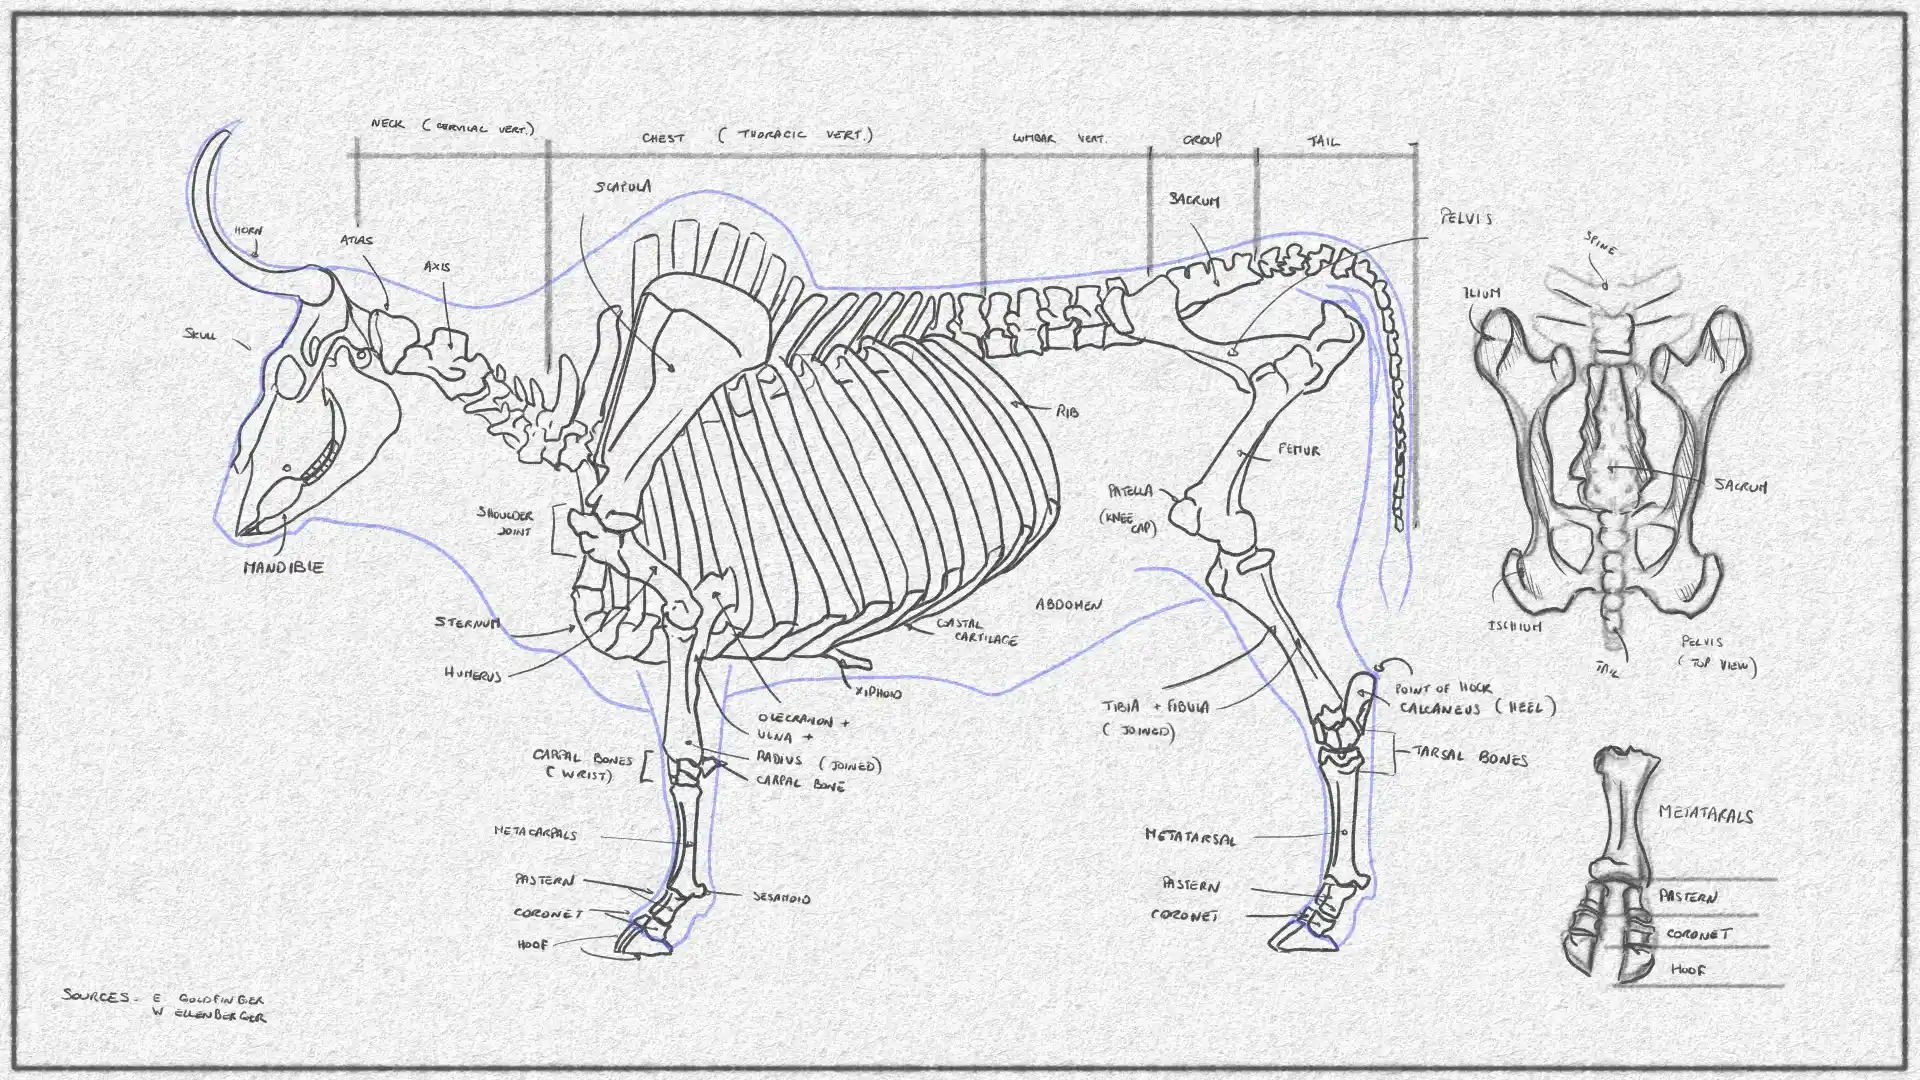
Modelling
I took it upon myself to try to model the limbs first, then the body. My thought process was that it was smaller thus easier for a start.
Full skeleton
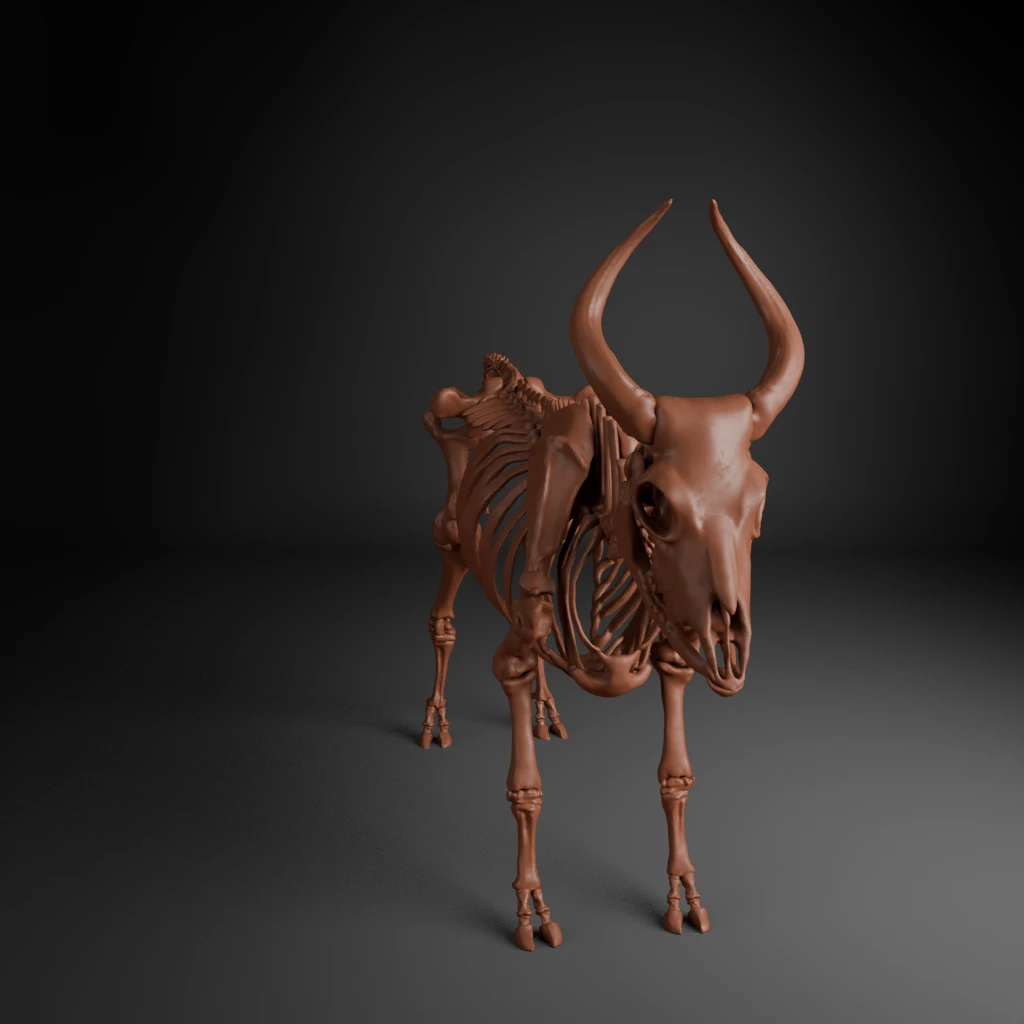
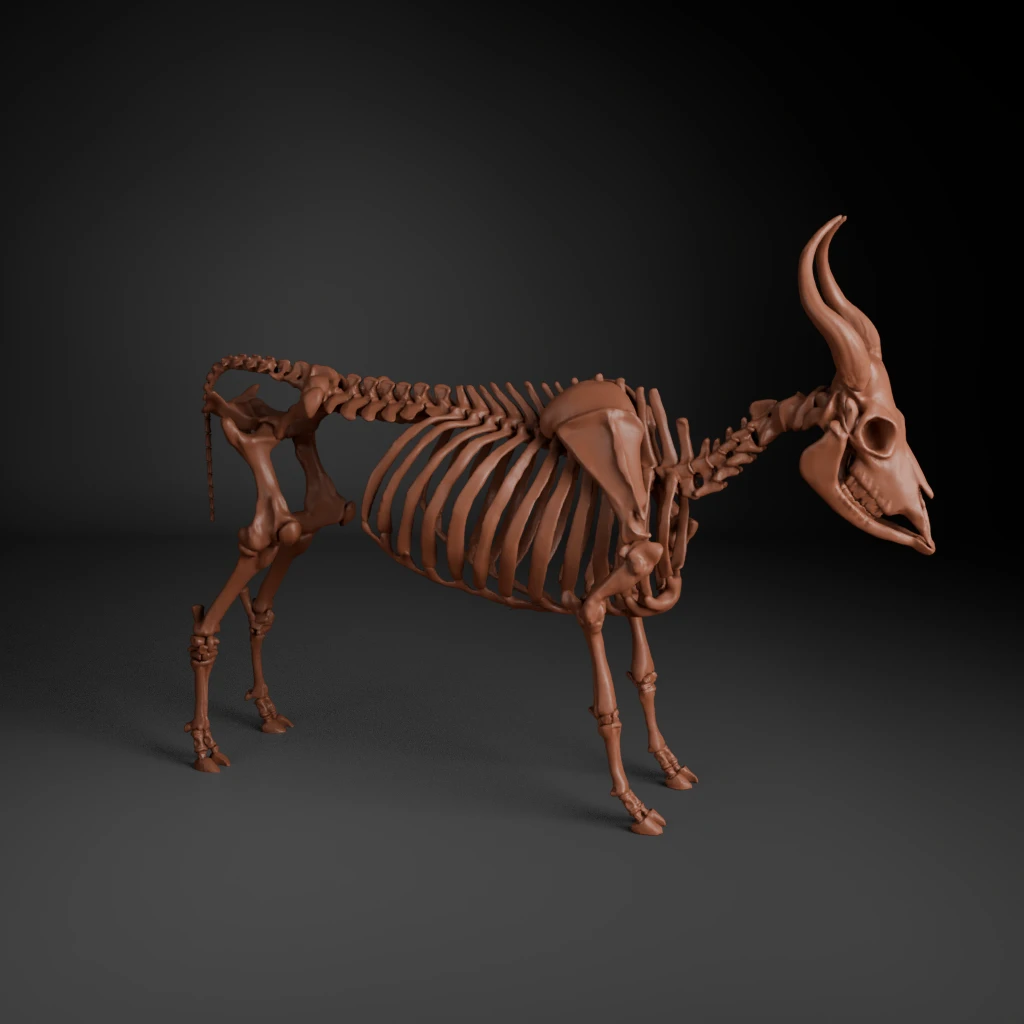
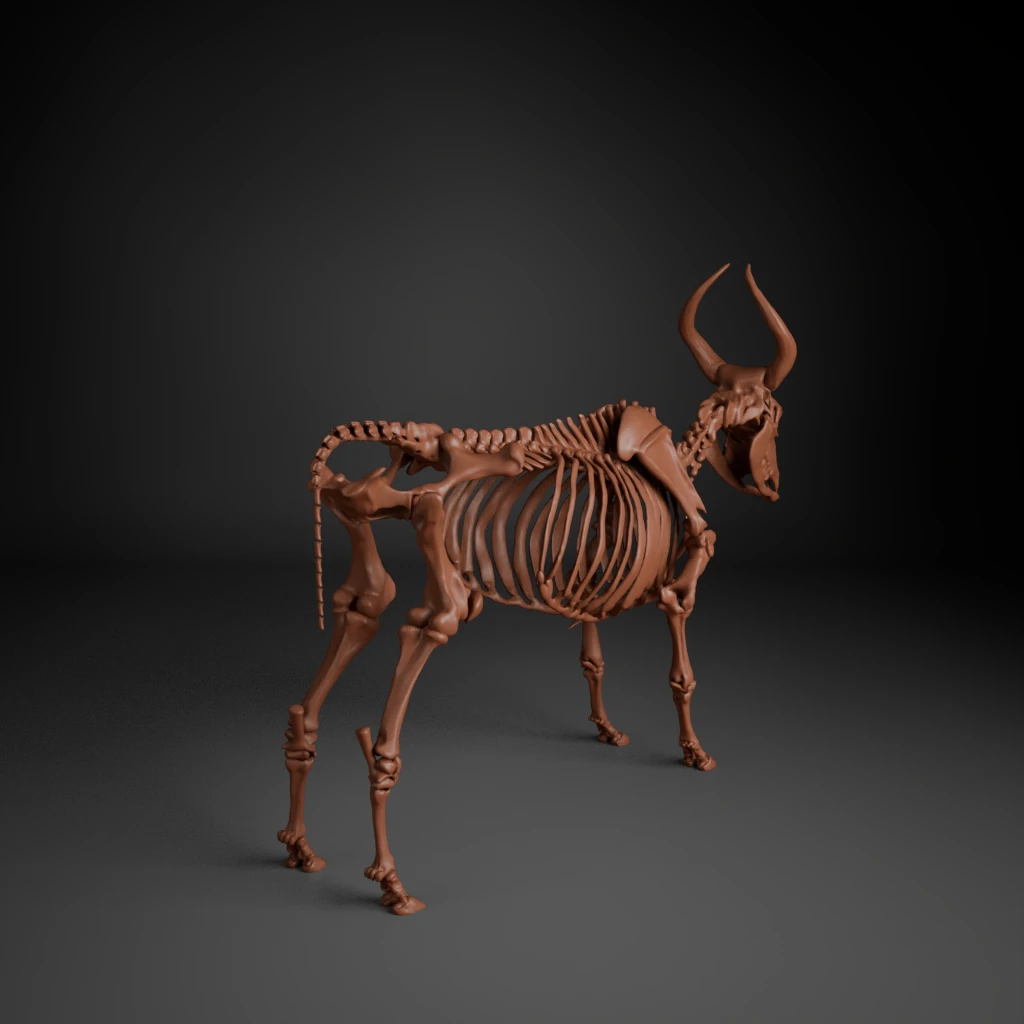
3D view of the skeleton
Disclaimer : technical limitation to material render in web app can let artefacts show, particularly in zoomed views.
See the full screen view (this will open a new tab in your browser).
Muscles and tendons
Overview
As before, the idea here is to get a reference for modelling.
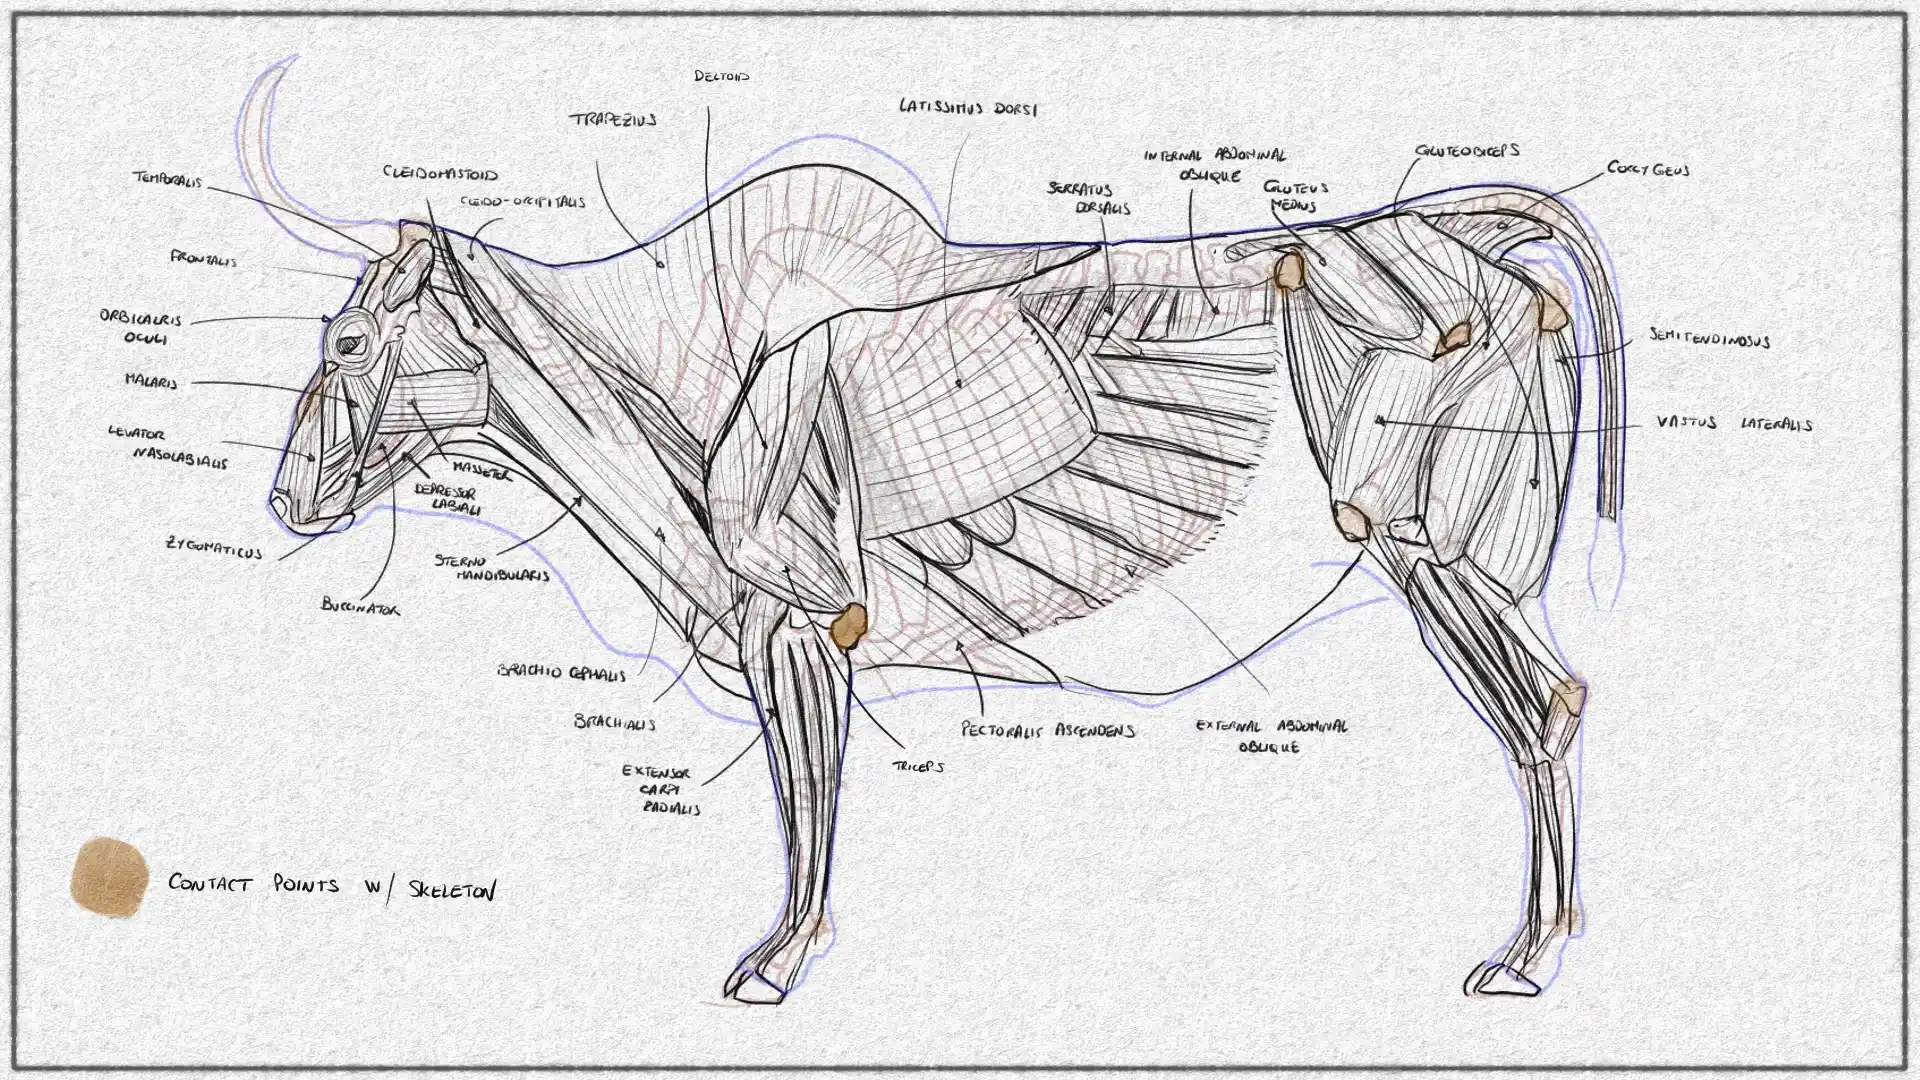
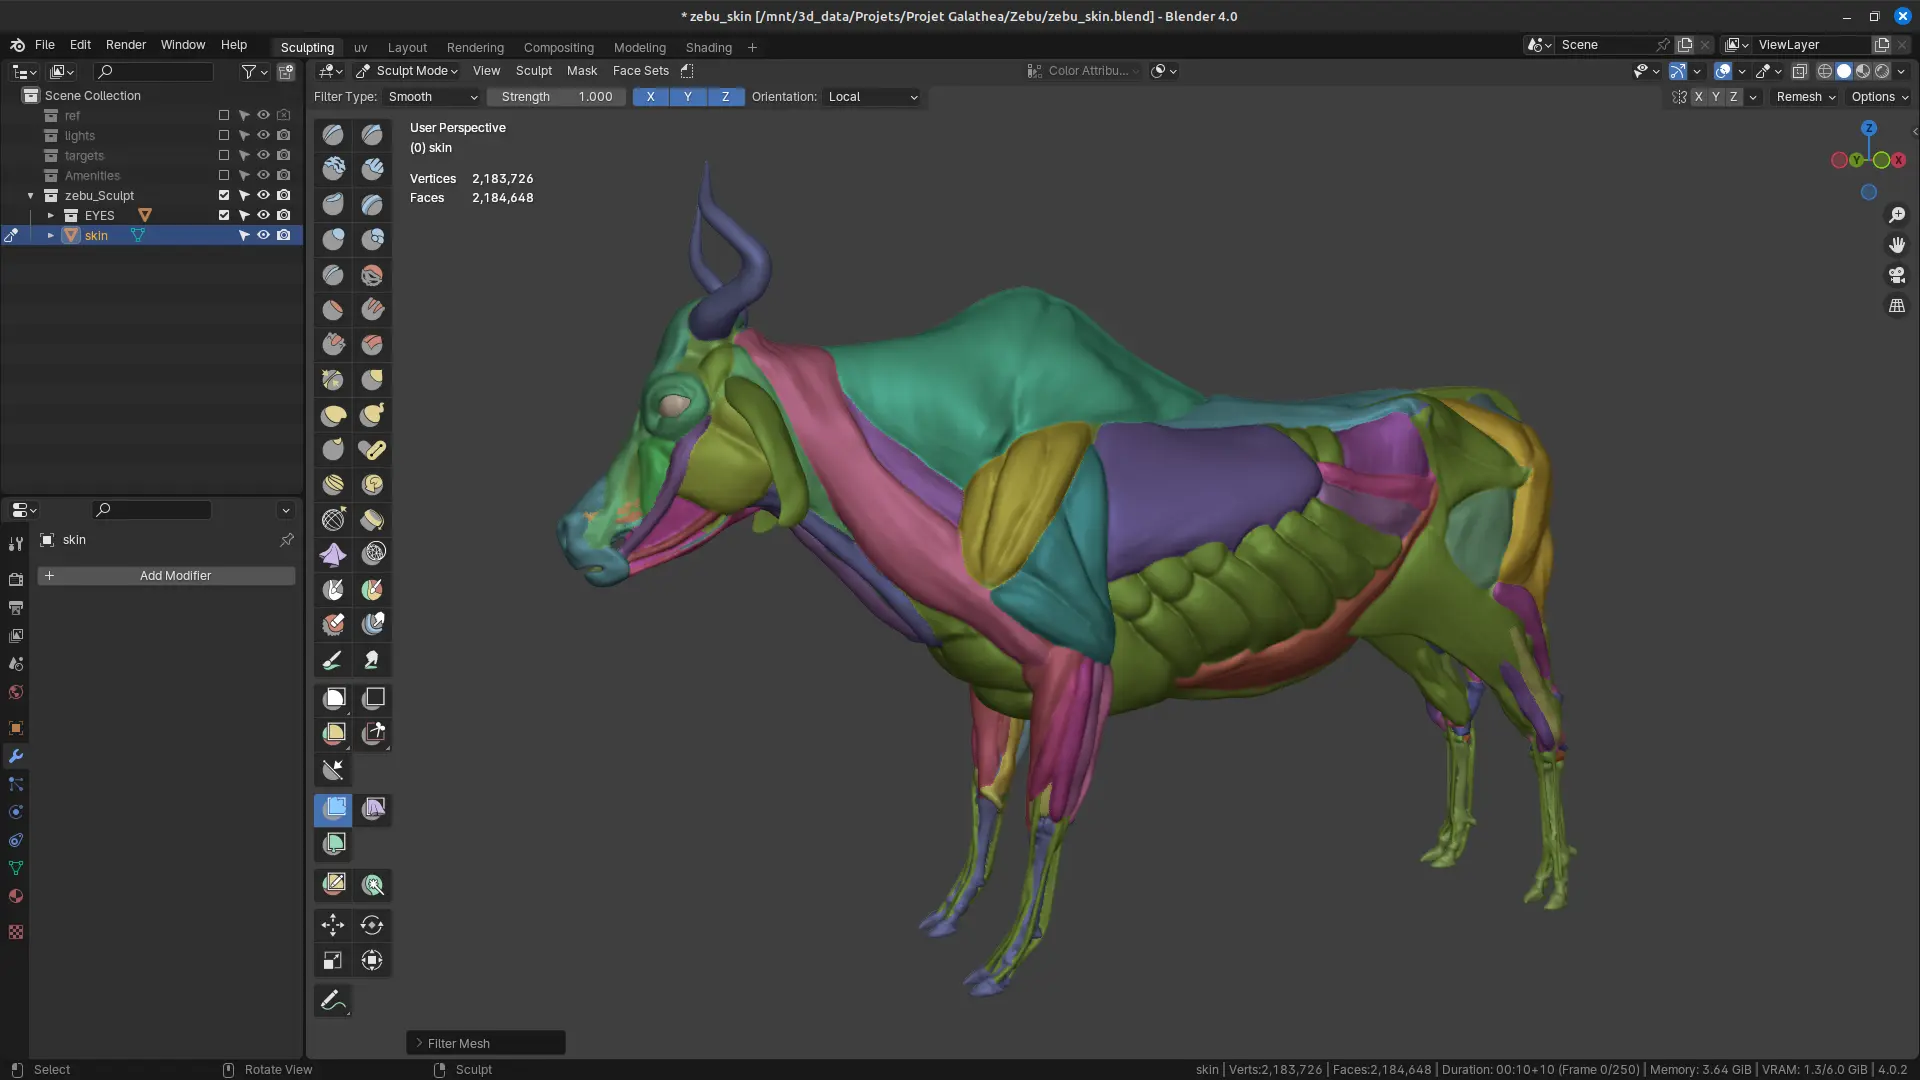
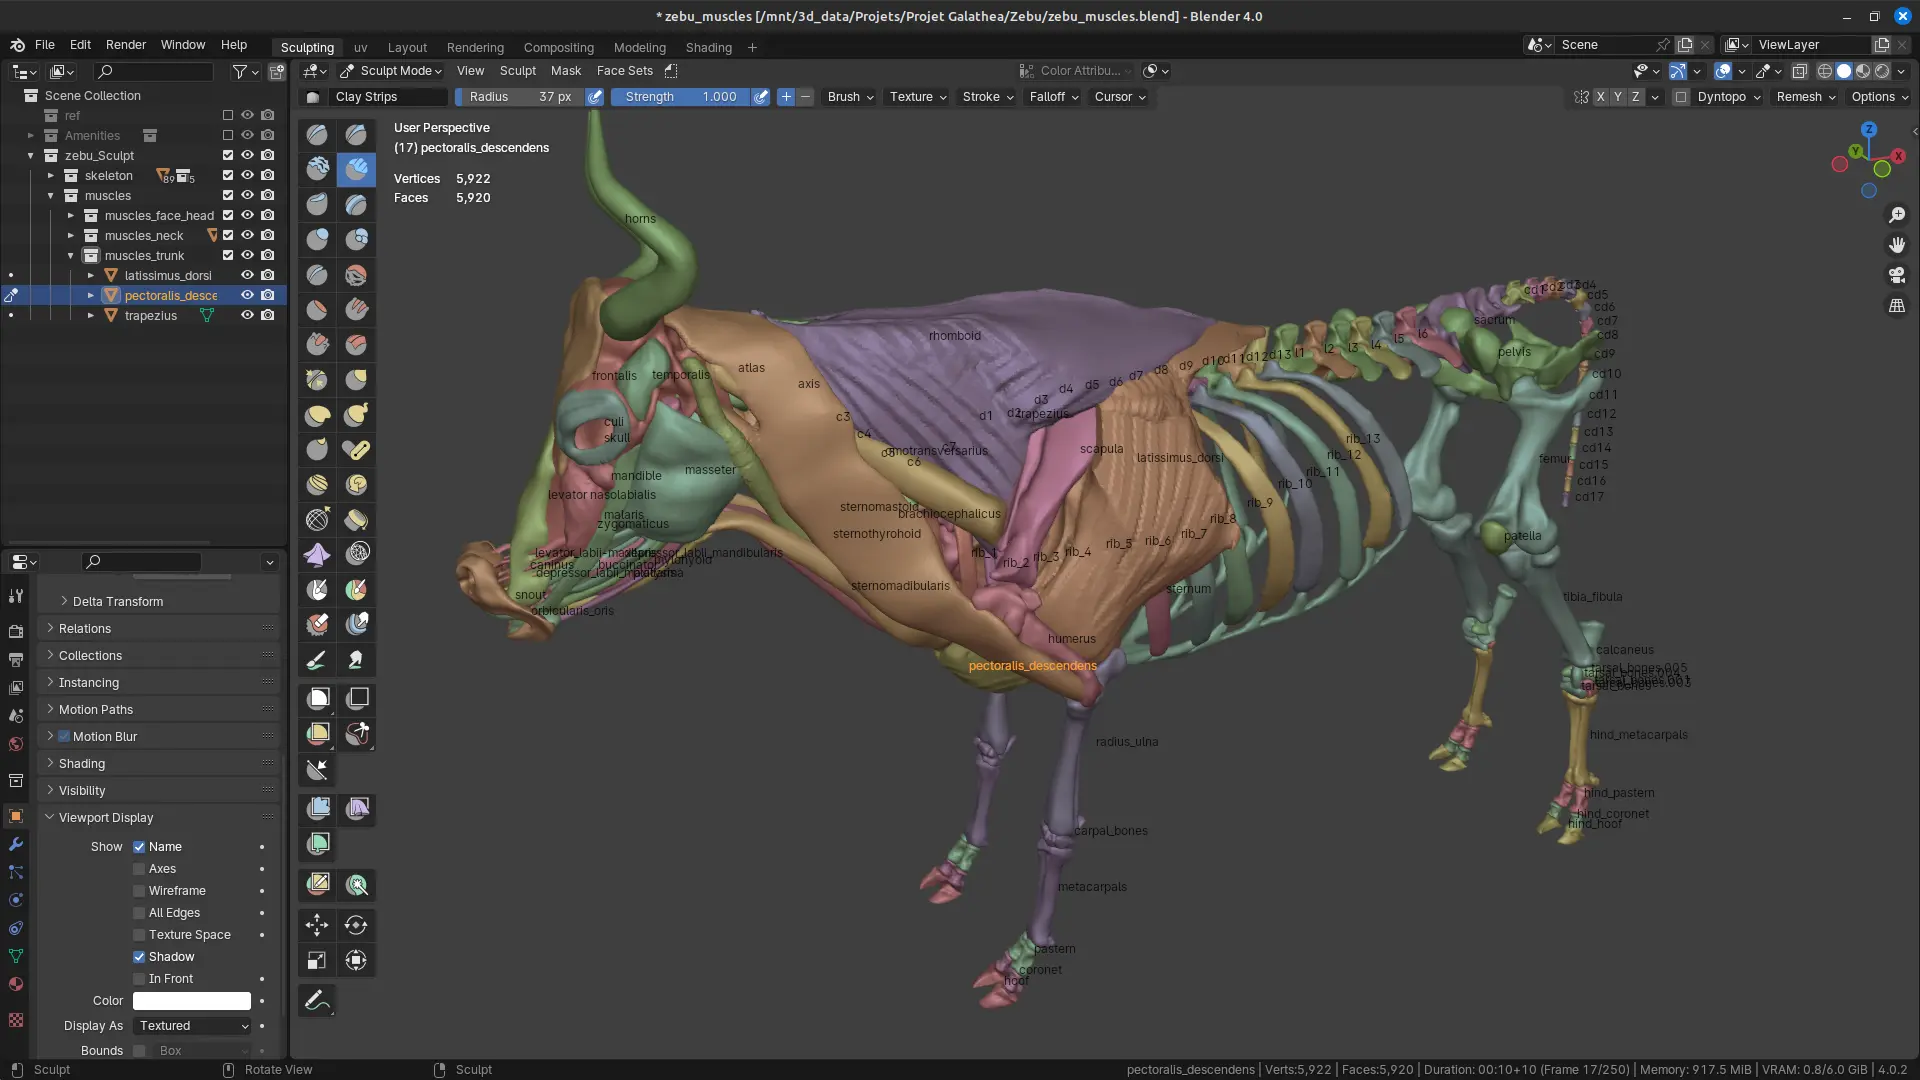
I intend to use the created skeleton as a base to put muscles on. The bones landmarks are used as guides. By “muscles” I mean muscles that will have an influence on the body shape once the outer tissues are put on (aka “anatomy for artists”).
There is one caveat, though: muscles have to be implanted precisely on bones or on themselves. That meant errors on the skeletal system will show. That is a good correction system, albeit a slightly depressing one !
The “alt+Q” shortcut to switch meshes while in sculpt mode in Blender was a lifesaver !
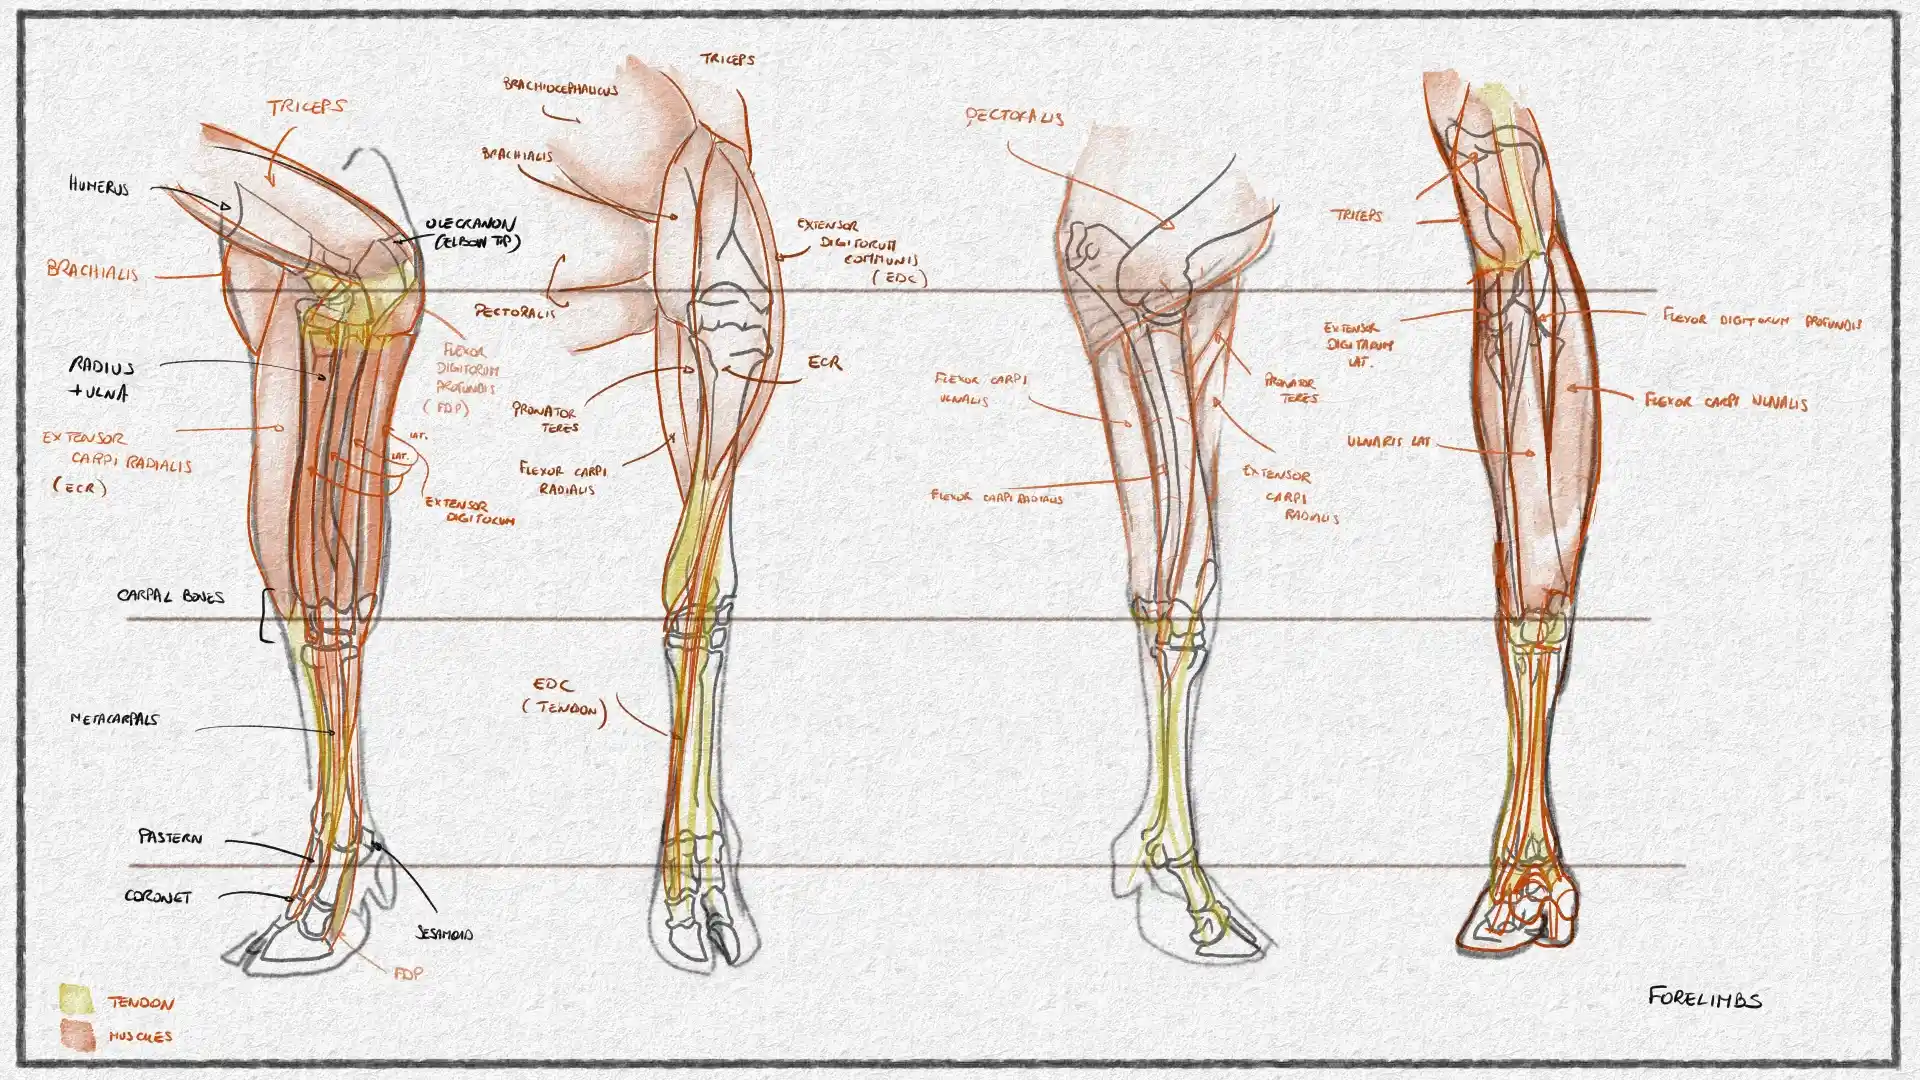
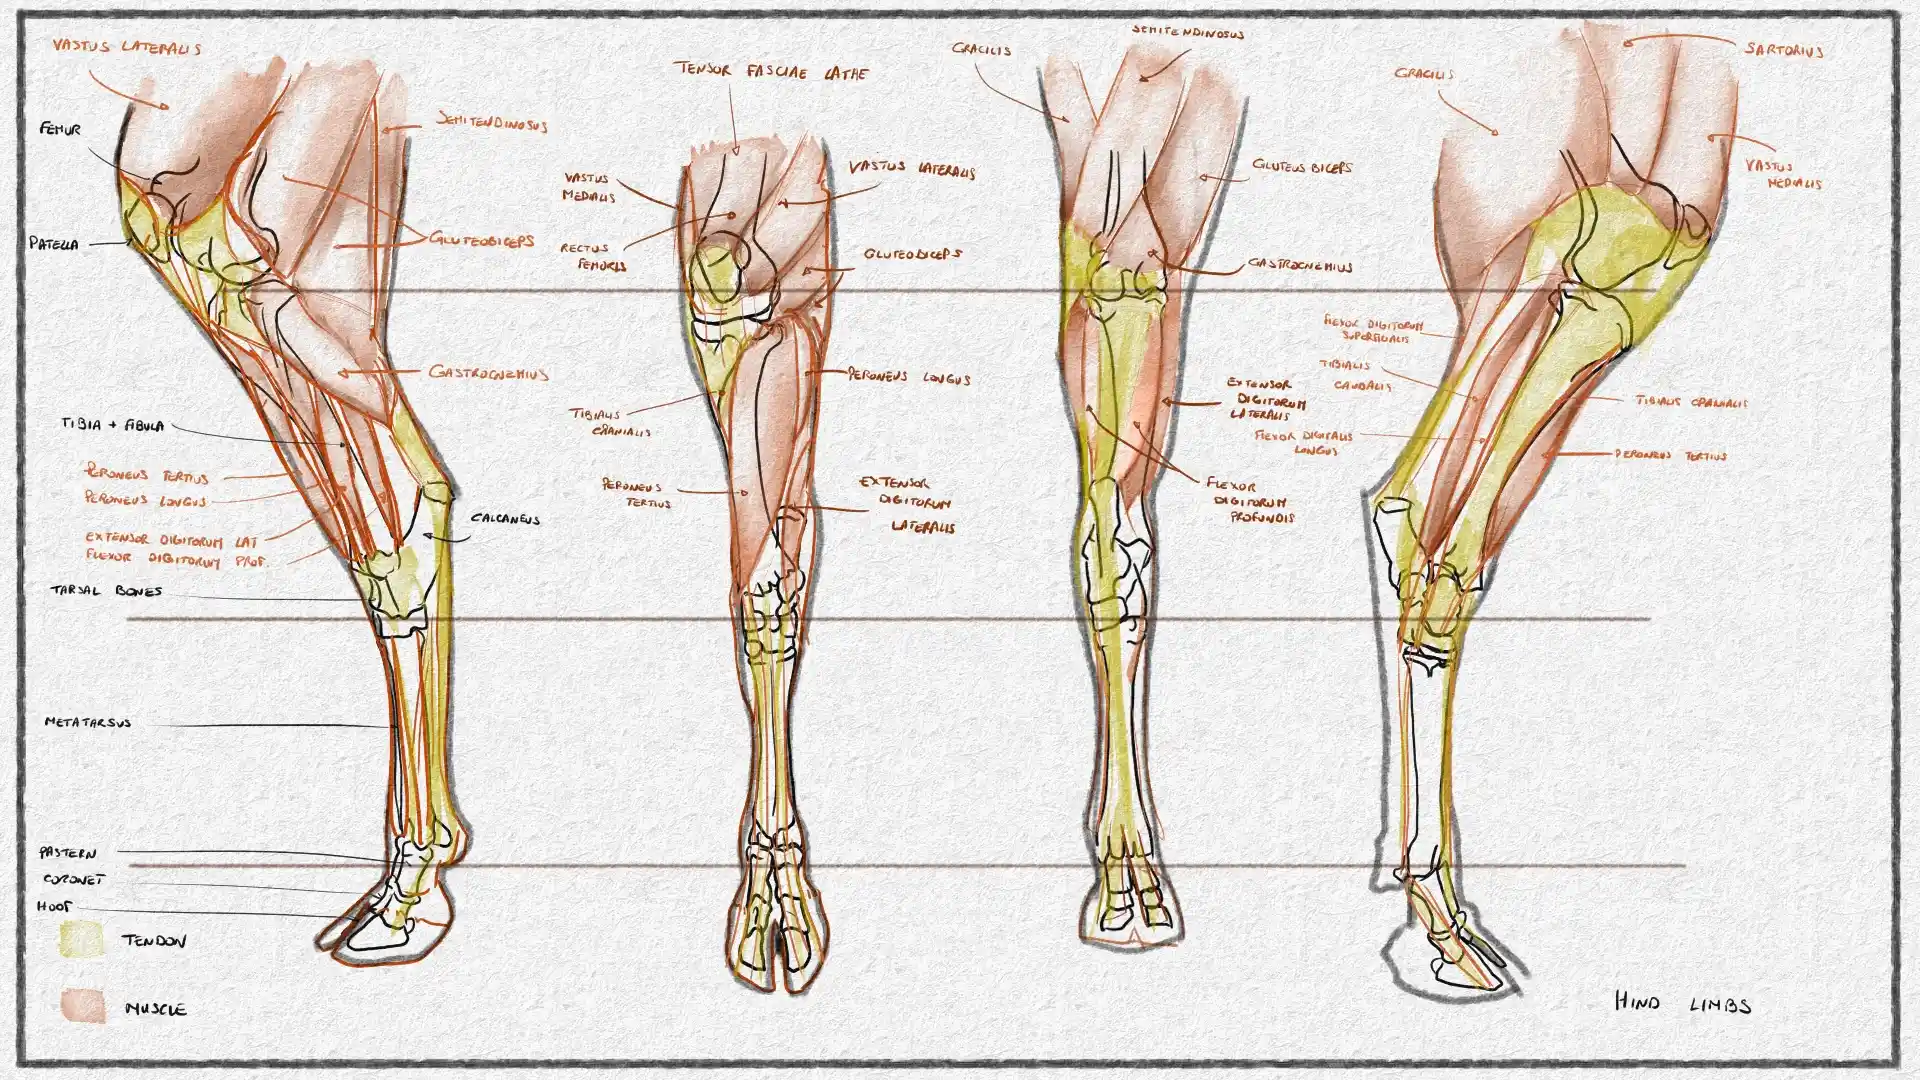
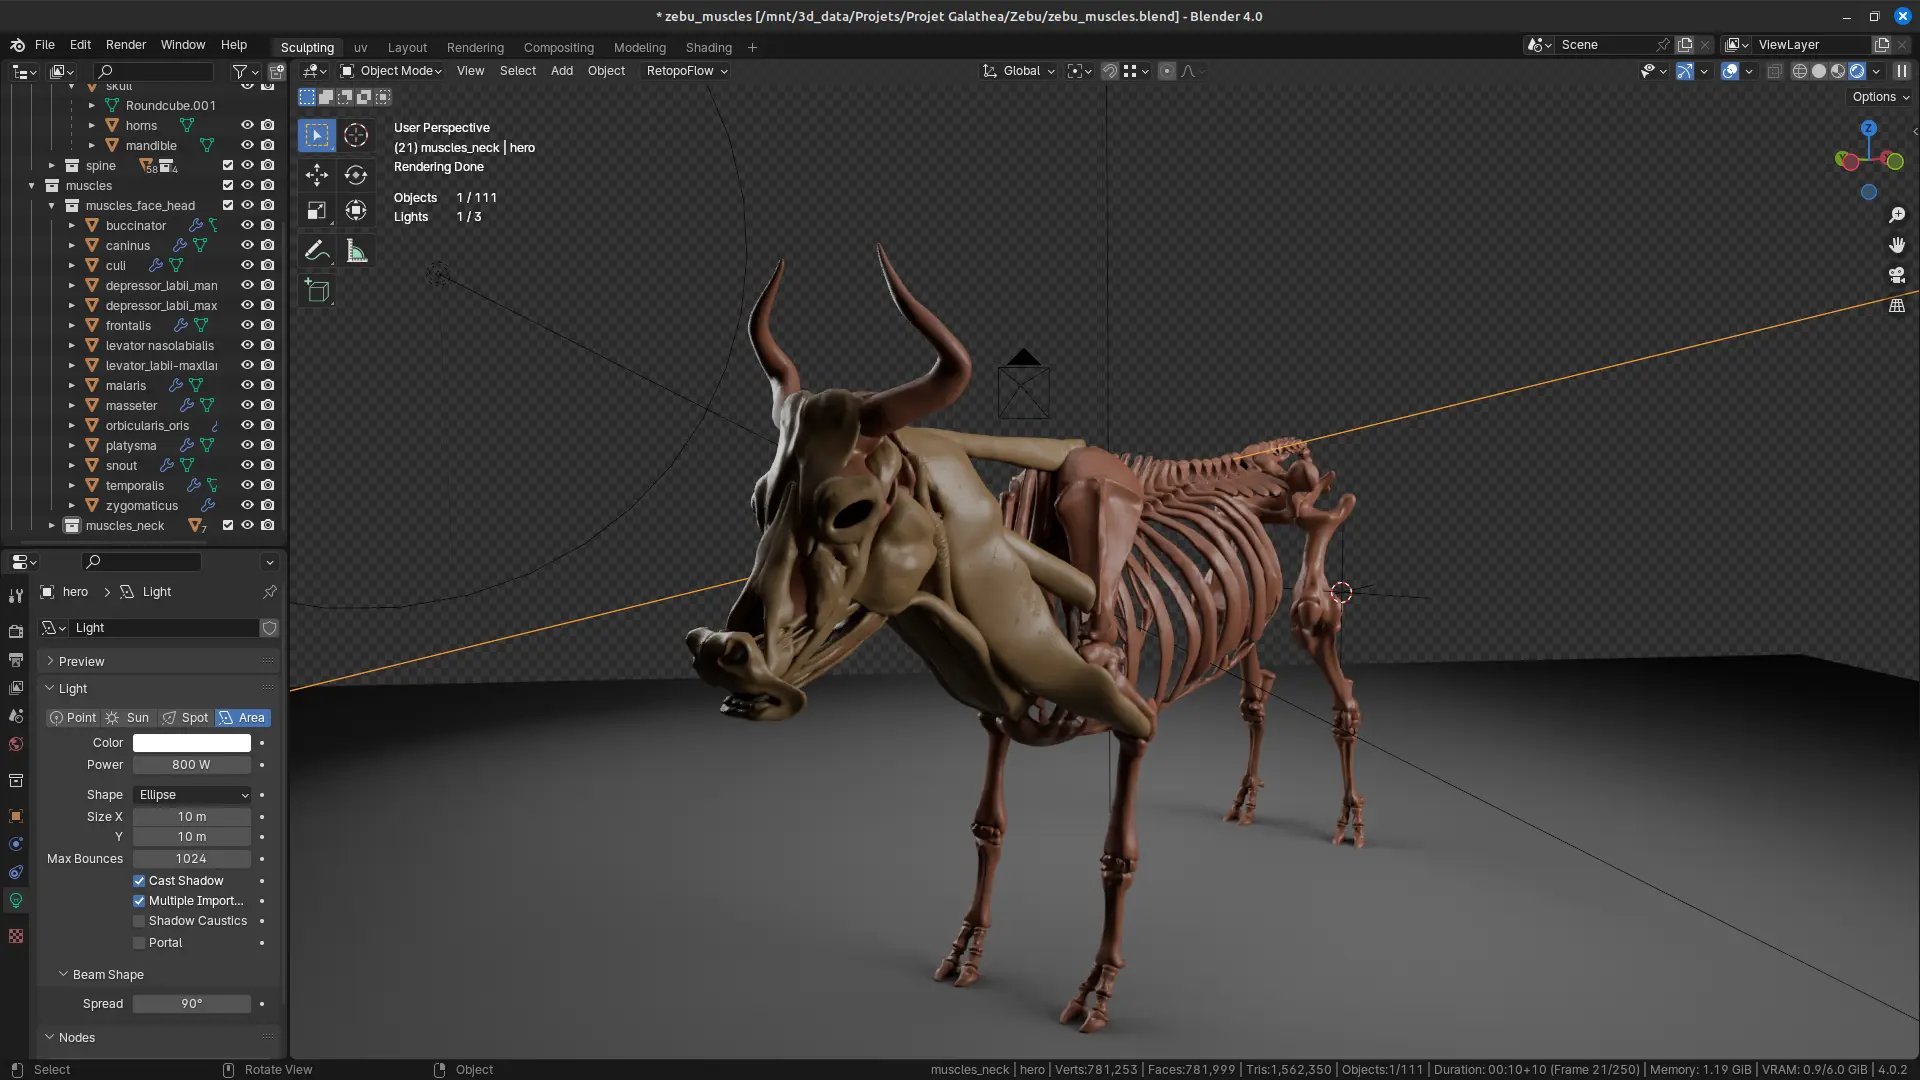
Full muscles system creation progression
Note 1: I kept on changing the shaders during this part of the project for different reasons. First, I needed to separate the bones from the muscles. Then I needed something that clearly let show the bumps and recesses, maybe emphasizing them so that I made sure the general outline was preserved. Finally, it needed to be unified to give the general outlook of the animal without the colours creating more prominent parts. I think only the model relief should do that.
Note 2: Horns and ears have been modified during the muscle modelling process too.
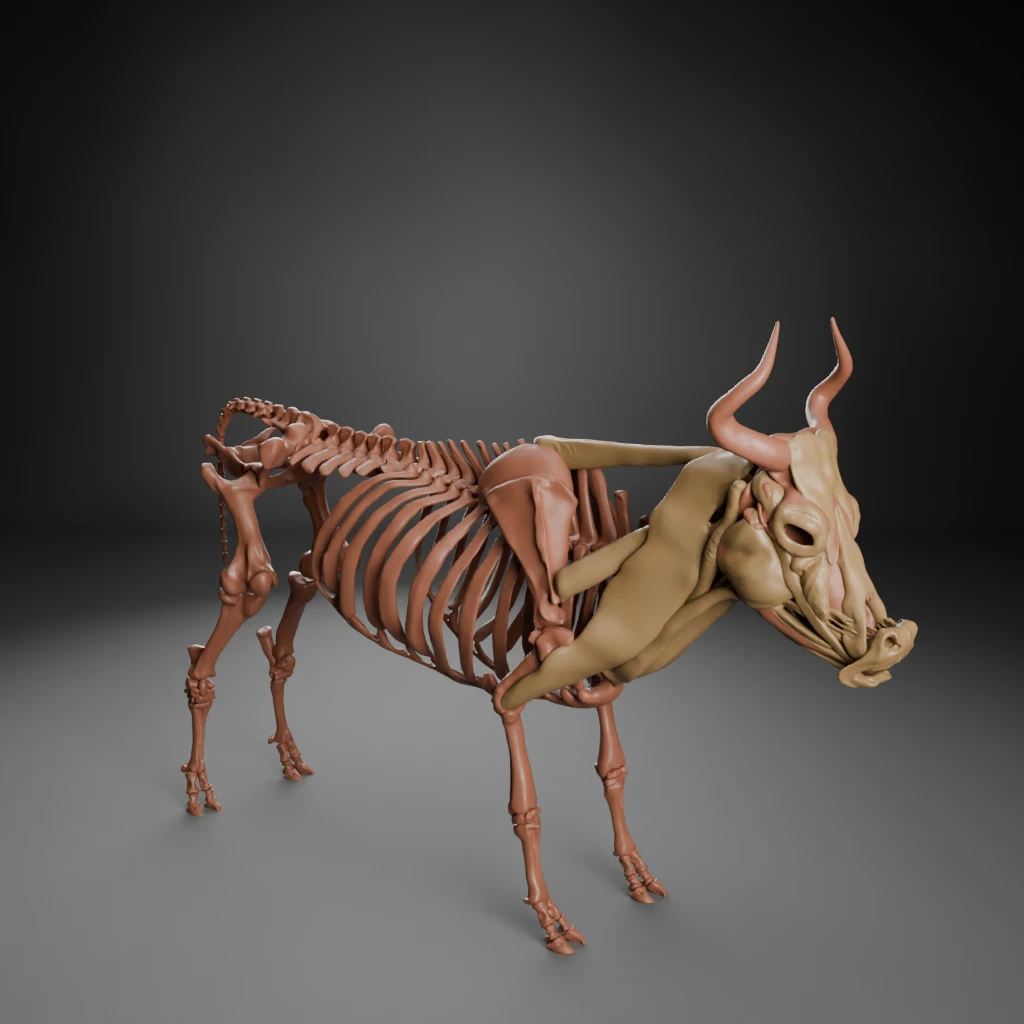
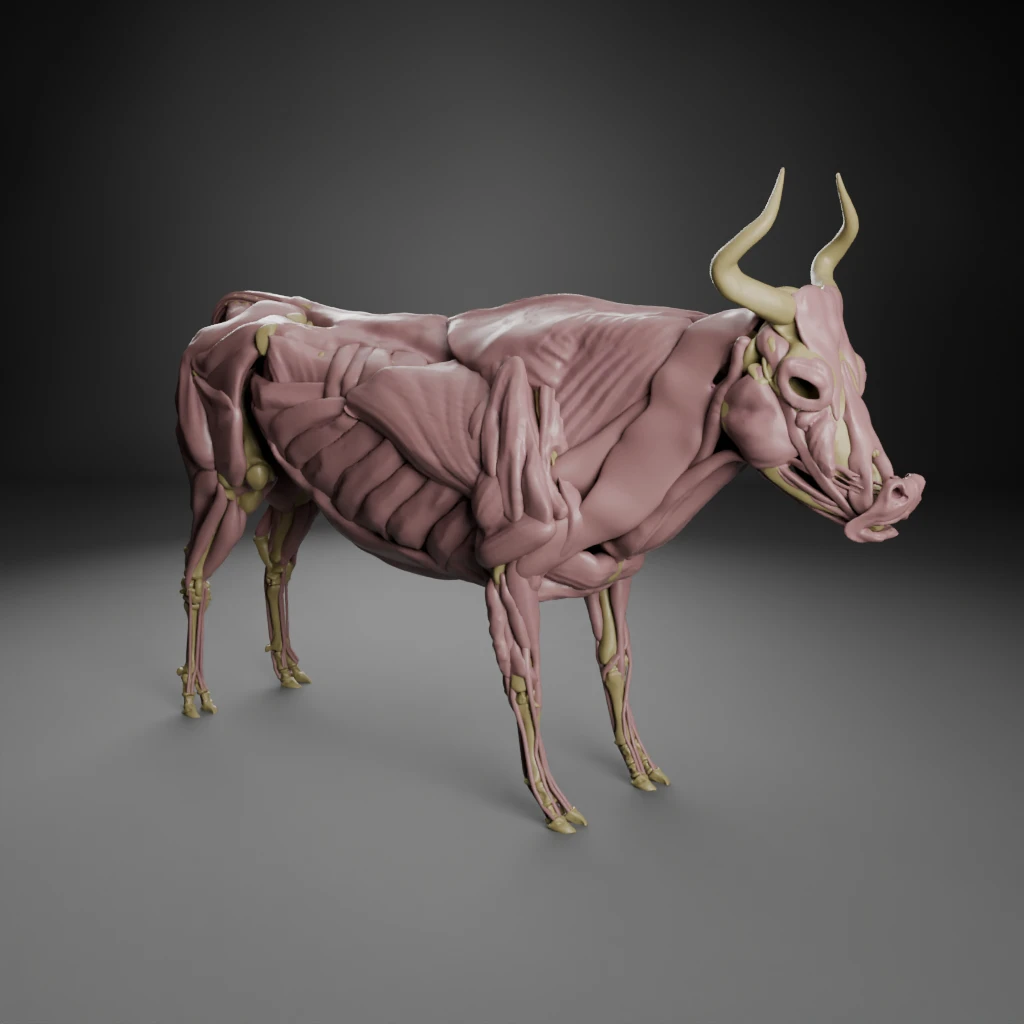
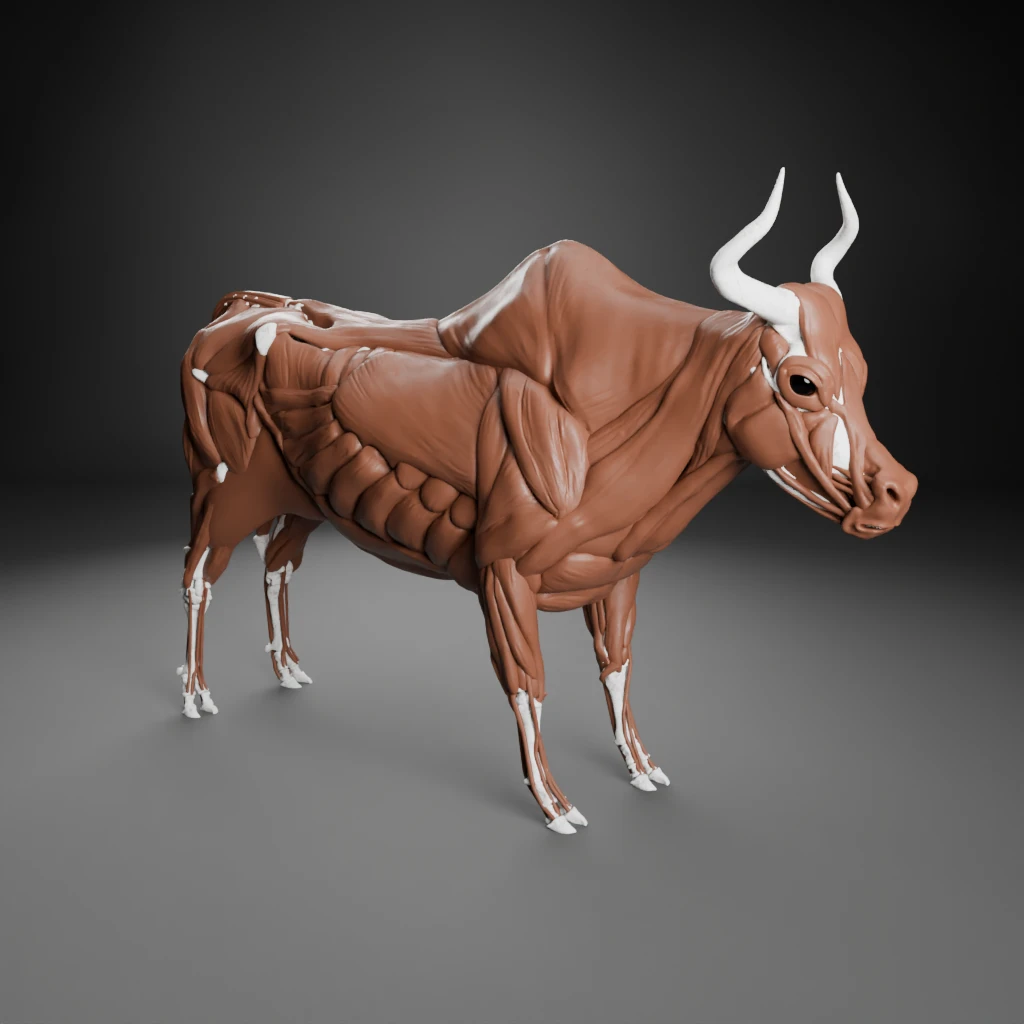
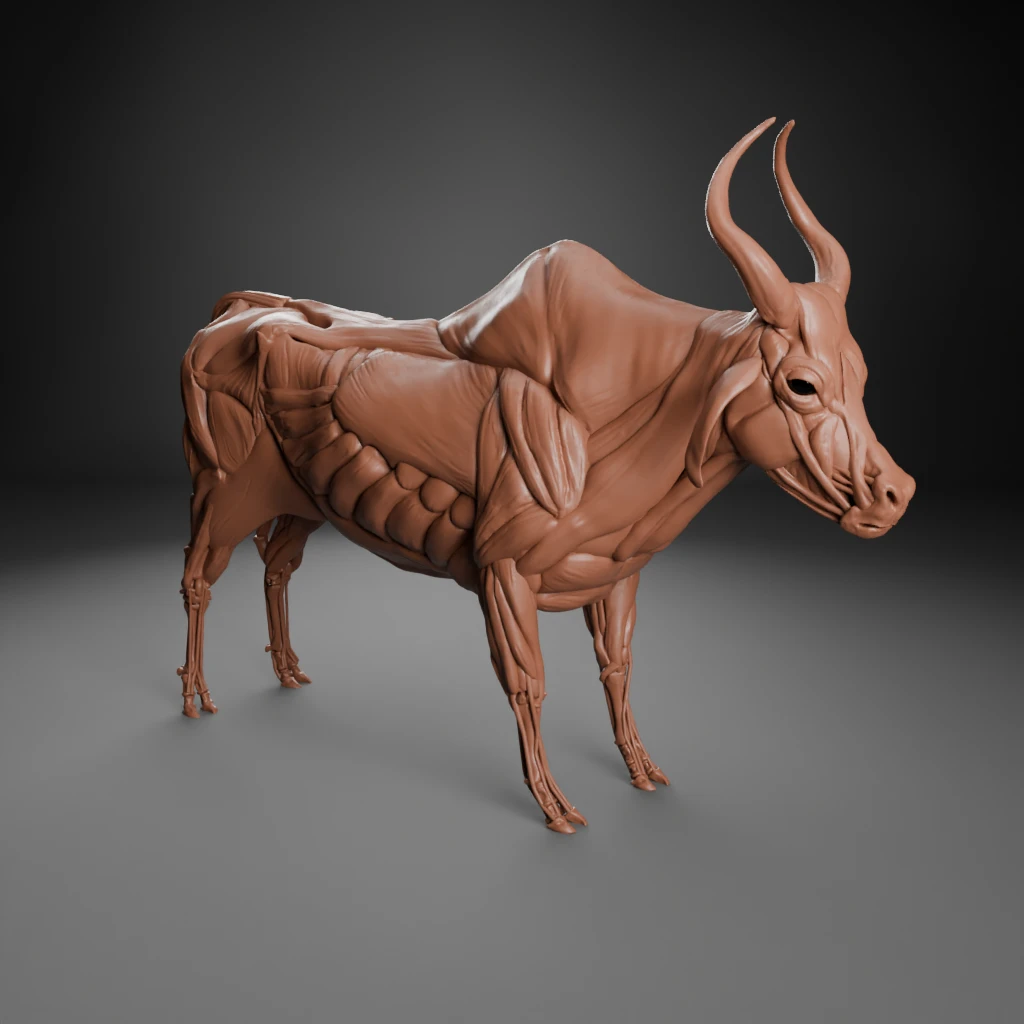
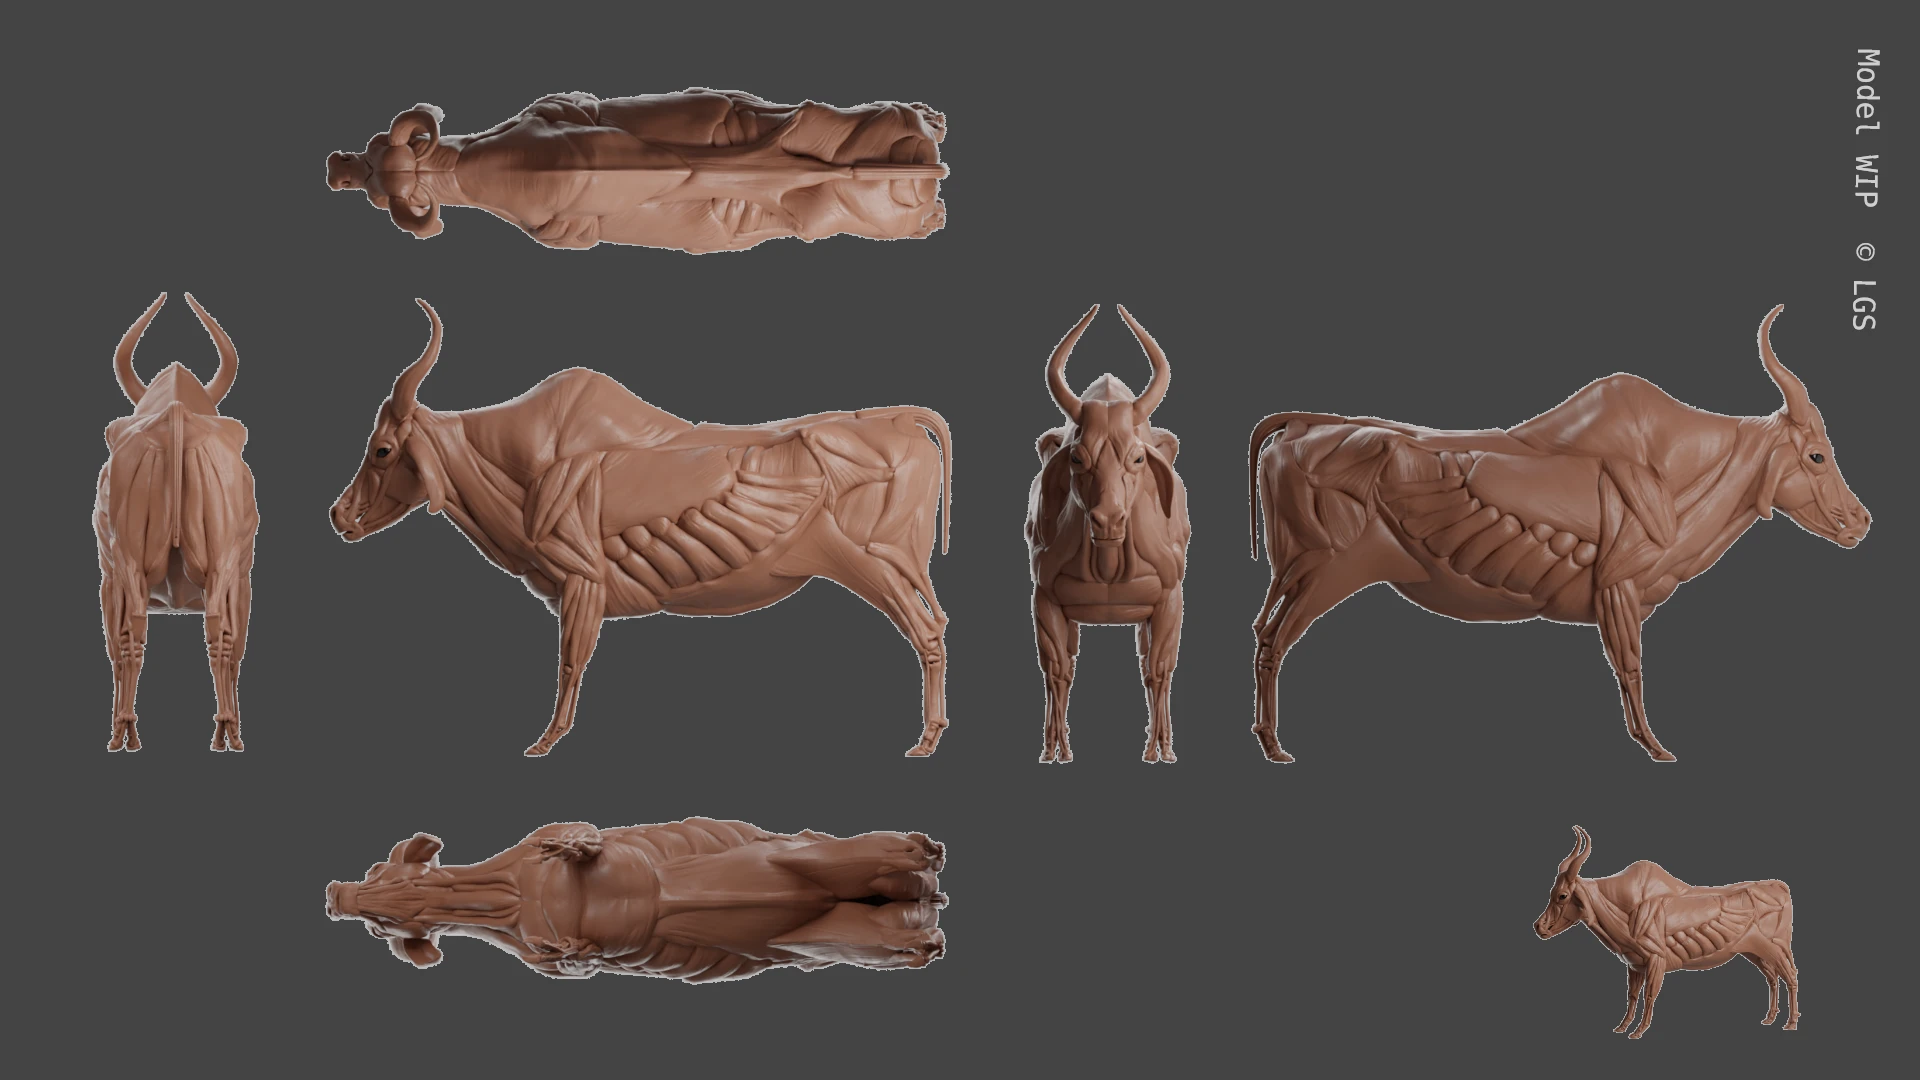
Here is the final result:
Skin, veins and fat layers: it’s all about tissues
I have read many times on modelling animals that one must be cautious with skin layers and never forget there are others tissues layers before the epithelial one. Because this is not a veterinary model, I can restrain their scope to what is / can be seen. That means essentially connective tissues, mainly fat and fibrous tissues with the occasional veins.
It is astonishingly difficult to find references for that when one has no access to a specialized library or online access-restrained database. I naively thought because cattle is so well studied, that would be easier. I must also immediately add that, of course, field study (literally) may have solved much of my interrogations. But one cannot rent a model zebu when none are available close by. I asked.
There are a few easily accessible resources, such as this study of placement and composition of fatty tissues in cattle like breeds. I found that state funded agricultural organizations usually have interesting documents, provided one digs a little.
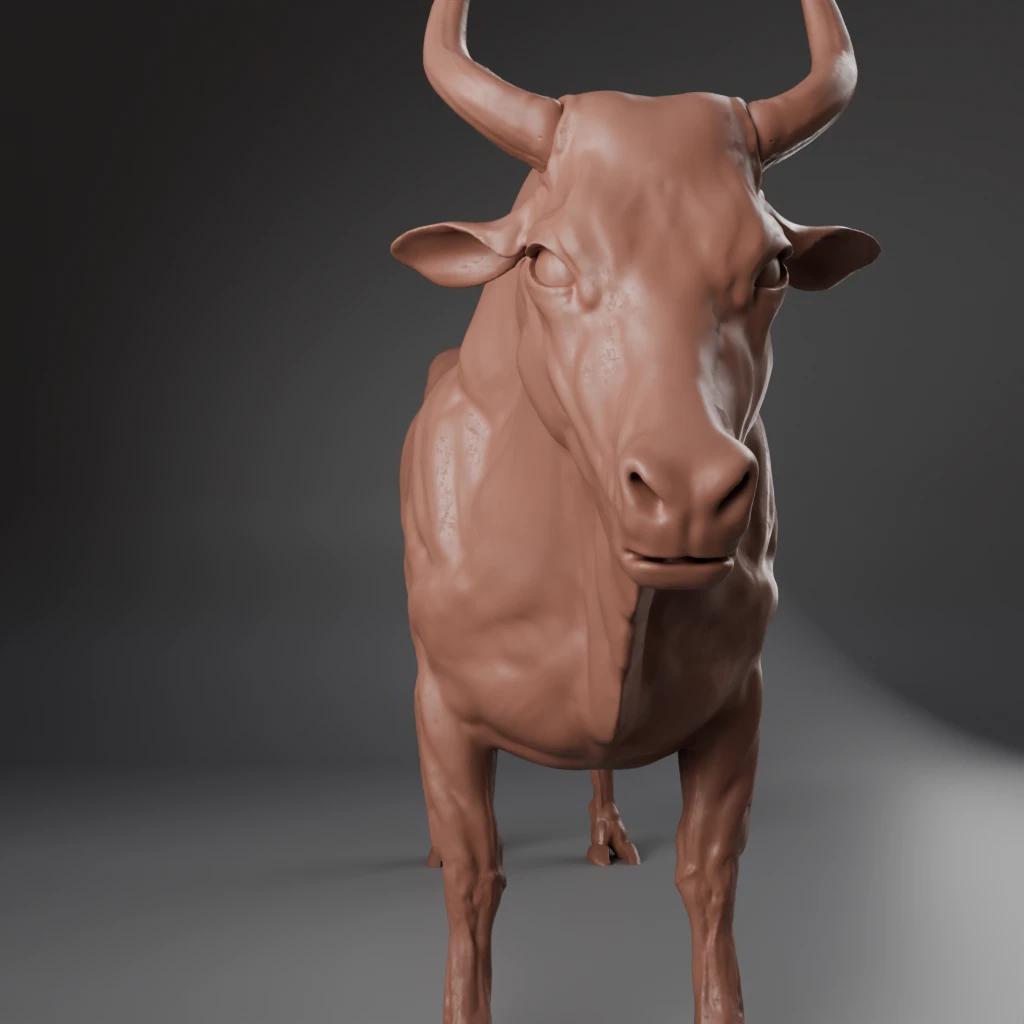
TLDR: The fat tissues, as in most Bos sp., is intramuscular and under the skin all over the body, slightly more accentuated around the digestive tract.
So first things first, let’s merge all the independent muscles to form a unified mesh.
And off to modelling we go, using the references as guides !
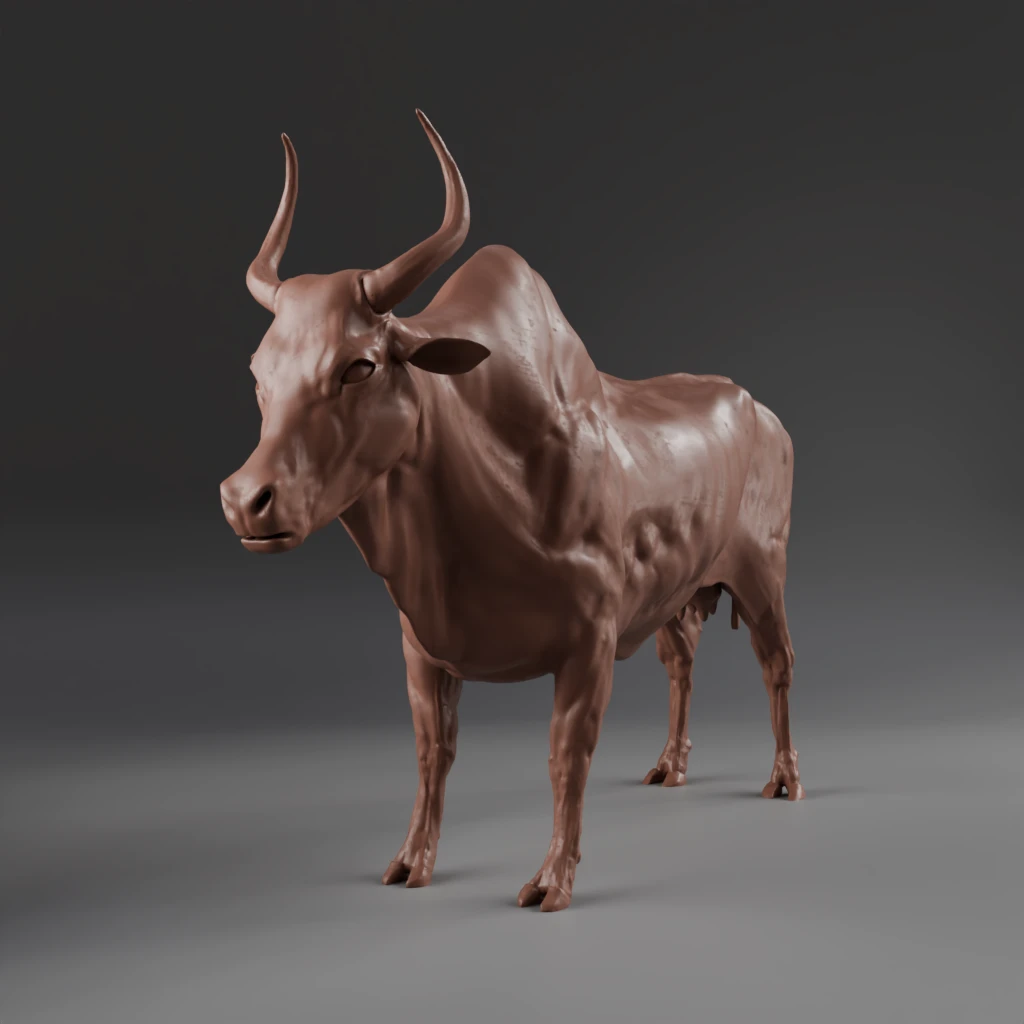
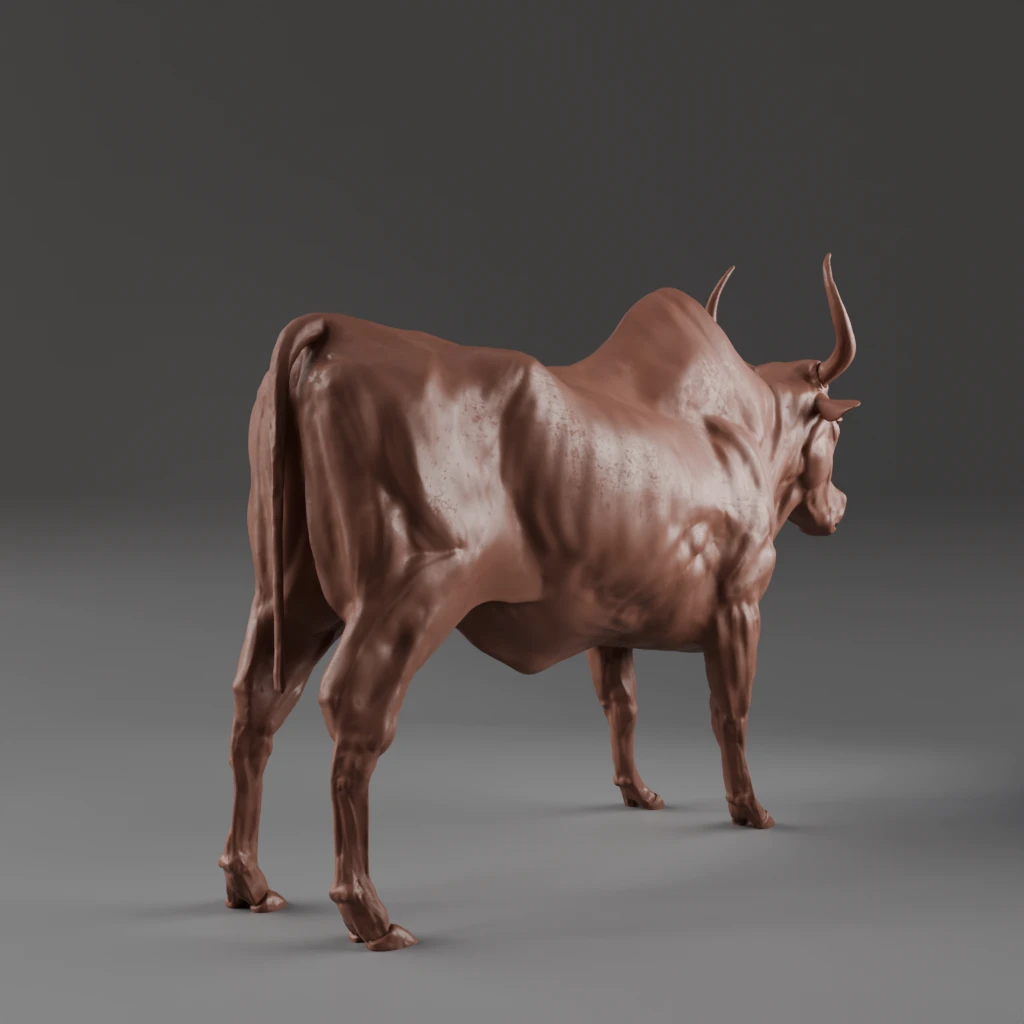
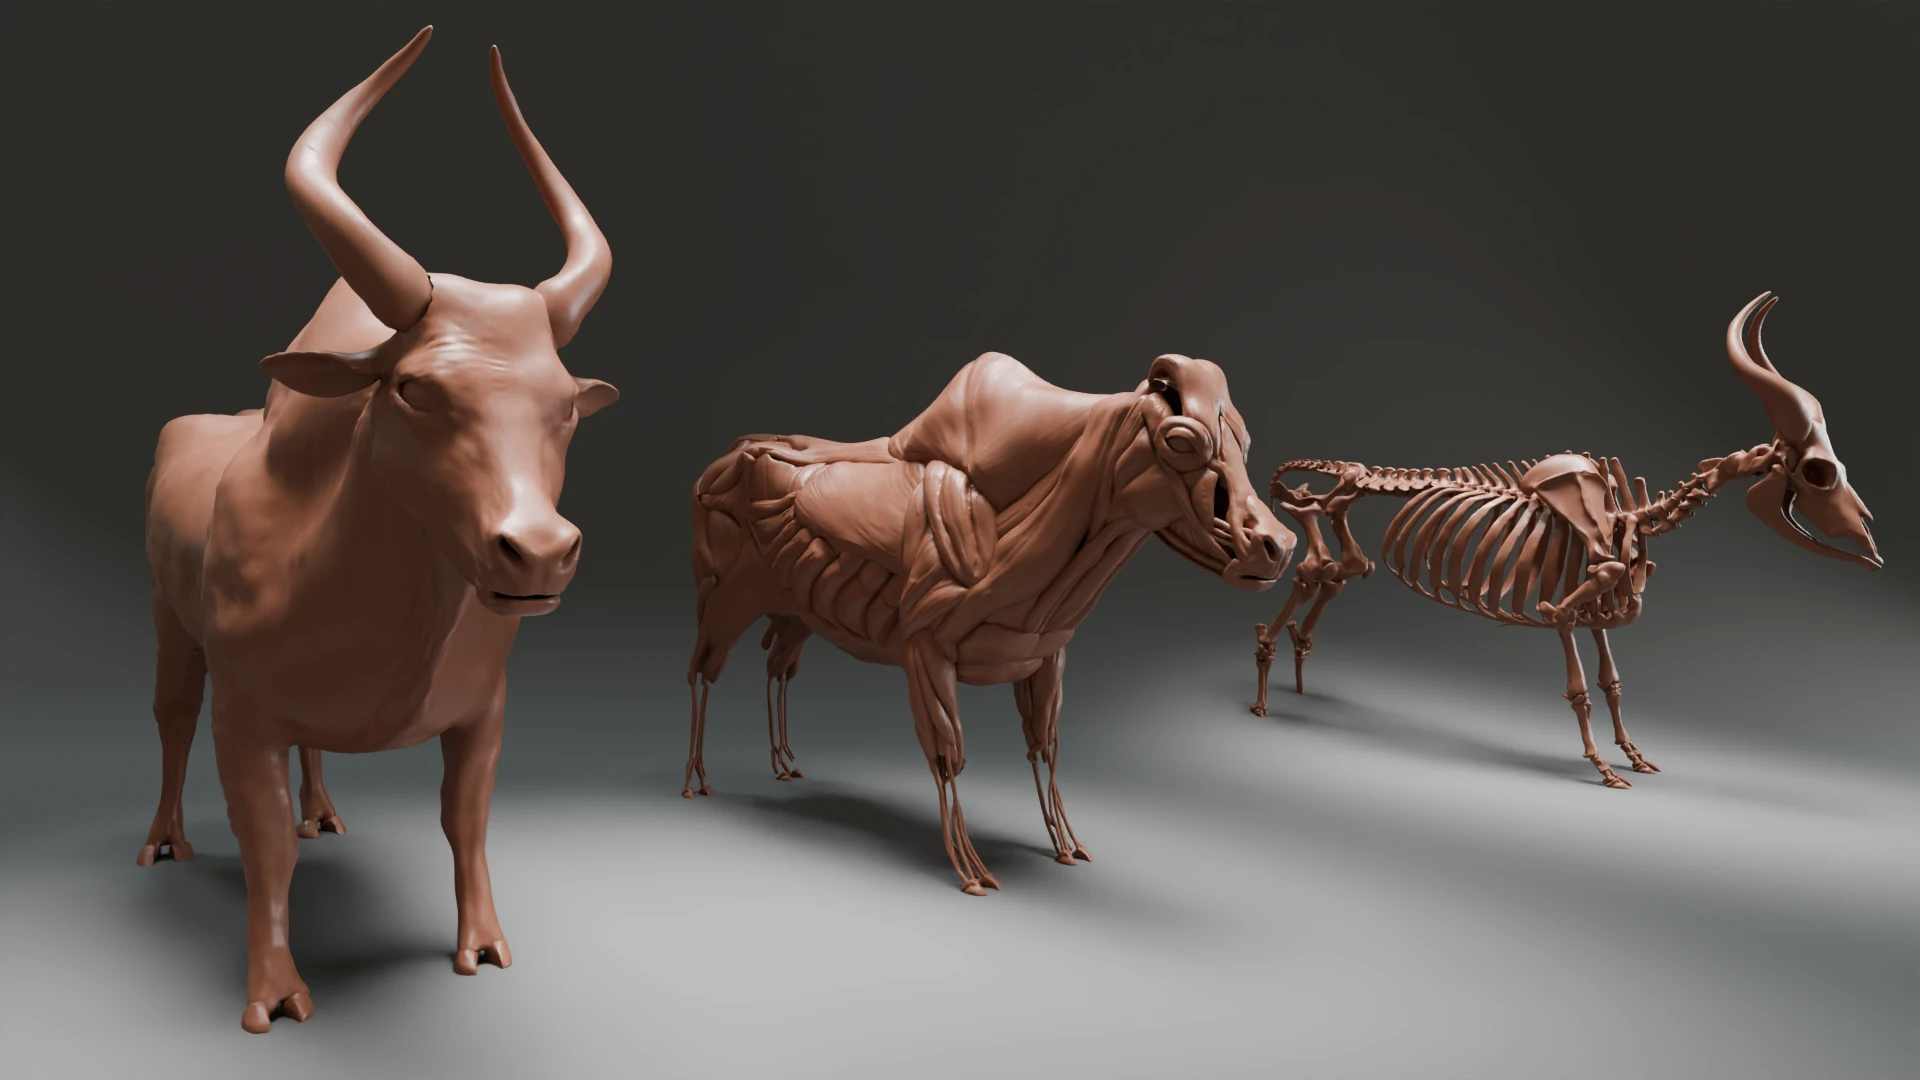
Recap: what I now know zebu should look like
Morphology and the ageing process
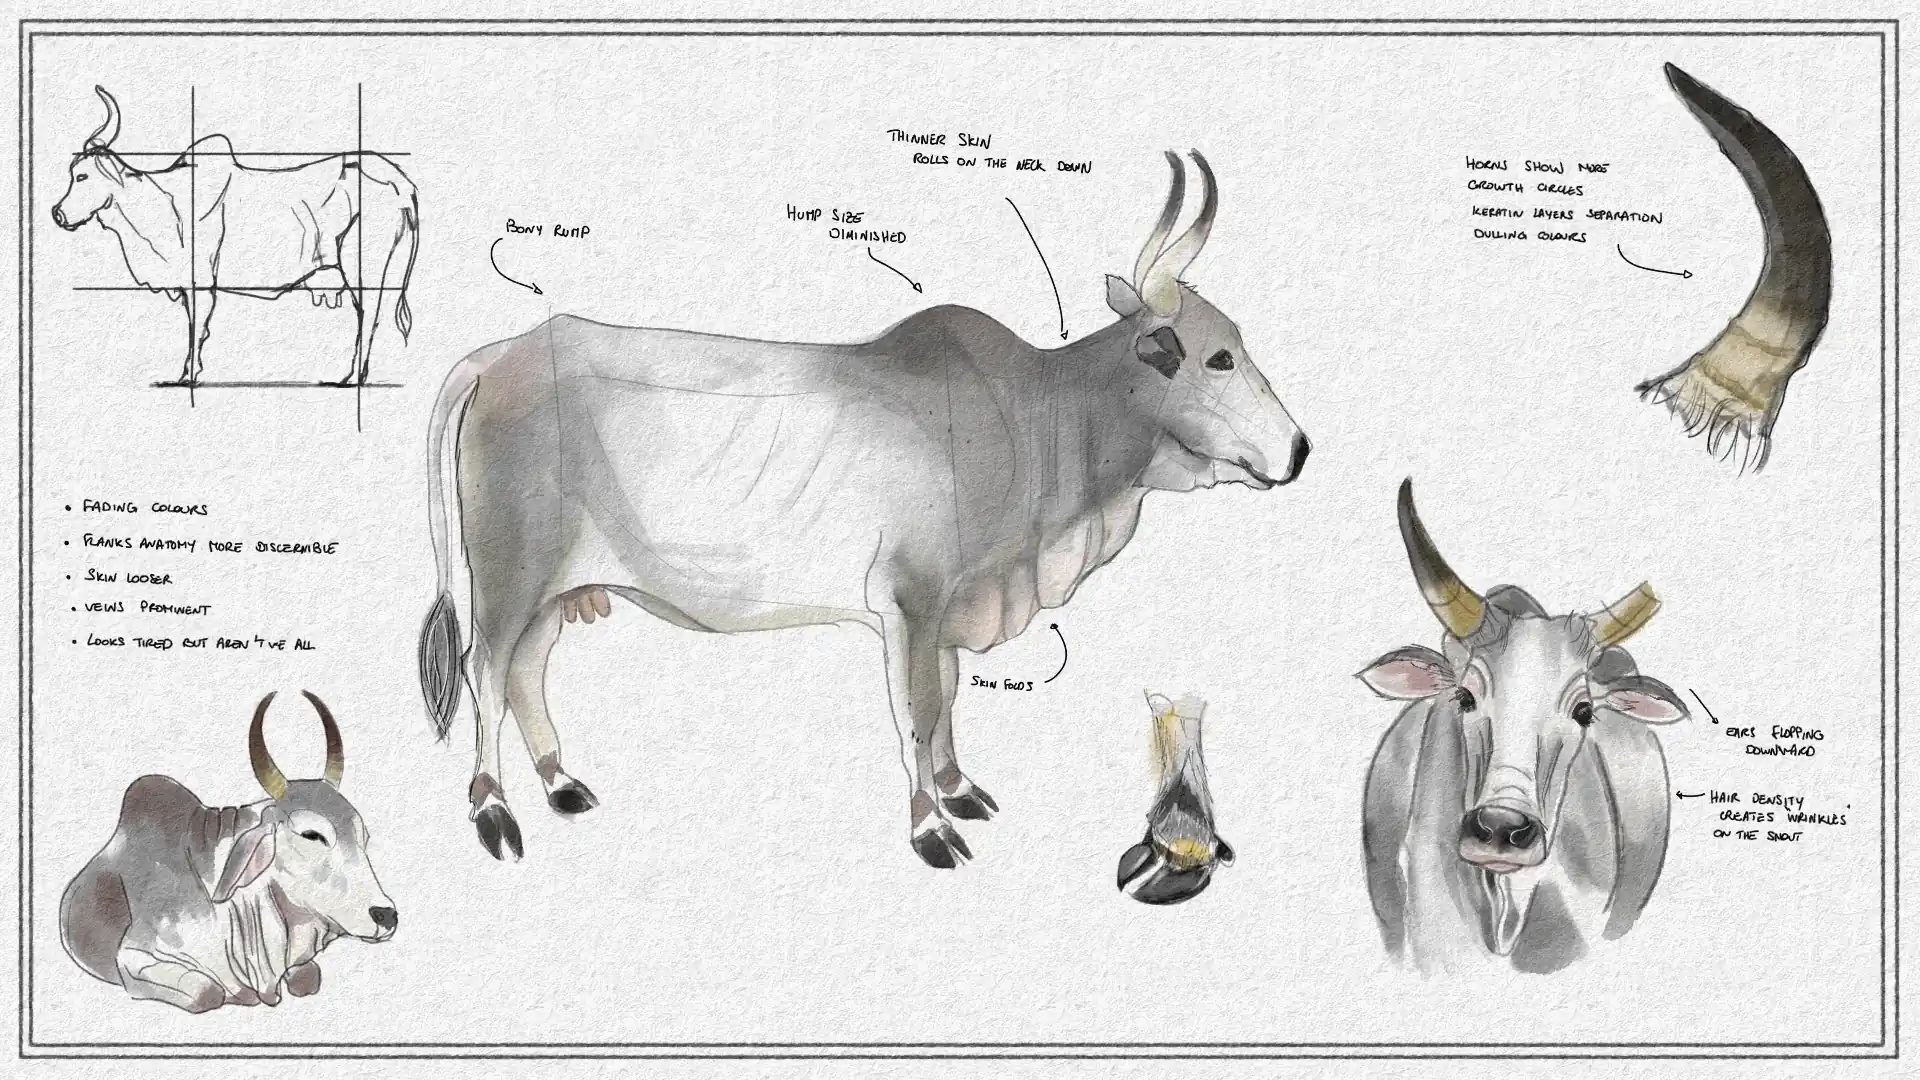
That first look of a finished animal lead me to ponder the effect of the ageing process on the morphology in the zebu family. We know the age is marked by a change in colours and, obviously, in size. Looking at the references, we can see it also has an impact on muscle density and overall silhouettes.
Sex also has an impact. Bulls and cows have different attributes and tissues implementation. Let’s focus on the female lineage for now.
From the “generic zebu” I now have, why not try to create this body shape evolution ?
Now, we are waaaaay beyond the scope of what was initially an anatomy exercise. As far as this goal is concerned, the work can stop there.
What can I say ? The pieces are all there…
Retopology and refinement
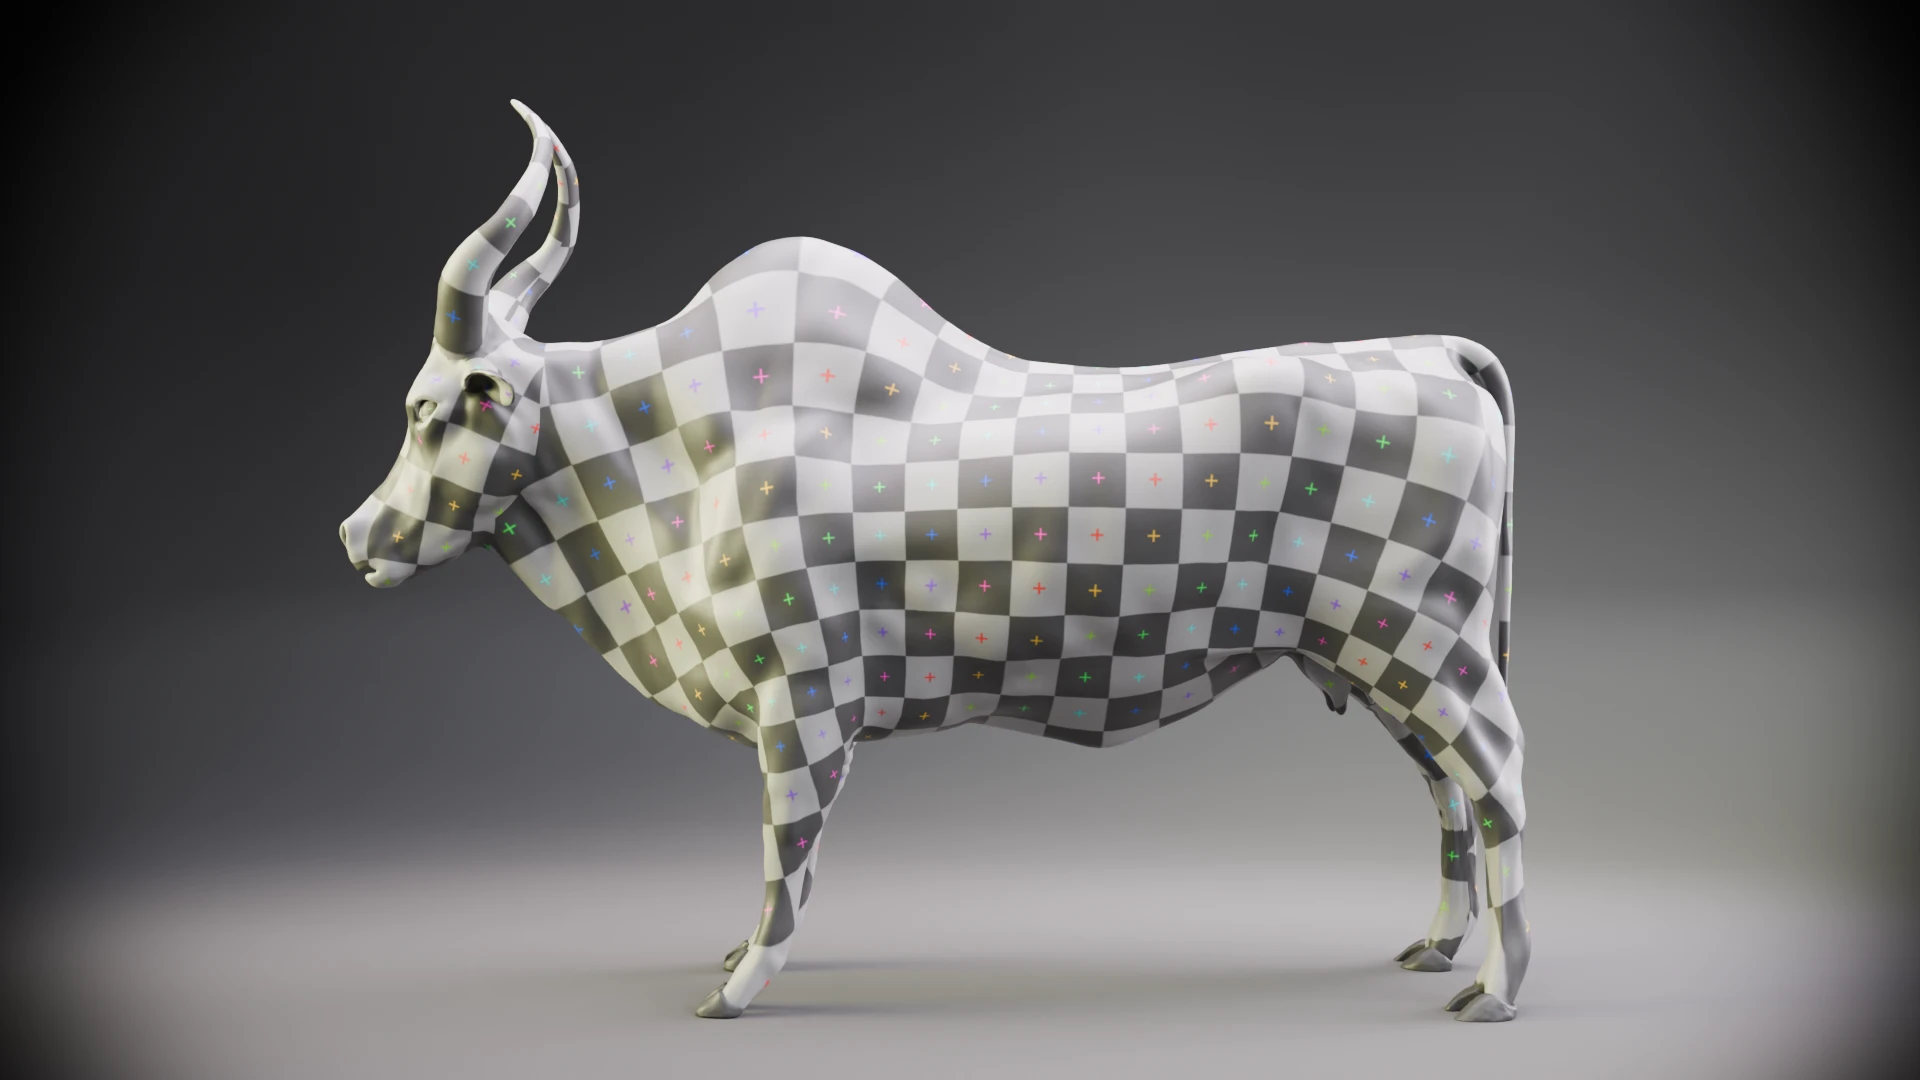
I know it’s late in the process but hear me out. I built the shape by combining the skeletal and muscular systems while keeping everything independent. Therefore, the subdermal and skin tissues stage is the first one where I have to deal with a unified model. Granted, I should have stopped sculpting and retopoed as soon as I had one. True, I should have. Yet, here we are. So before the next step and to help with the ultimate refinement stages, let’s retopologized the model to bring it from 2 millions vertices or so to a more reasonable 2K. Normal maps from multires modifier will do the trick afterwards. The really high poly count can be kept for 3D printing needs.
It’s also a very good time to UV slice everything. There will be back and forths (oh, yes, yes, there will be) but it’s a base we can build upon. At least that’s the theory ?
Kangayam studies.
No one likes a naked zebu, especially them. They can’t go about wearing only their UV coats.
As I alluded to before, I chose to try my hand at the Kangayam sub-species of Bos indicus. On top of gender and age dimorphism, we need to have a look at the colours and fur of the animals.
From what I read online, it seems the species coat changes colour throughout the animal’s life. The calves are born copper red. Around two years old, their coats fade to grays of various intensities. They retain a distinctive black pattern on the legs above the hooves. With age, all colours fades to white.
So that means I will have to create a diffuse (colour) map for the different life stages. Not to mention a new version of the mesh each time, of course. It’s a pra-c-tice, I kept repeating myself.
In order to make a base first pass at a coloured coat, I used the texture paint tool in Blender.
The results are an interesting but quickly, I could see I’ll have to tackle the elephant in the room instead of tip-toeing around it.
Hair.
A zebu’s coat needs hair to feel real.
You have no idea how much I wished I had chosen to model a fish when this dawned on me.
I must say I dreaded that part. I have played with the old hair system via particle sytem in Blender and I saw the newfangled geo nodes method with both terror and interest.
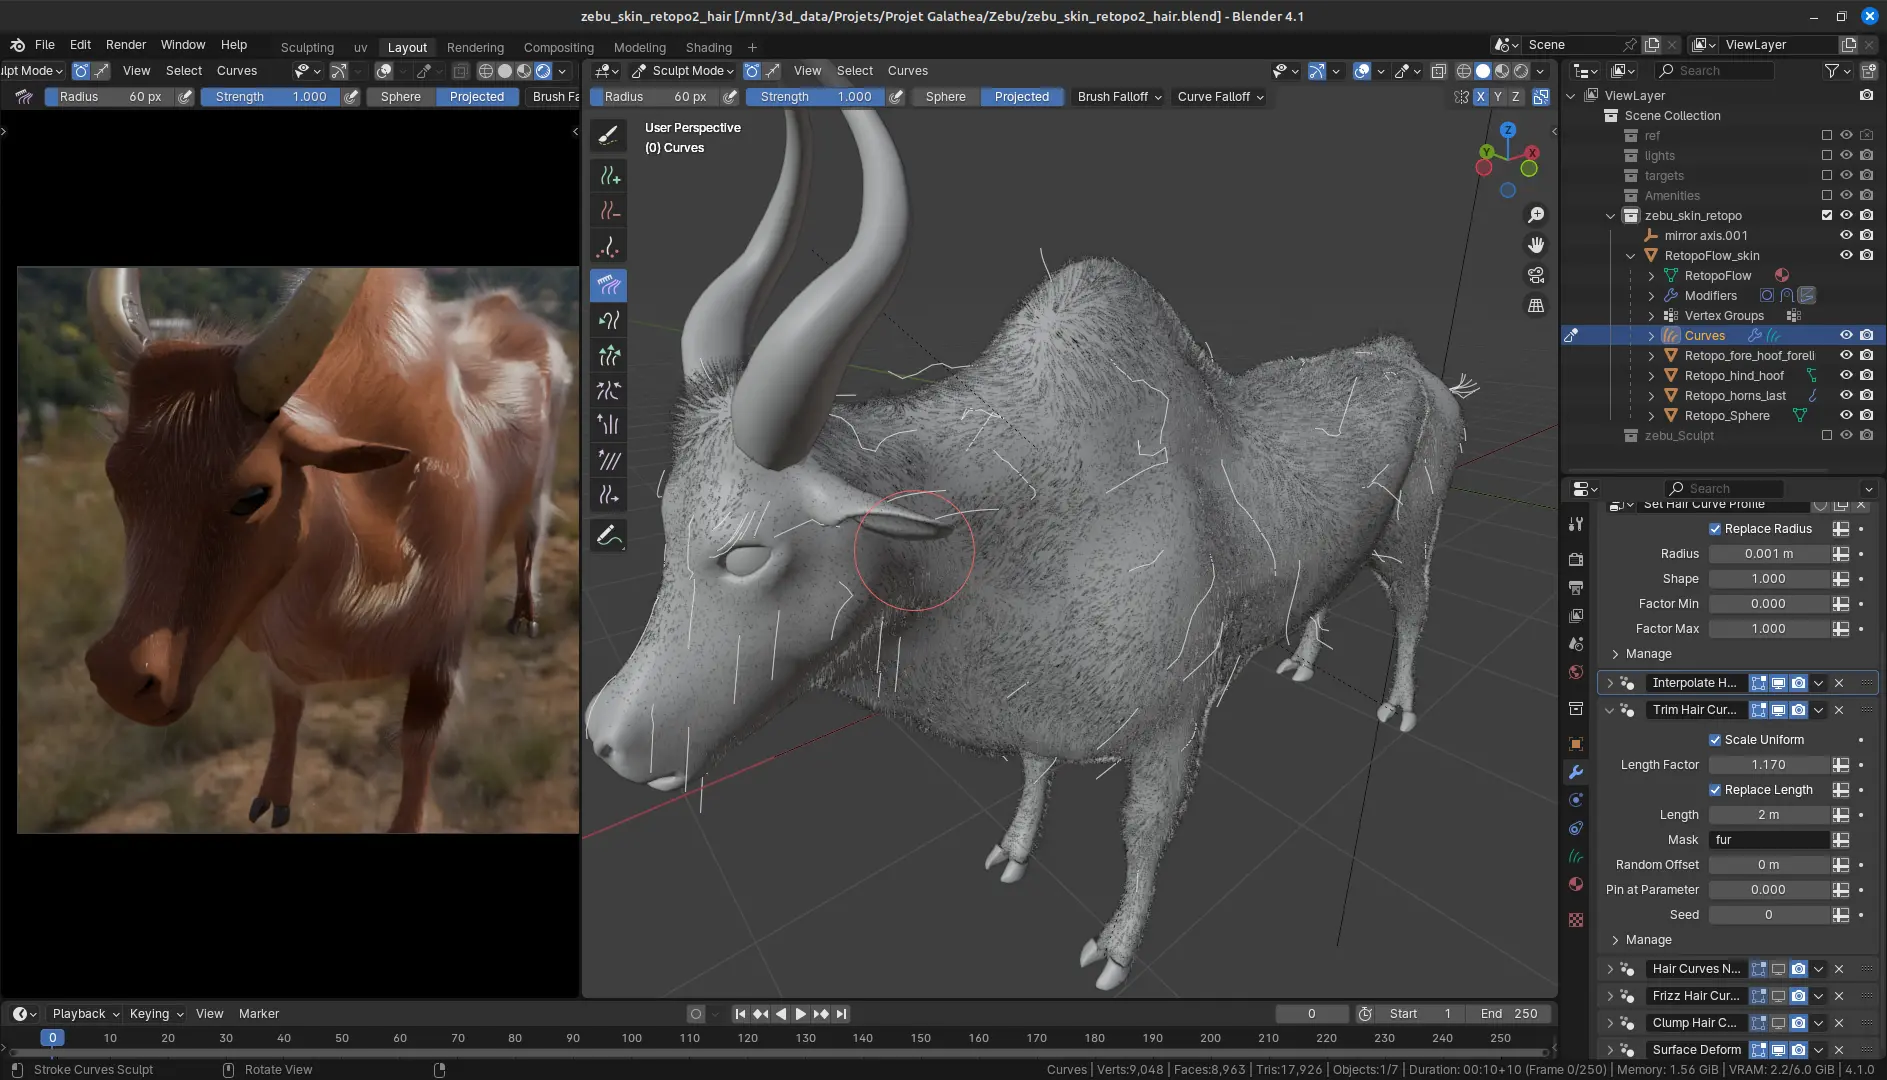
I said I would keep you in the loop of how things really went and I will. True story: it didn’t go as bad as I feared. Don’t get me wrong, I have watched this video from the Blender studio specialist, Simon Thomme, many times and there was lots (LOTS) of trials and errors. And then some. There are numerous “how to” videos about the subject but I prefer those trying to explain how and why things work or not. I’m not saying I understand it all, mind you !
After a point, things started to get a little easier. Though I will not touch the geo nodes panel for hair systems directly for now, using it via the usual modifier stack gave me good results.
So, using the base colours and adding fur gives a first foray into zebu coats creation.
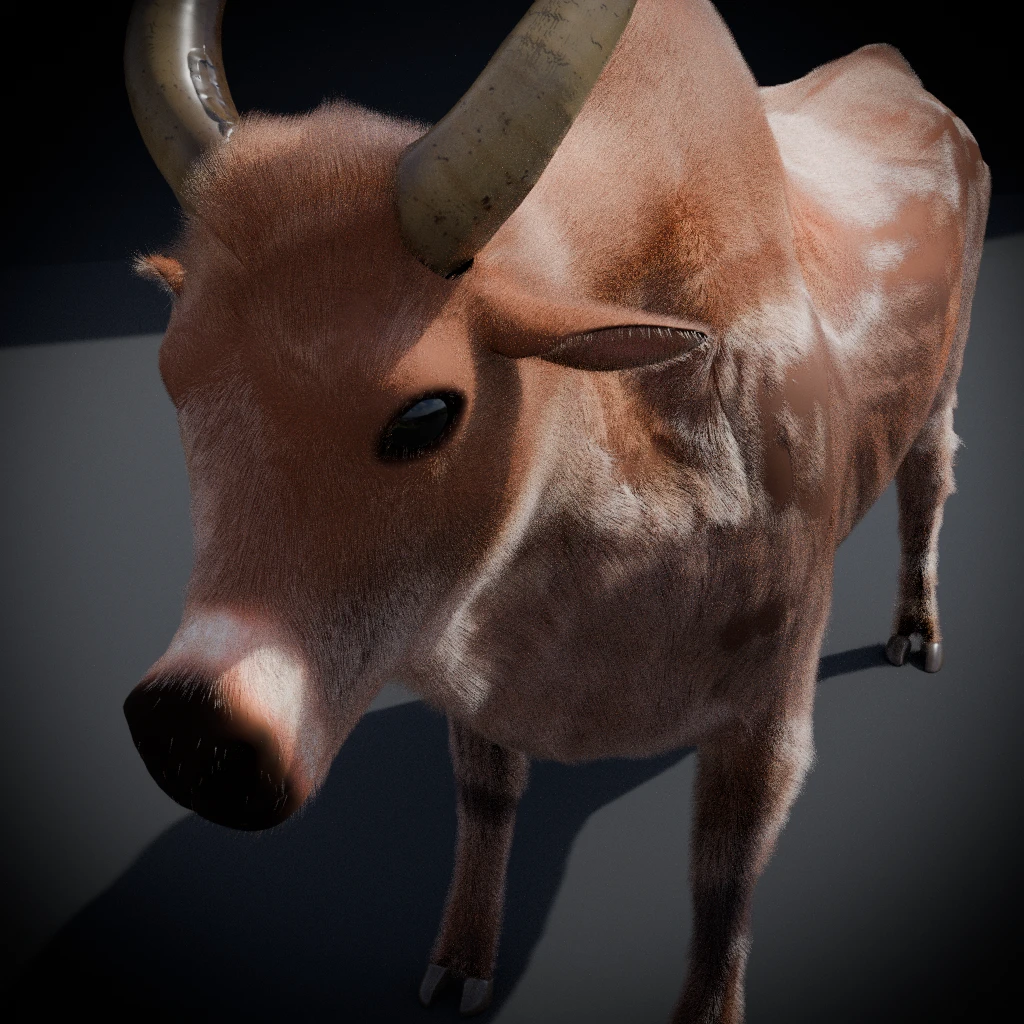
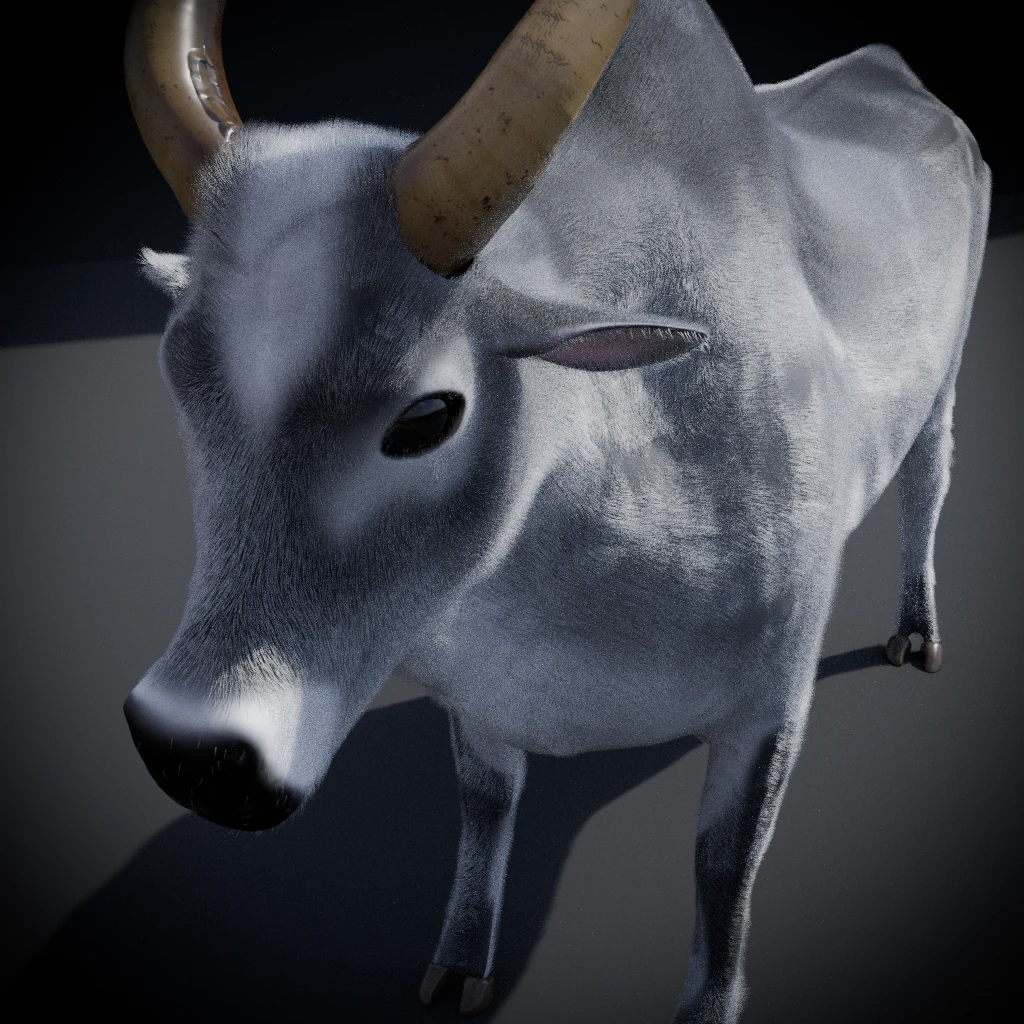
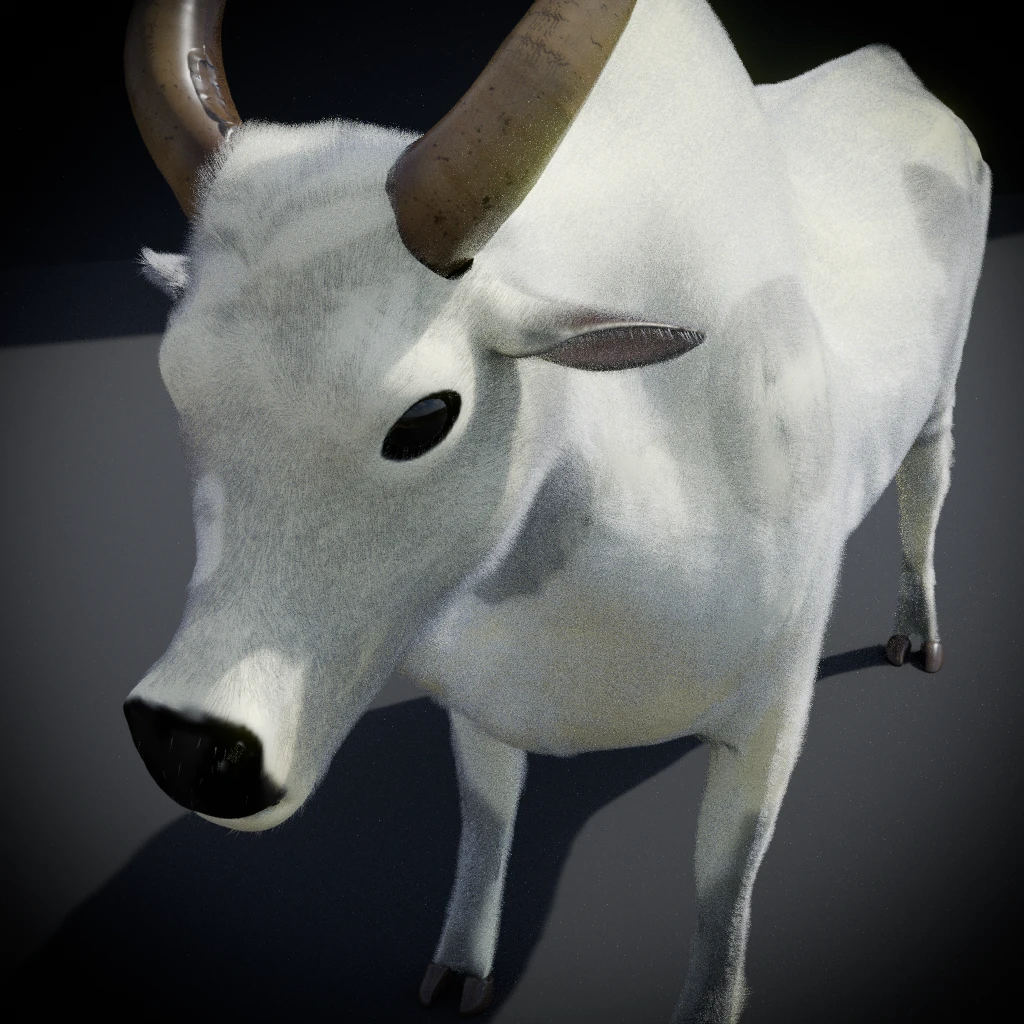
Okay. That’s…. interesting.
That brings us “nicely” to the animal’s fur characteristics. No matter how accurate the texture colour map is, things will only be make sense if the hair system is accurate.
So, back to the literal drawing board to try to make sense of zebu’s pilosity.
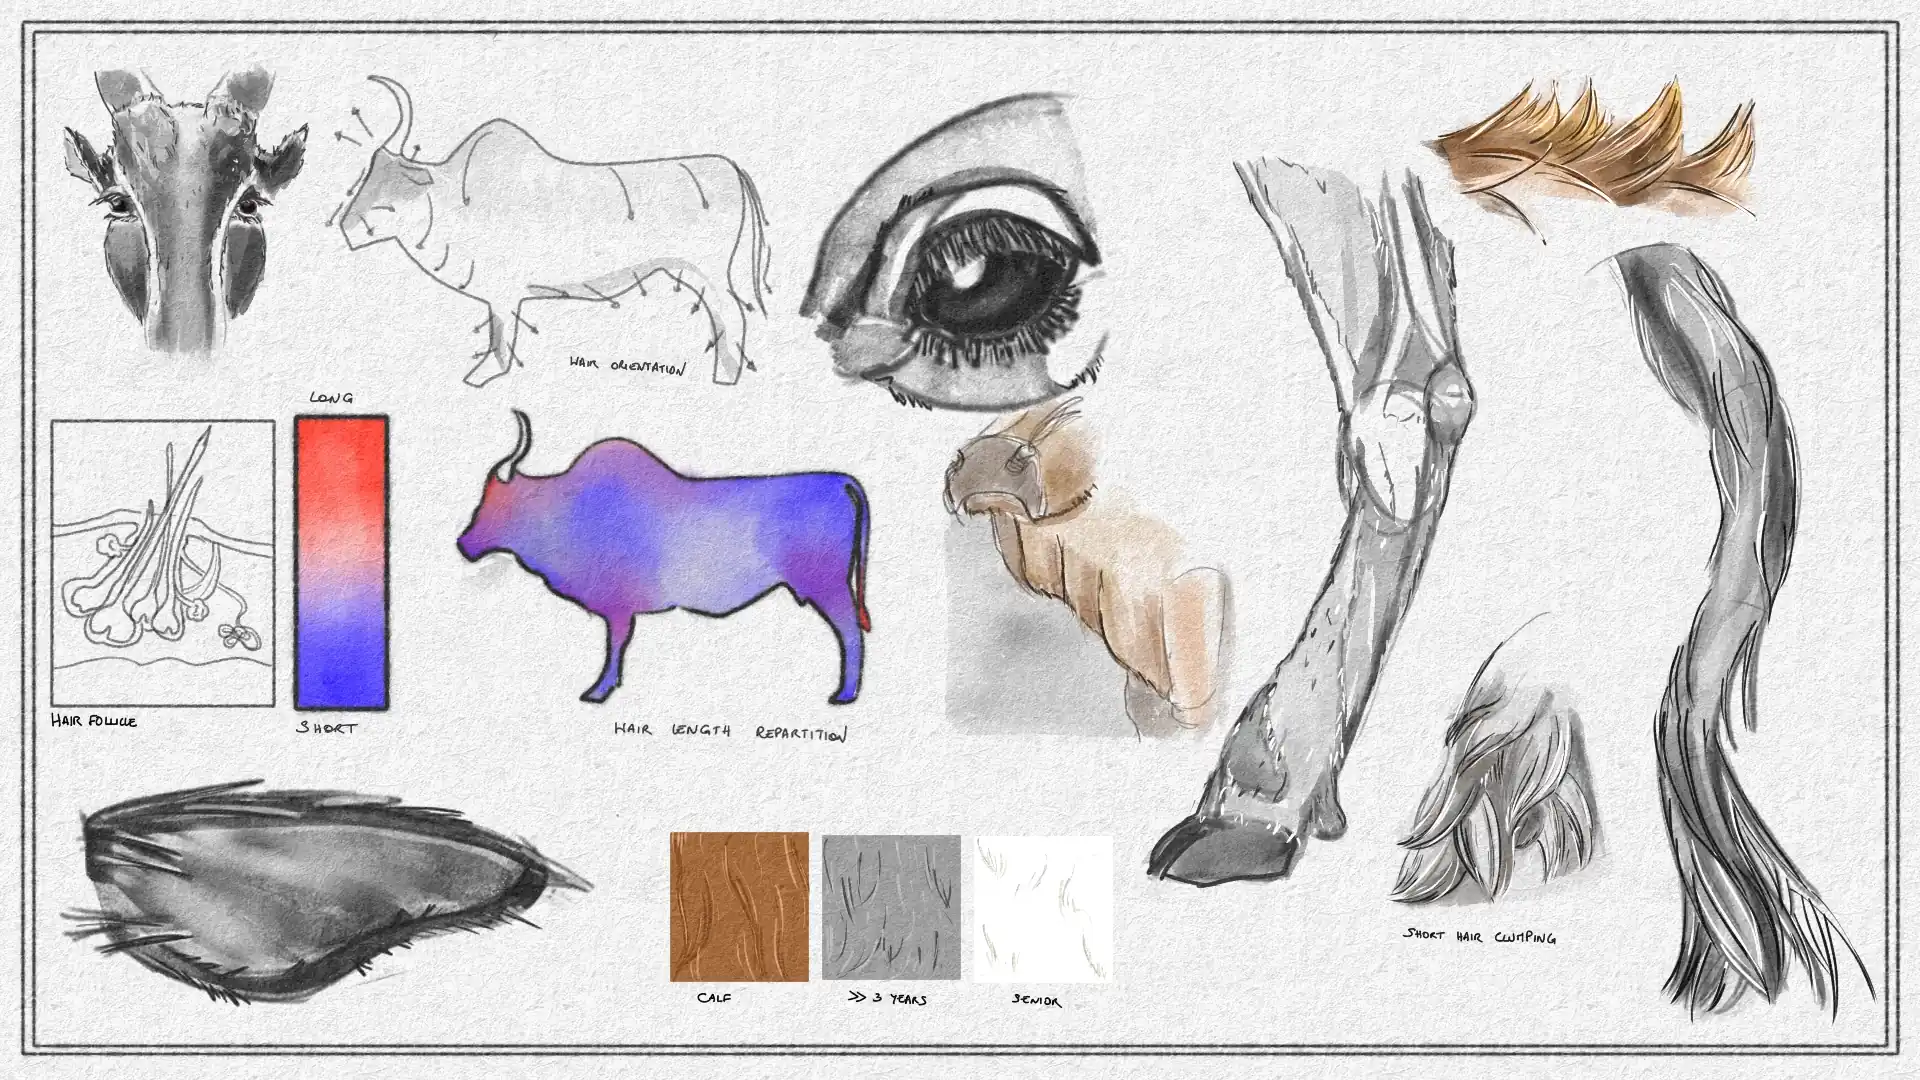
It is becoming evident that there needs to be a “hair density map” on top of the diffuse one to accomodate for the differences.
Also, we need sooo much more studies to be remotely accurate !
Oh, and, yes, there will be heavy grooming and brushing of the coat in the app to try to make the hair go in the correct direction and have the appropriate length.
I will now skip a little bit head and describe how I tackled this point in the project.
I initially thought I would use Blender built-in texture map capacities to create both the colour and the hair map. Then I stumbled upon this little gem: a plug-in that allows you to link Blender to Krita . I knoooooow ! How cool is that !
It really opened up things for me to be able to use the Krita tools I know and like to use “directly”. I thorougly enjoy being able to use my beloved watercolour brushes !
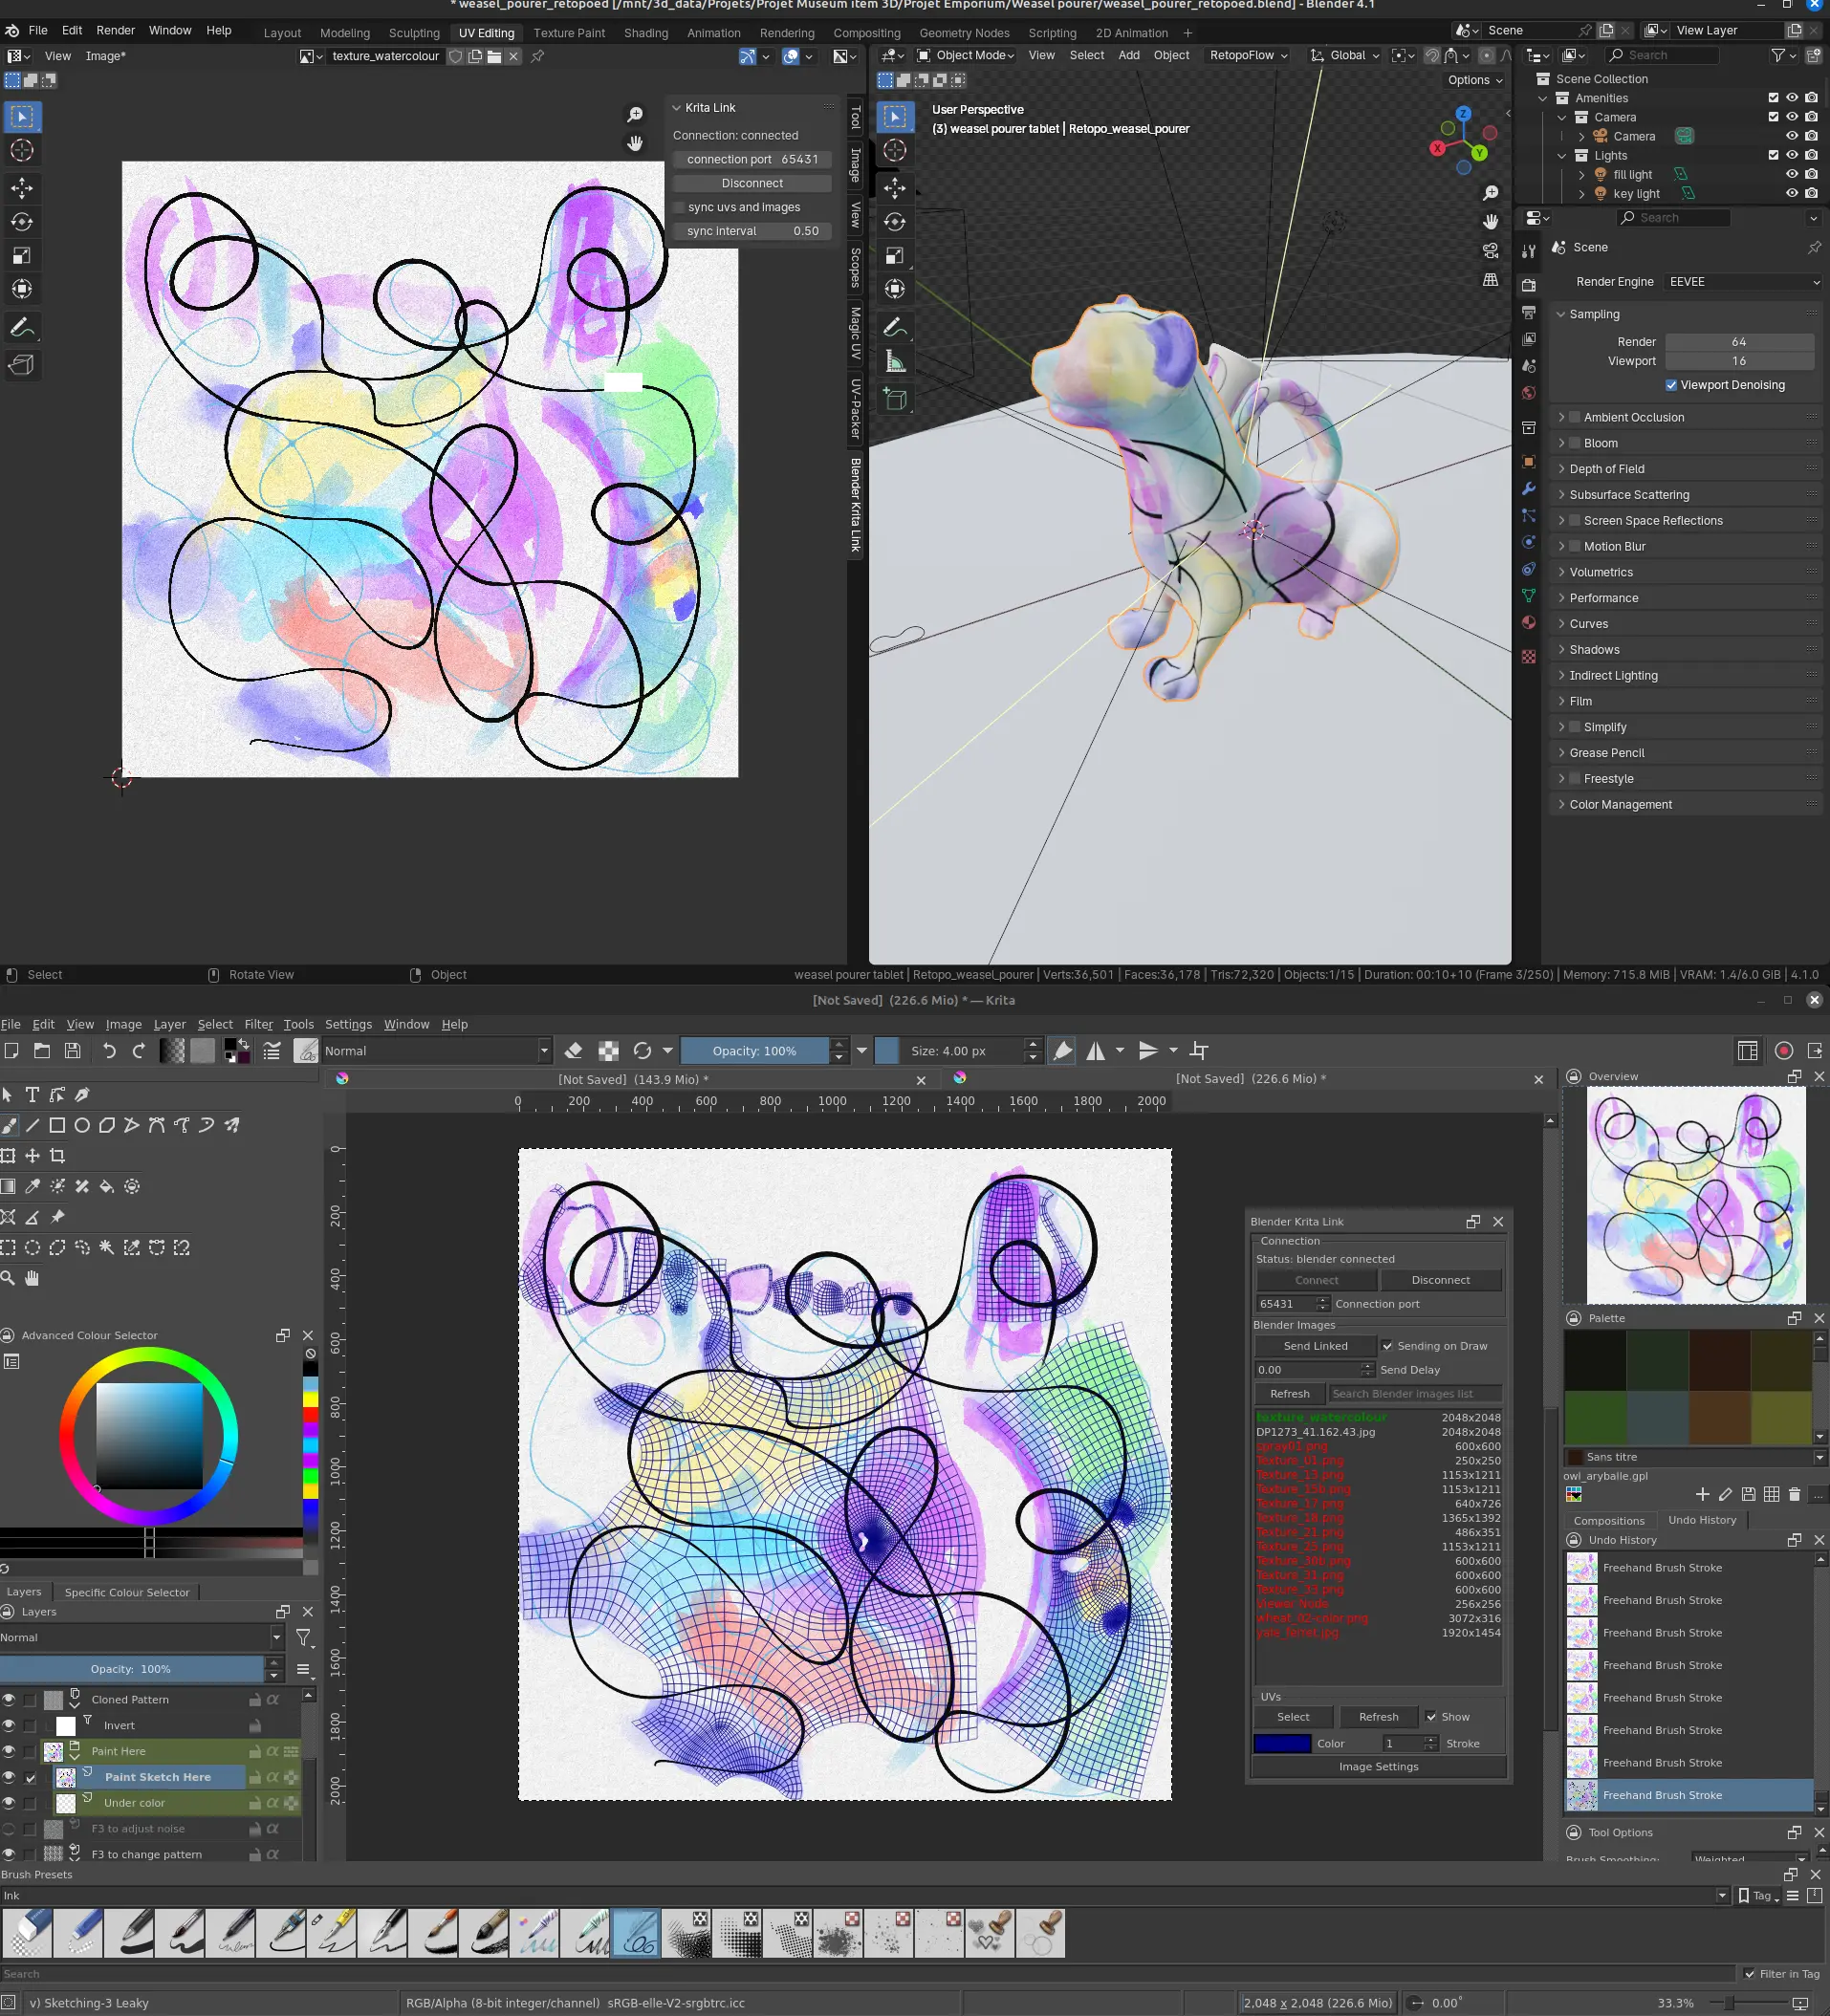
This allowed me to create both a diffuse map and an hair map fo each stages quite quickly and correct things efficiently. Would totally recommend.
Now I know that using this method, I am not technically being scientifically accurate. Zebu’s skins are dark and the colour is hair-borned. Pun intentend, obviously.
I could have multiplied the hair systems on top of a dark material to accomodate for that. Yet, this way is both faster and more gentle on my computer !
Anyway, enough geek talk, back to the fun stuff.
Calf, young, limber, agile and long haired
Calves are not miniature versions of adults. Their bones and muscles system are still developping. Everything is there but not in the definite shape ! Their silhouette is roughly 2/3 legs. They are limber, agile and somehow frail looking. Their eyes are prominent. The horns are still missing or as small buds on top of the head.
Their brand new coat is dark, shiny and its hair are longer and thinner than they will ever be.
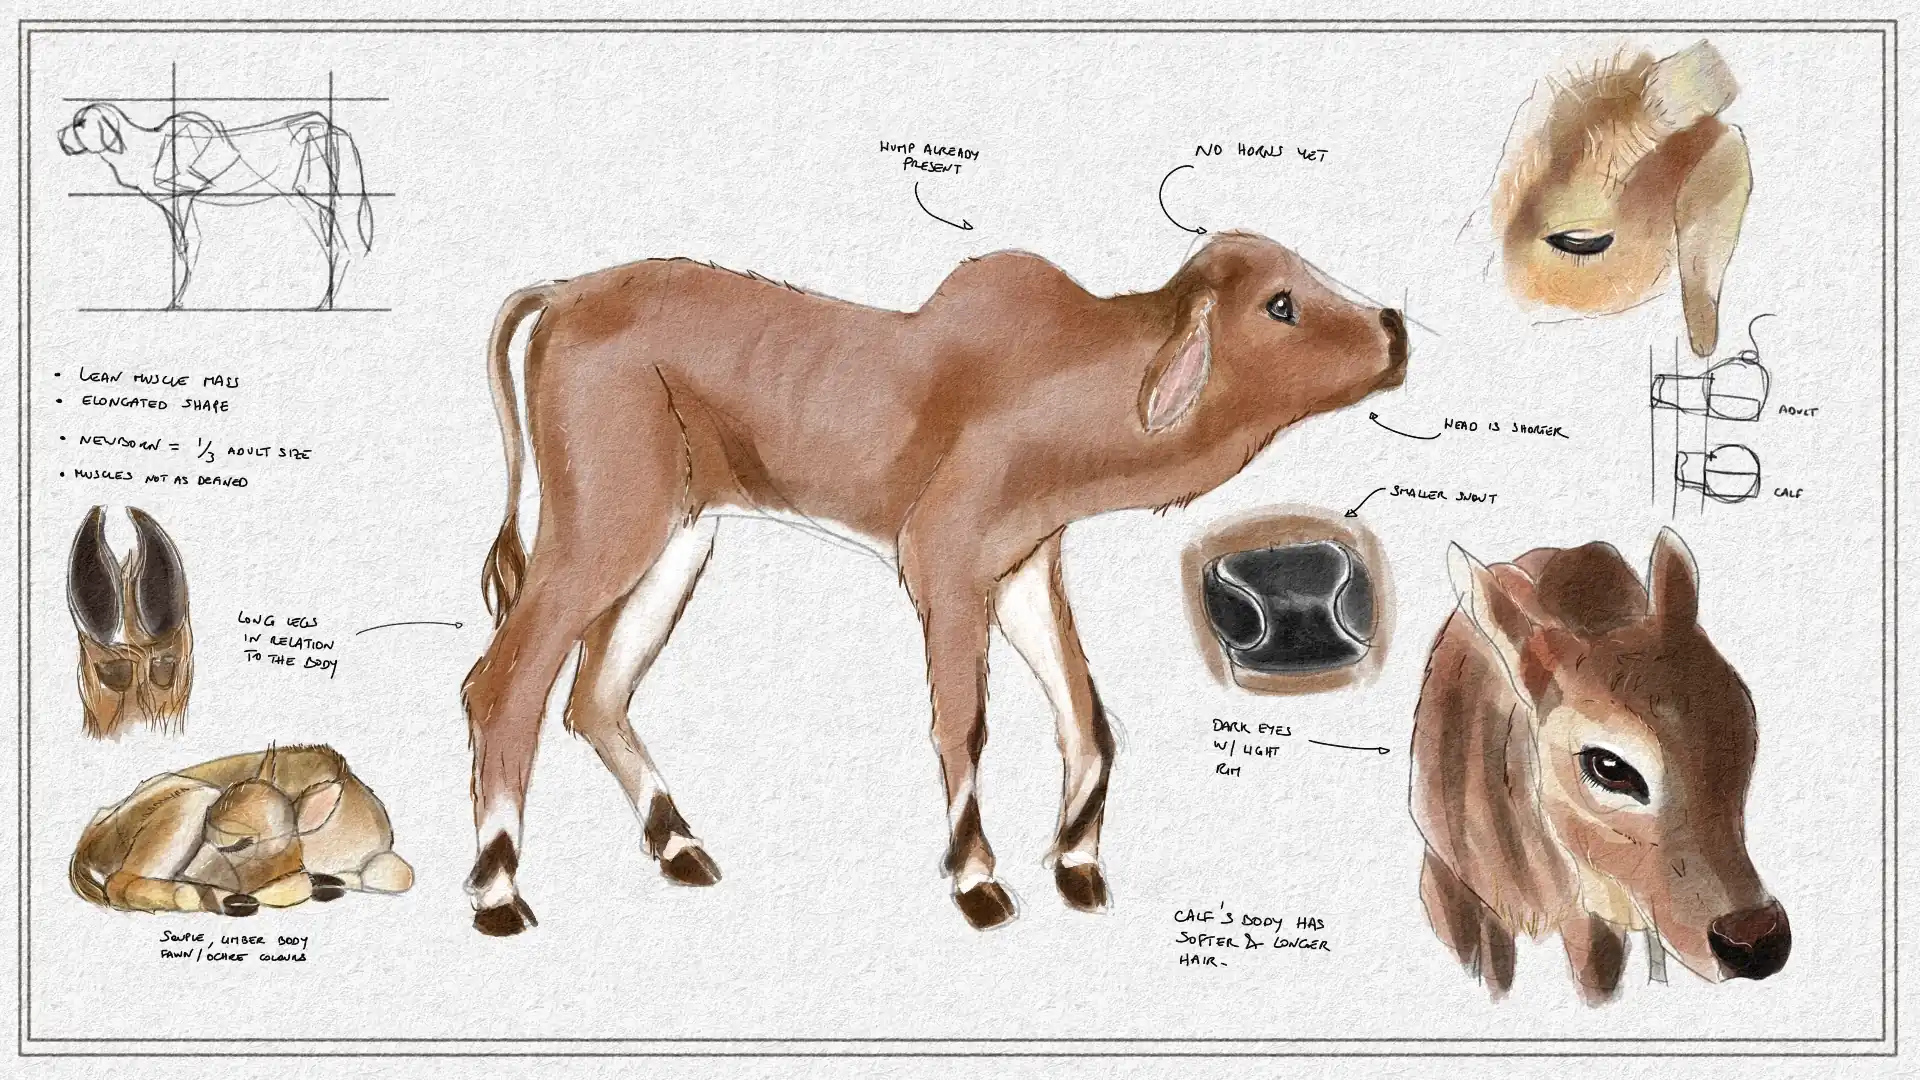
Using the “generic” zebu as a base and modifying it according to the references and guidelines about zebu calves, we can have a “quick” draft of the animal.
Fun fact, if you need a pick me up, online videos of young zebus playing will do the trick !
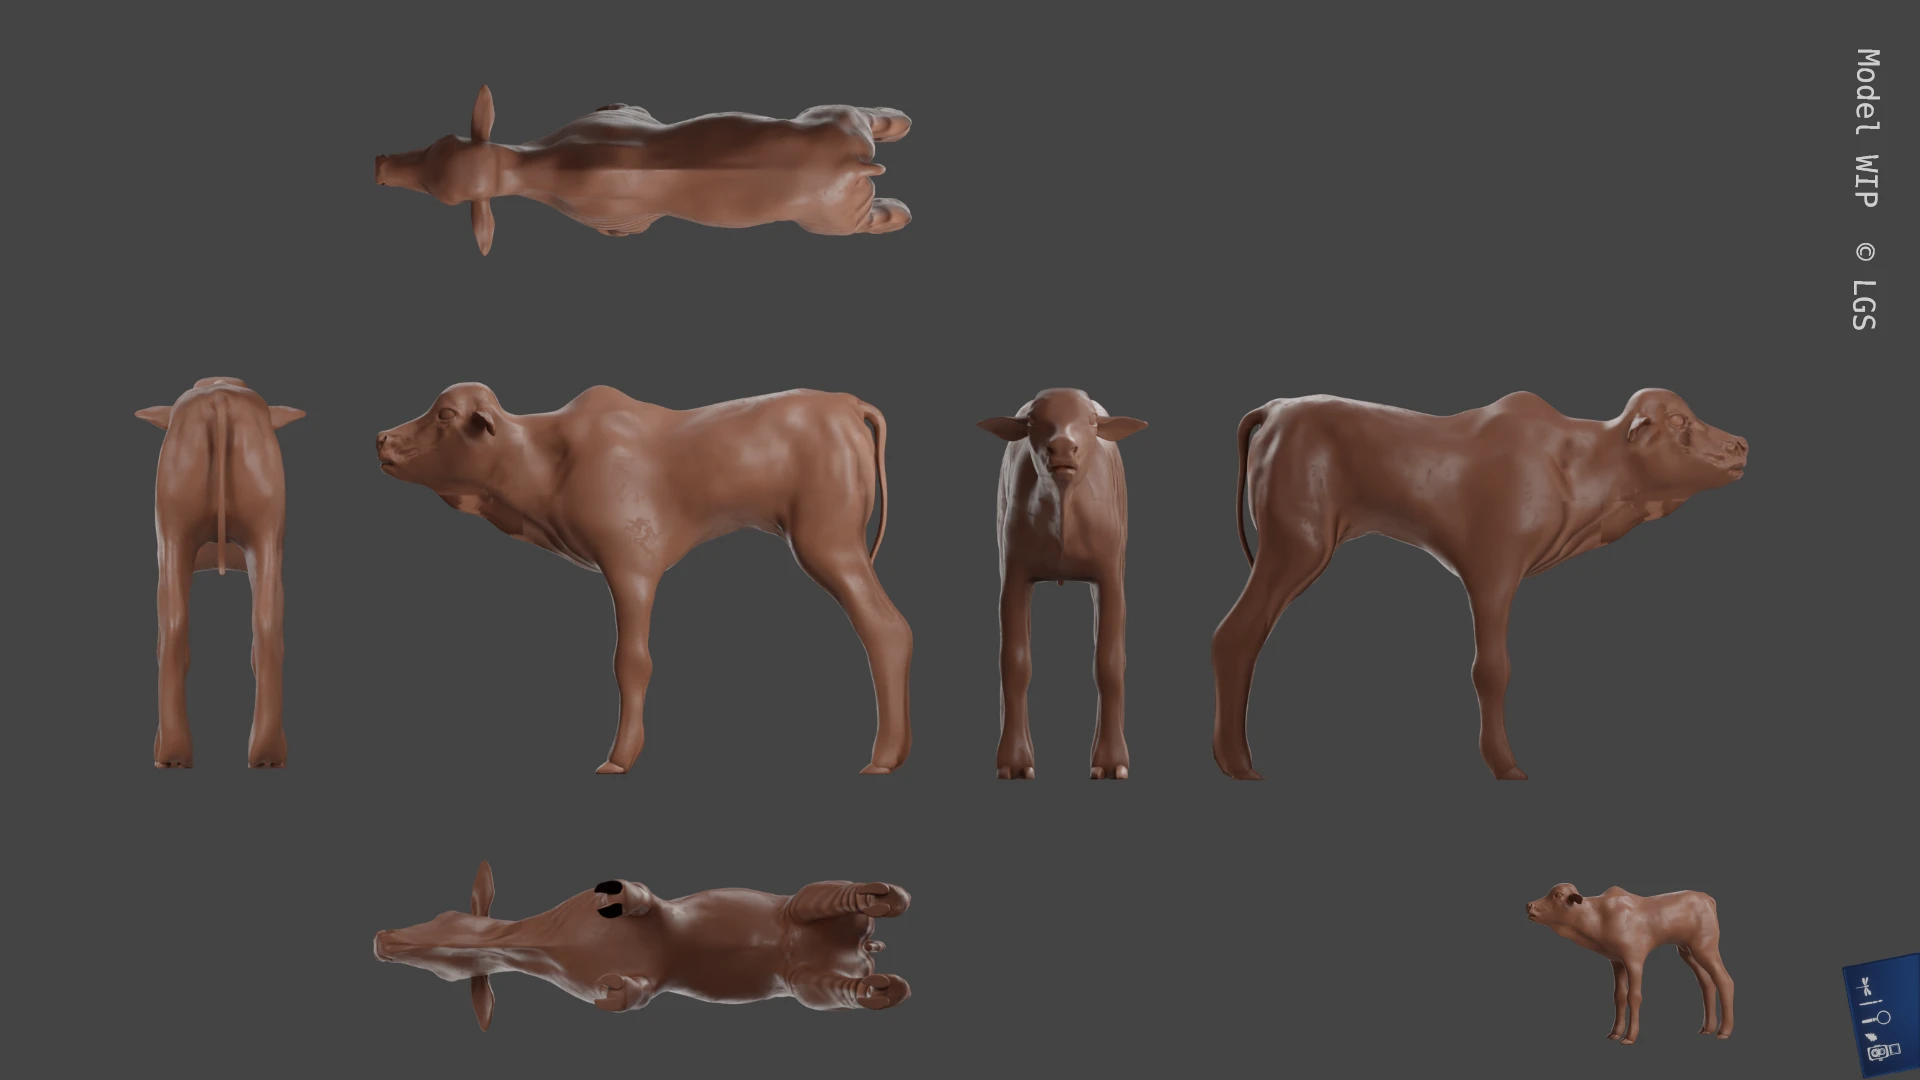
It needs an appropriate coat !
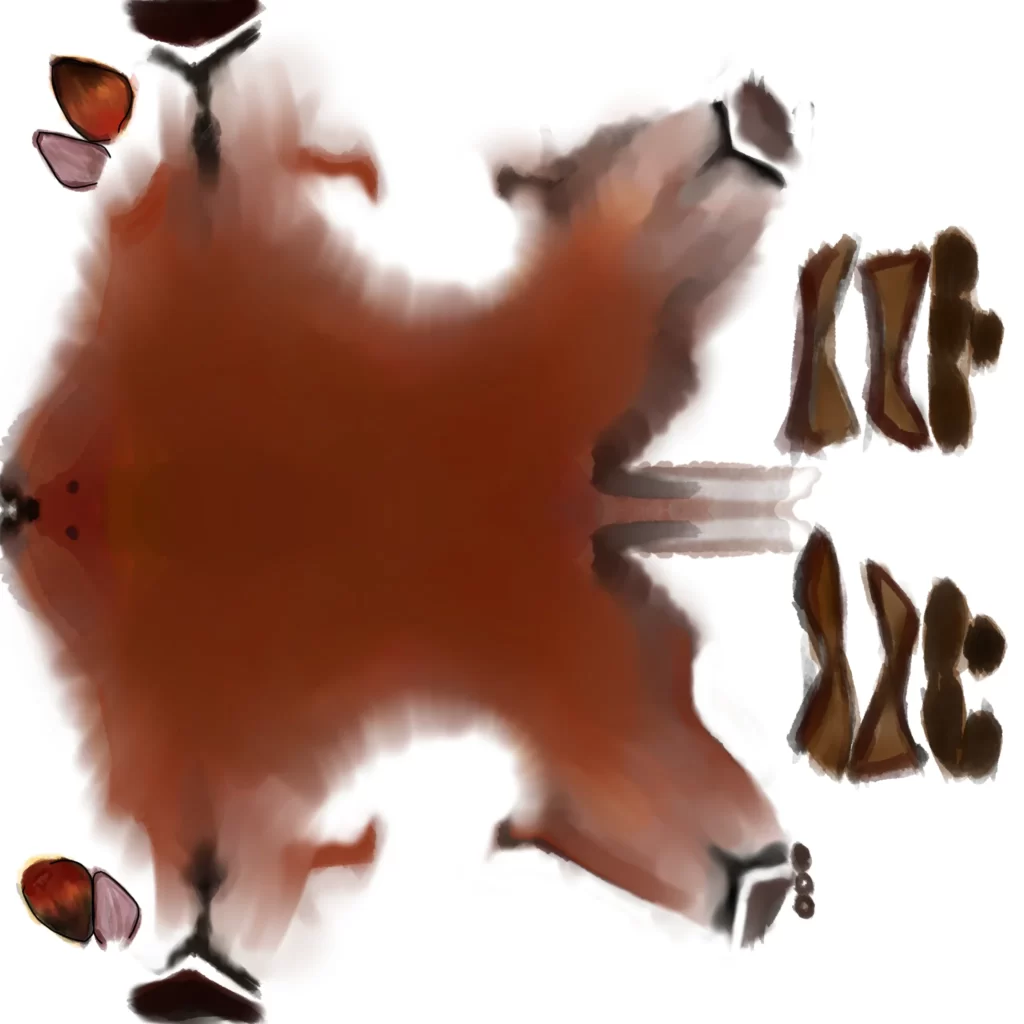
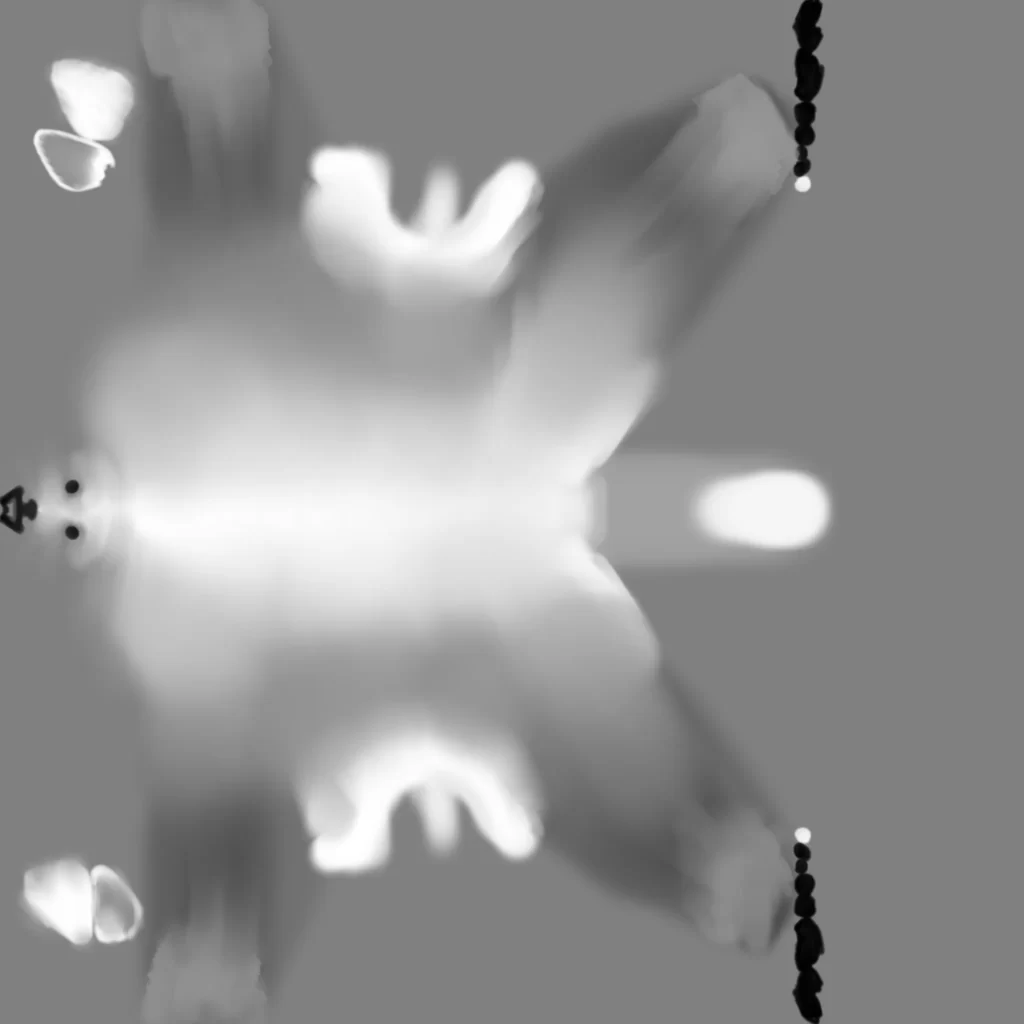
Terrifying isn’t it ? But now we have all the pieces to try and create a realistic zebu calf.
Be gentle, she’s a little shy but curiosity will soon win her over.
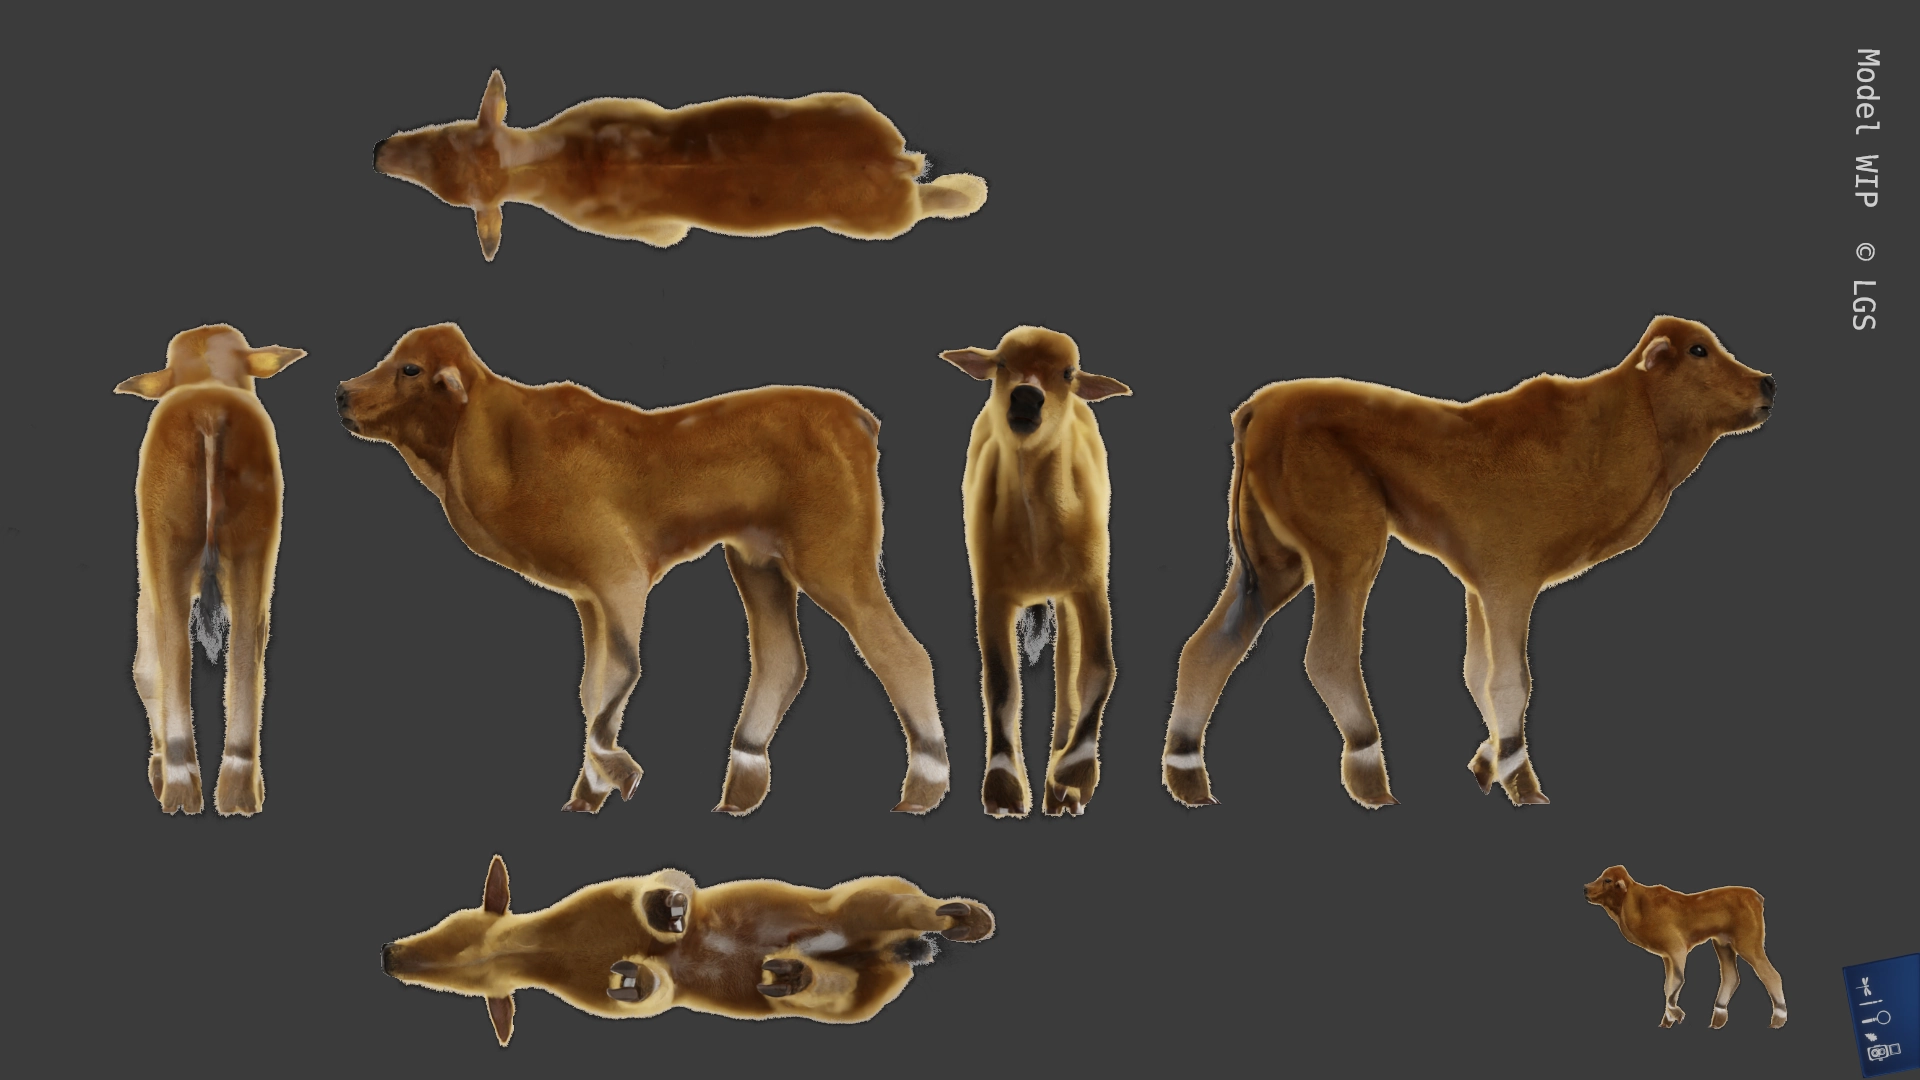
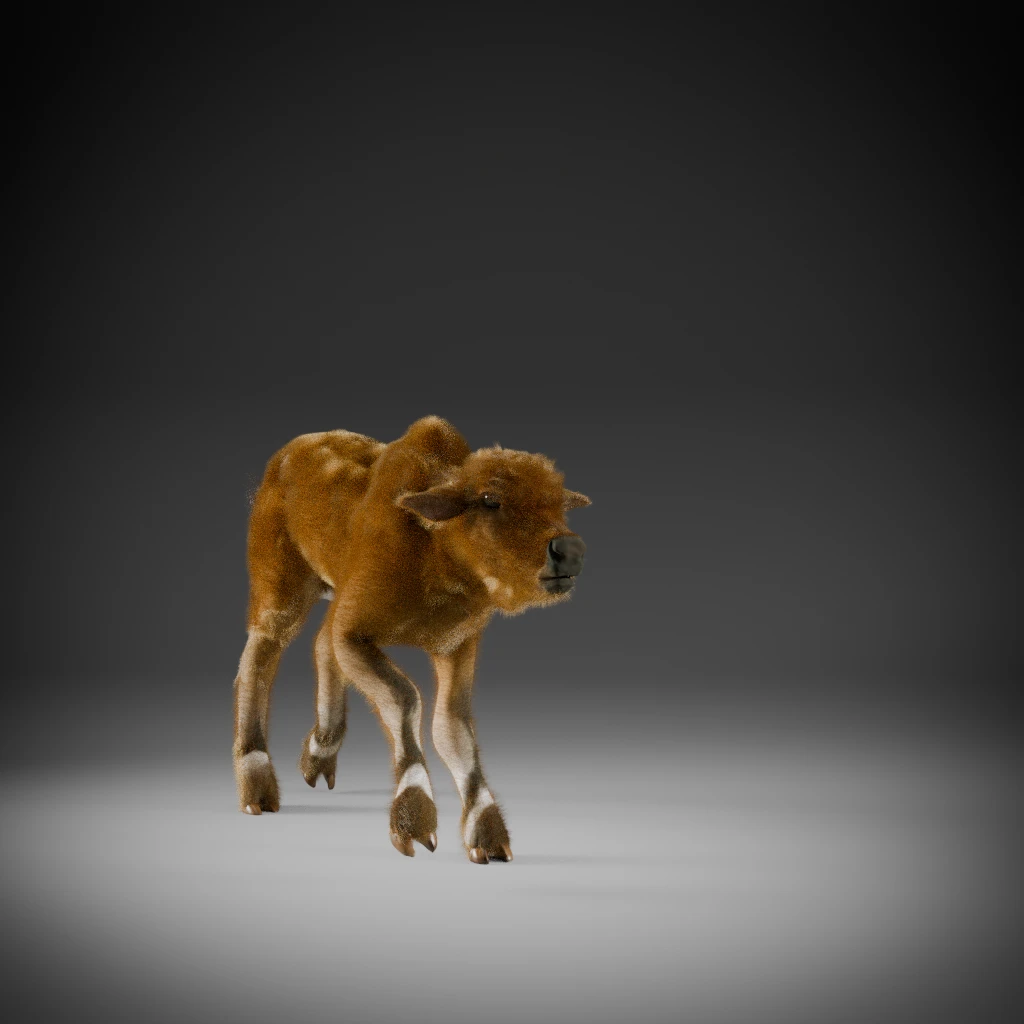
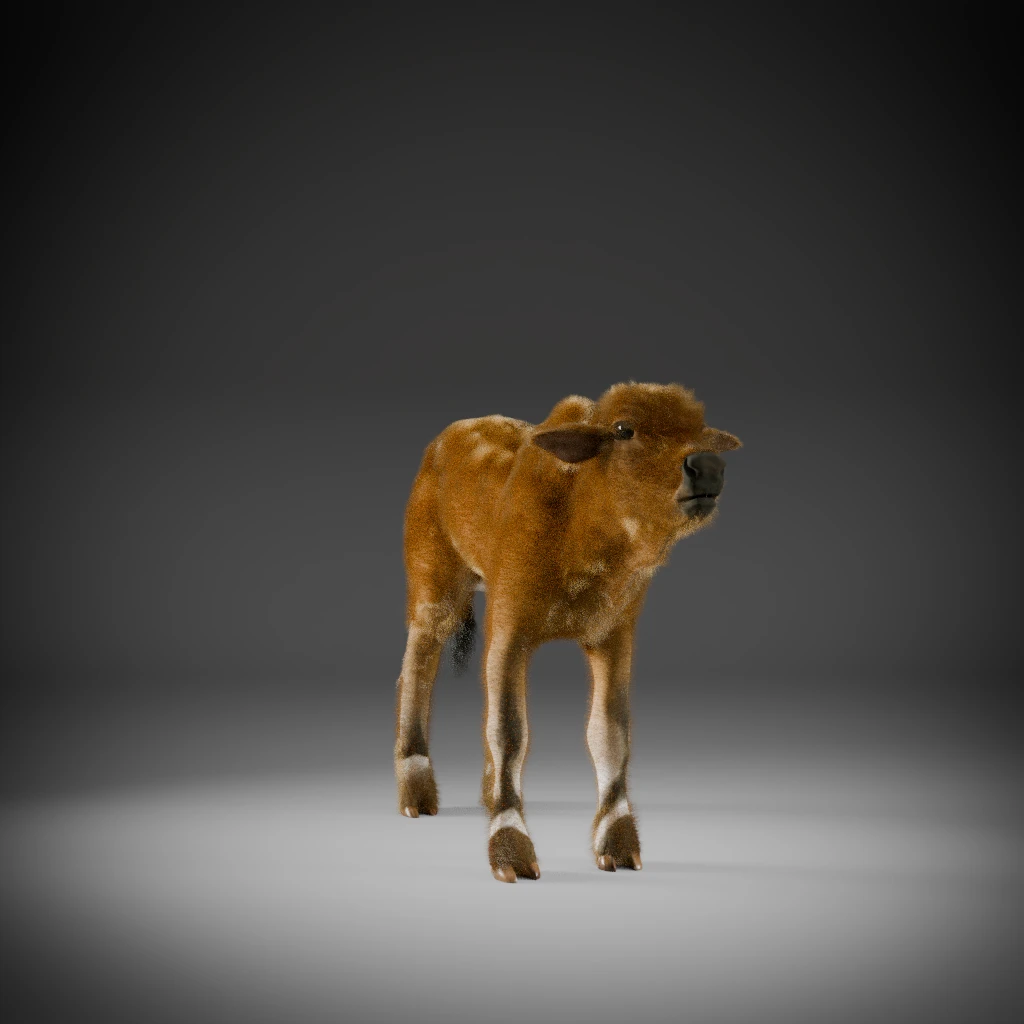
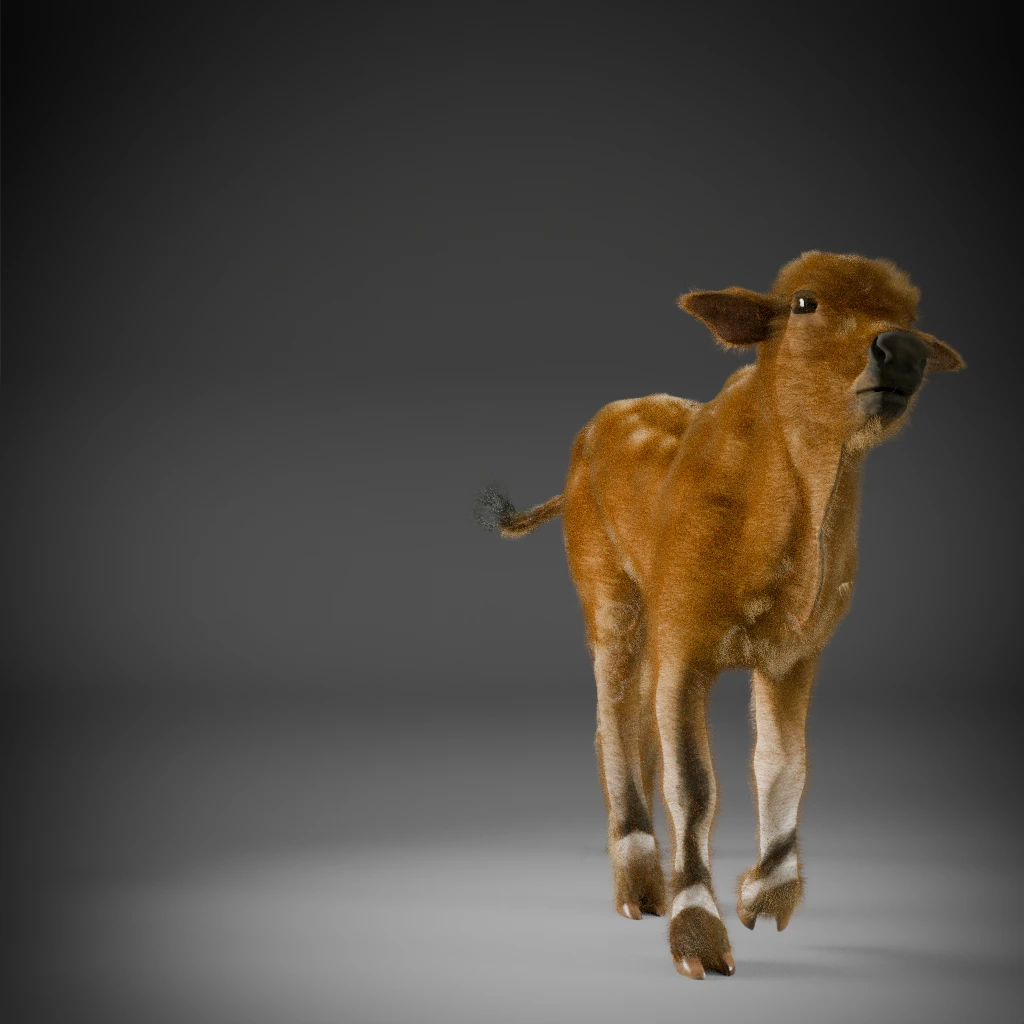
Adulthood, gracile, curious and soft looking
Reaching adulthood, zebu cows silhouette is more balanced, half legs and half body or so. The muscles are in their definitive shape but they are not vey much defined underneath the thick fur coat. The coat’s colours, being dark and light accentuate this effect and masks a little the muscle and sub-dermal system.
Same modelling base as before, the “generic zebu”, but for the adult version this time. And we are going to need an appropriate coat !
We can now meet our friend with her new and shiny coat. She now has horns. Be careful ! You’ll notice she is still a curious one though.
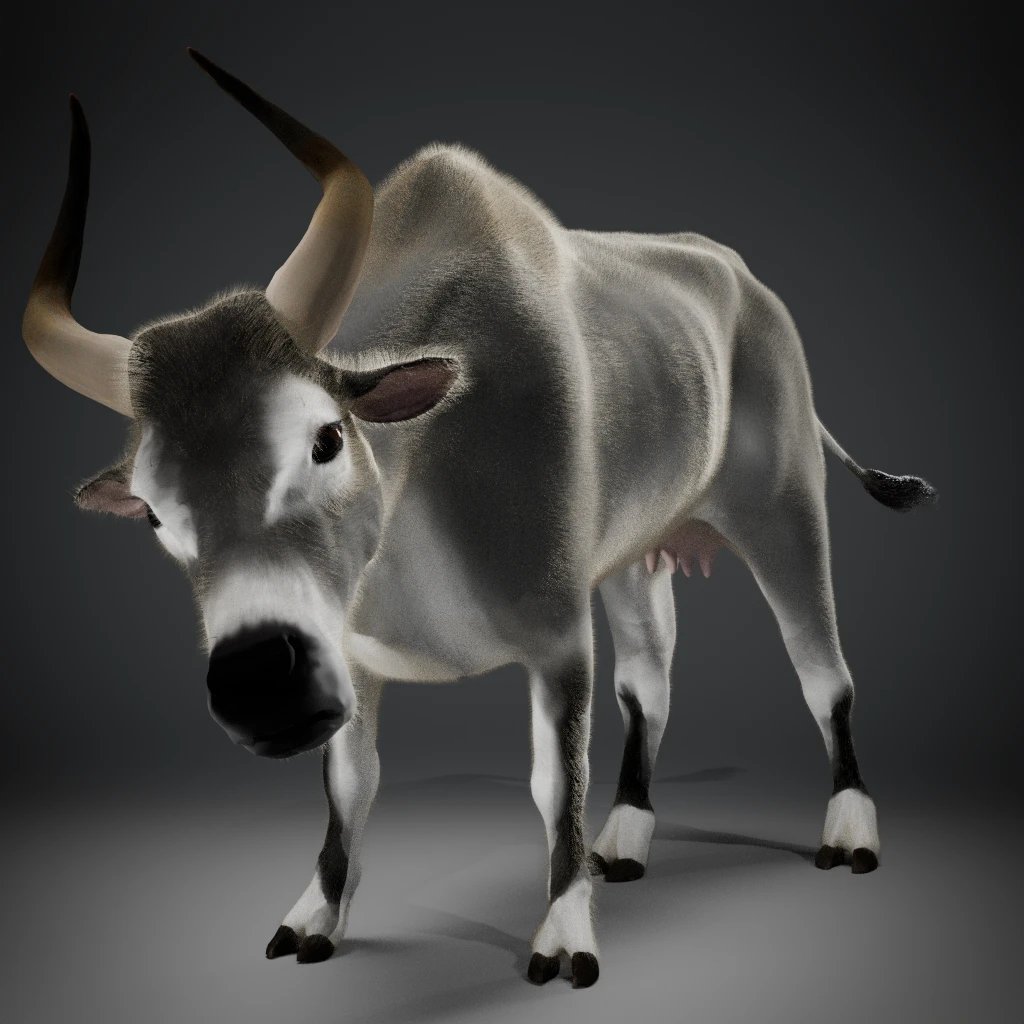
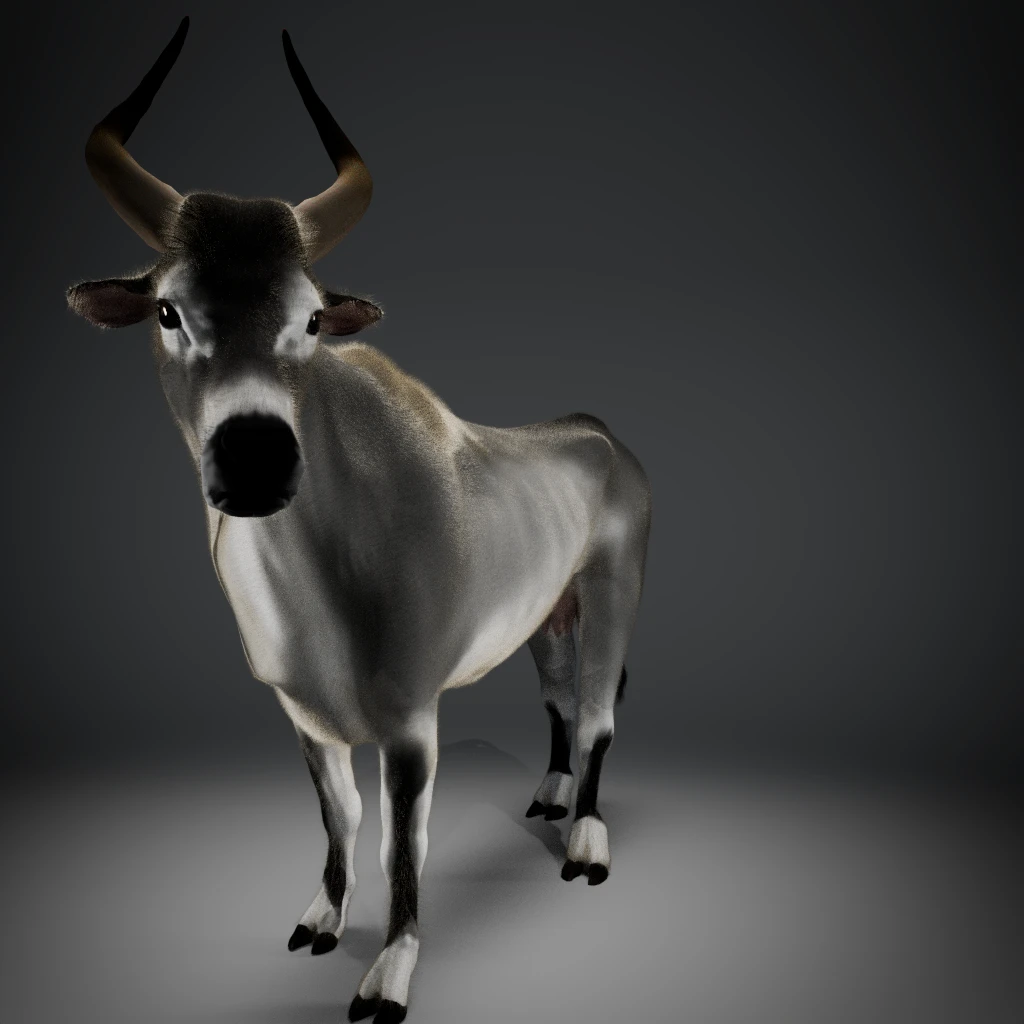
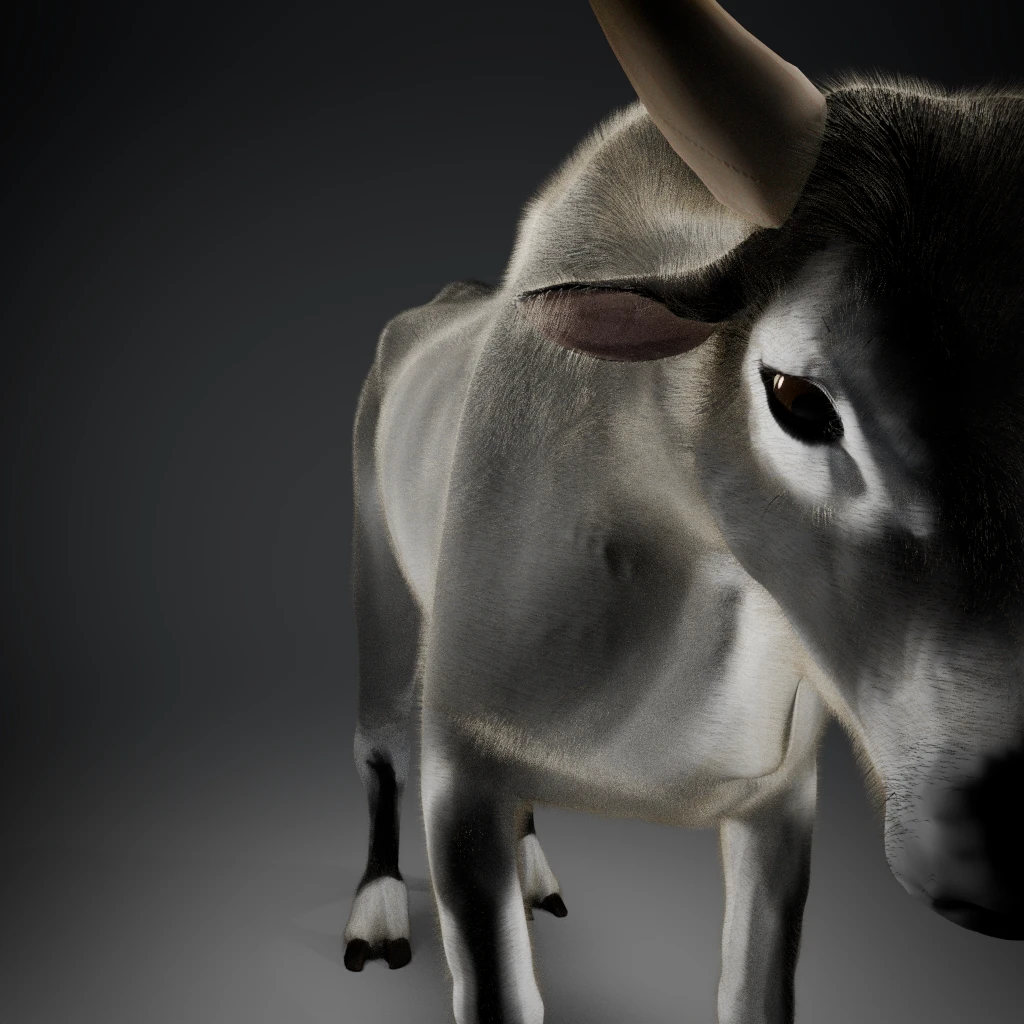
3D view of the adult with a watercolour texture
Disclaimer : technical limitation to material render in web app can let artifacts show, particularly in zoomed views.
See the full screen view (this will open a new tab in your browser).
Mature animals, developed and poised
When they mature, zebus have a the distinctive silhouette of the species: a heavy, humped and opulent body. Their silhouette is roughly 2/3 body. They have well defined muscles and discernible sub-dermal elements, accentuated but the white and rough hair coat. I think they have a majestic yet playful appearance !
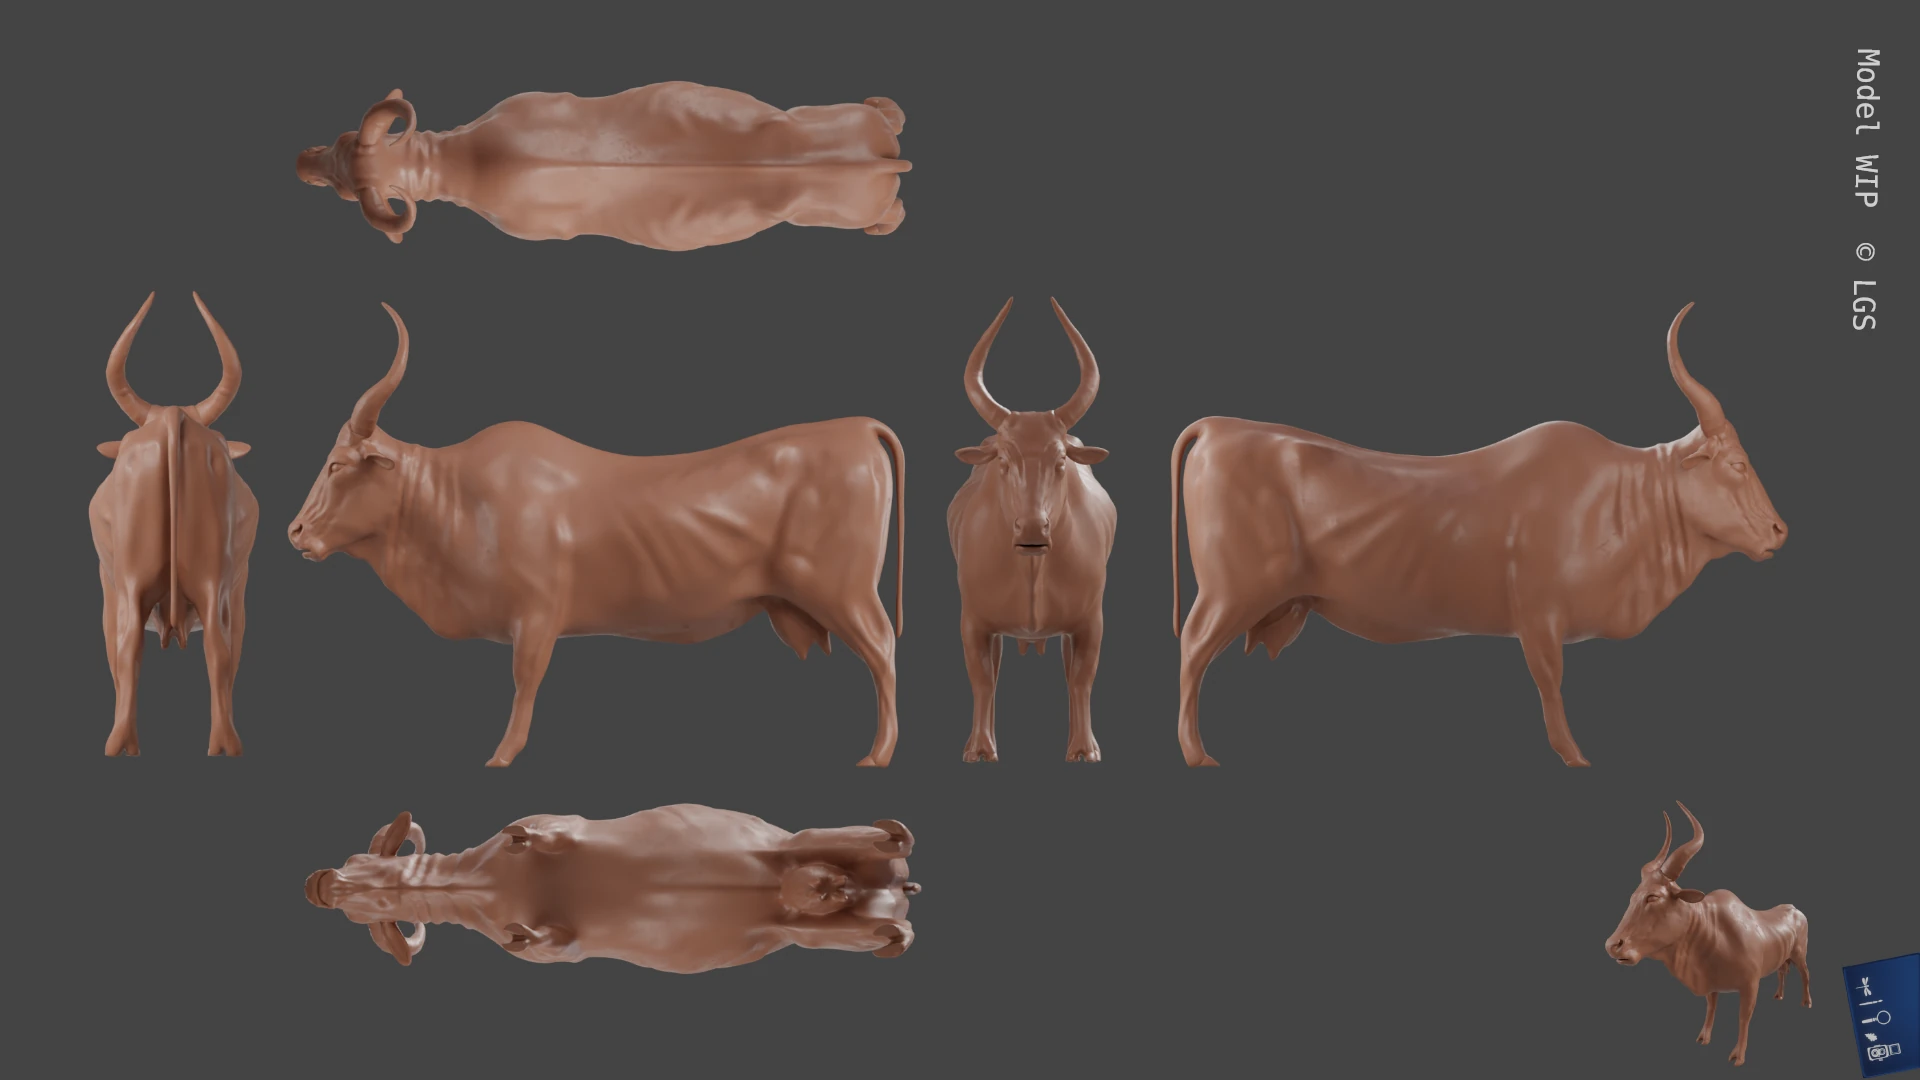
You know thre drill, now. But this time, the better part of the time sculpting is spent over accentuating shapes from the generic zebu model to respect the element put forward during the studies.
We can now change our friend’s coat one last time, as a poised lady. She still likes us, but she has clearly other things to do than pose for a photo.
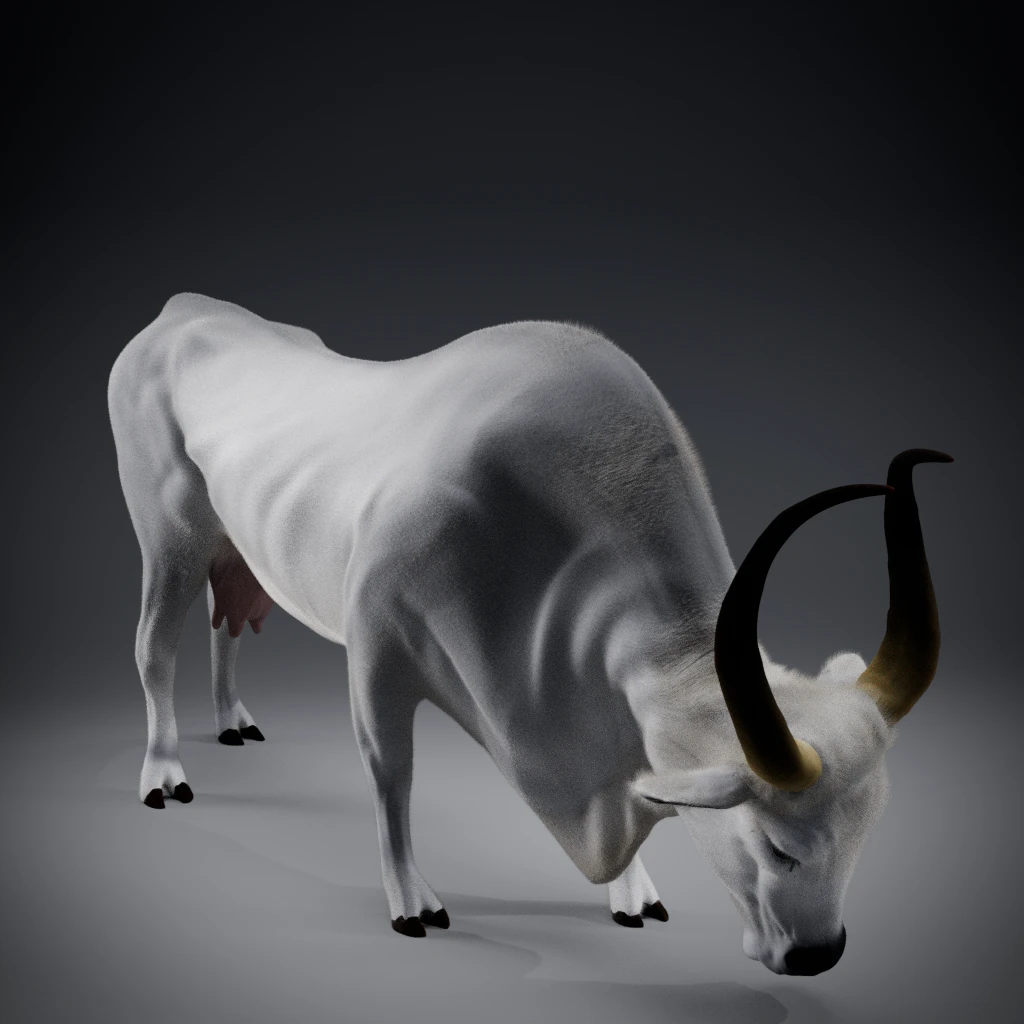
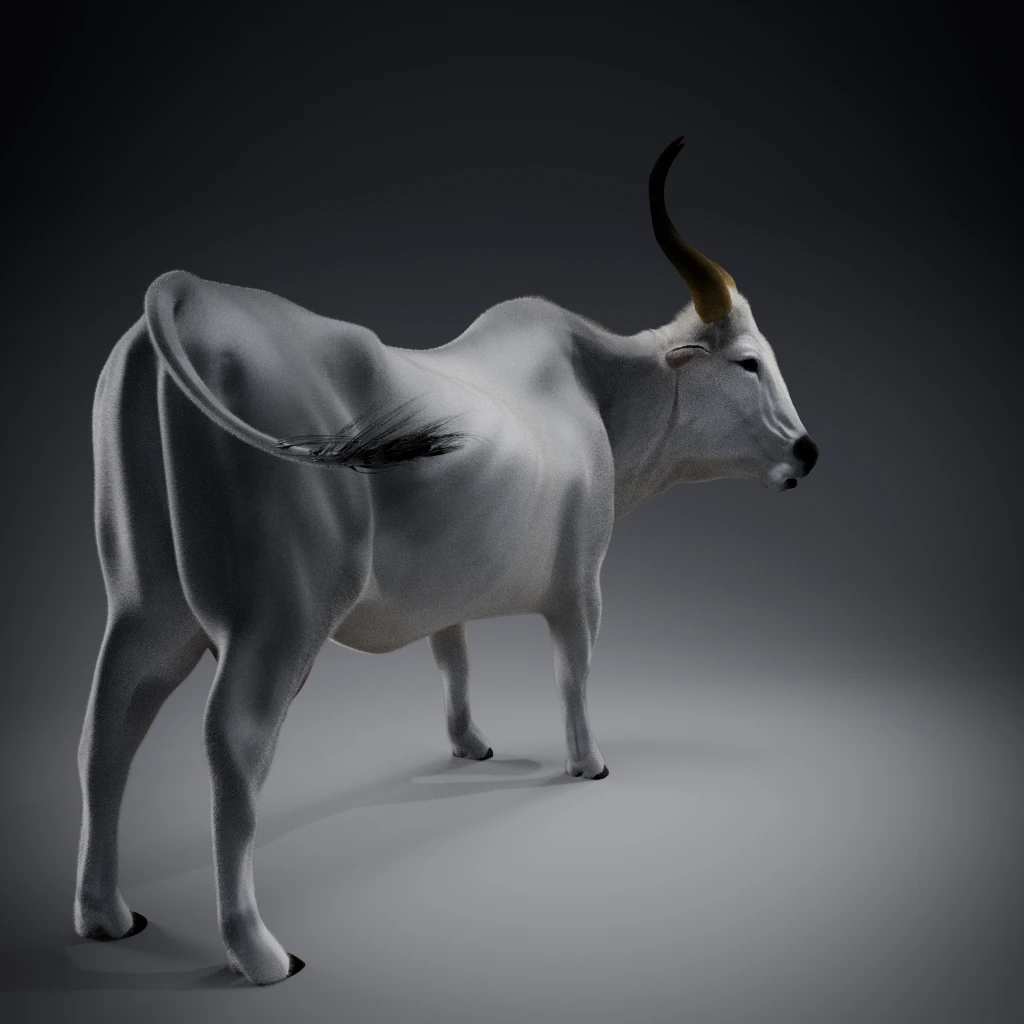
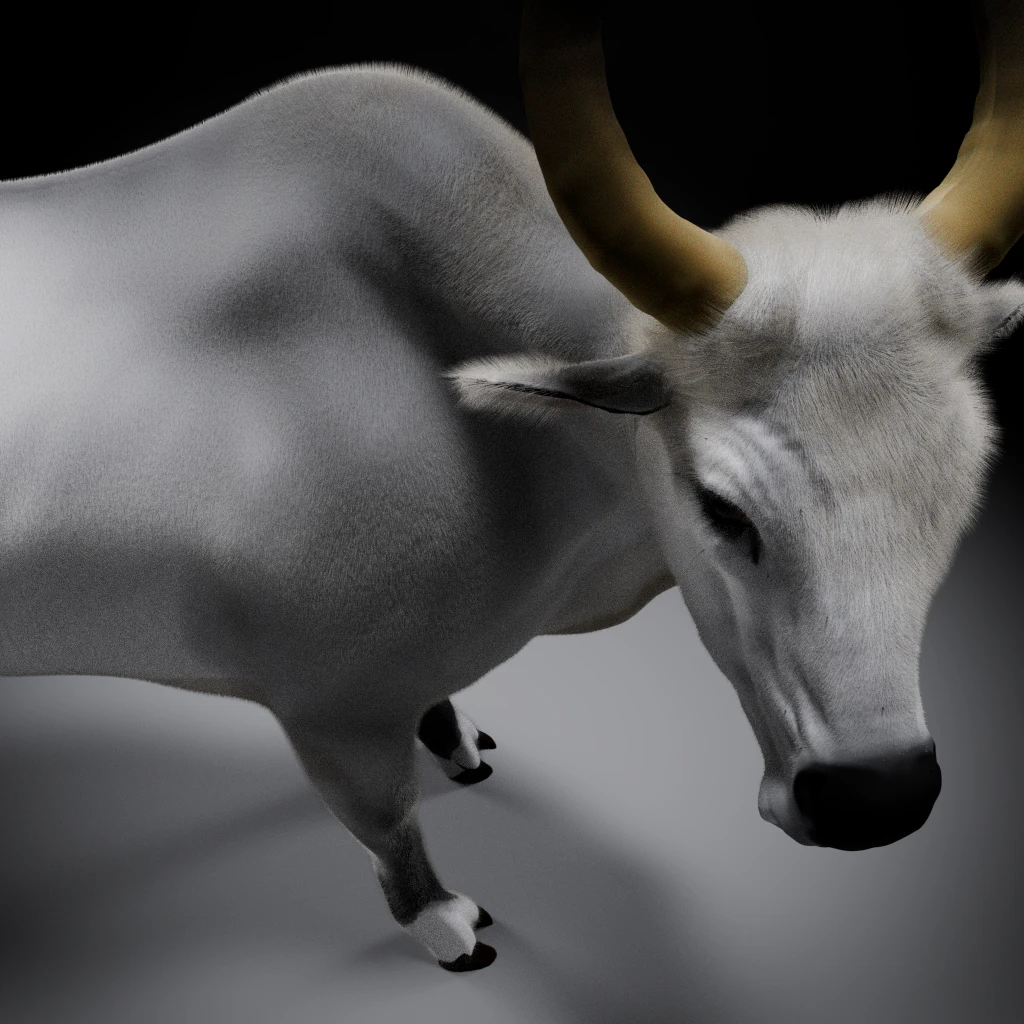
3D view of the senior with a watercolour texture
Disclaimer : technical limitation to material render in web app can let artifacts show, particularly in zoomed views.
See the full screen view (this will open a new tab in your browser).
Put on your coat and let’s go prancing in the meadows !
Because we have now clearly satellized the initial anatomy exercise and we have 3 functionnal models, how about we try to make them move ?
Simple walk animation.
Now that everyone has a coat, how about a little walk around ?
WARNING / WATCH OUT / I MAKE MISTAKES SO YOU DON’T HAVE TO:
If you’re reading this, you probably have or will be interested in modelling yourself. Or you are one of the wonderful people I torture with proof-reading these written deliriae.
To those in the first categories, my peoples, in case you didn’t know: model on the Y axis in Blender, with the front part facing the +Y, everything at grid level !
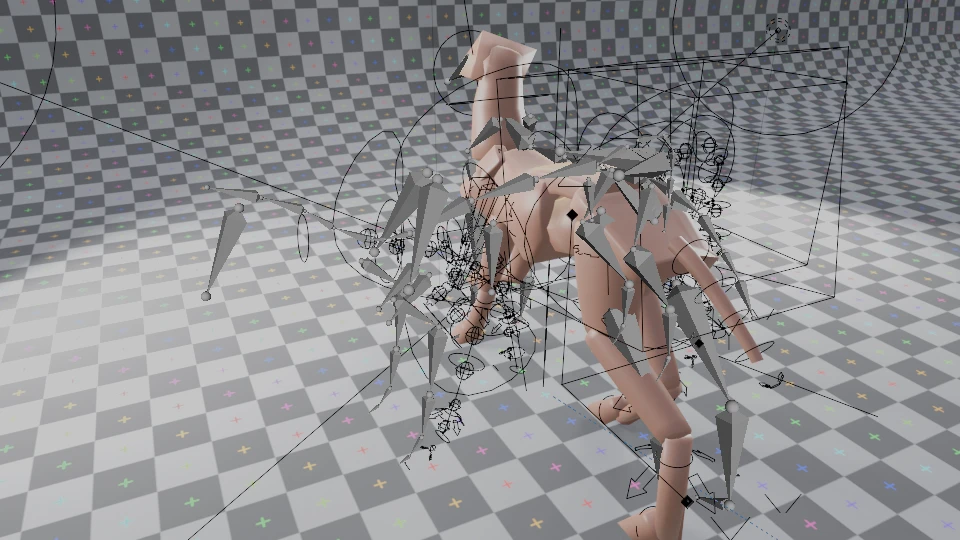
Why ? Because when, like me, rigging isn’t your forte, you will heavily rely on rigify and rigify add-ons. They work beautifully provided they remain in their coordinate system, i.e. the zero is at the center of the universe and the axis are as they were defined when created. I know it is possible to modify things afterwards but I found out the hard way it isn’t straightforward. One would think I learned after the few first cases but no.
So, use your time wisely, spare your sanity and model in the same axis as your rig skeleton default position.
To the people in the second category, thank you, guys. I’ll bake you cookies.
Rigging tidbits
As I’ve just mentioned, I used a blender add-on for animating animals, Rigify Animbox. For modellers like me that just want something to test their sculpt out, I found it pretty useful.
I used its zoo metarig samples and kept the naming convention (here, the closest would be “Horse”). I know it is as if one was using the classic metarigs. The magic happens when you access the pre-created walk and run cycles. You can test your mesh quickly that way. There is also an eye rig that does the job really neatly.
Of course, there may need to be quite a lot of tweaks to have the result you want (and I’m not including weight painting!). Yet it is a time saver in the long run and easy enough to get to grips with.
Flowing movements
As the online biography of Eadweard Muybridge says: “[he] was an English photographer known for his pioneering work in photographic studies of motion, and early work in motion-picture projection.
Basically, new fast analog emulsions allowed for the developpement of chrono-photography and thus to capture the otherwise too fast animal motion movements. It allows to break them down afterwards in order to analyze them. That means Muybridge’s work and the work of countless others after him allow us to now have access to loads of information on animal locomotion.
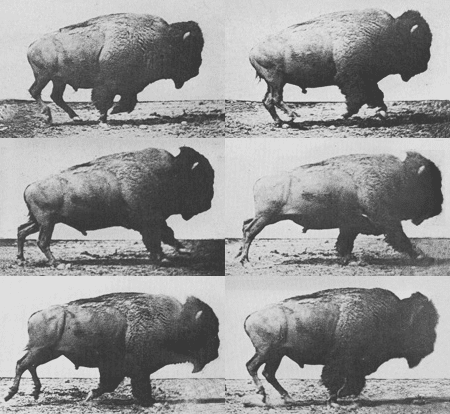
Animation is one of my weakest point, I know that. I can spend hours trying to find a graceful movement or a more natural one. Sadly, to me, it is still a very tough and very long process to have interesting results. I’ve read somewhere that some artists do the animation with a fac simile beforehand and move on to modelling only when they have the motion settled the way they want it. I totally get that and I think I should try that on future projects. Provided I do not yet again improvise the project as I go.
…
…
So, yeah, fat chance for that.
Right now, I use pre-constructed movements I tweak, sometimes quite a lot, to suit my needs. It works well enough to showcase a few things but it is restricting. As long as I learned something new each time, I think it works for me though I’d like to construct my own rigs and pre-configured animations at some point. It definitely is on a to-do list somewhere.
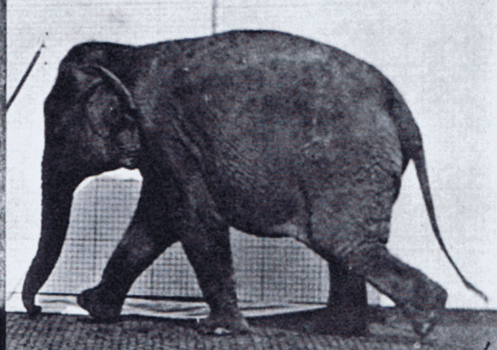
As restricted as this method can be for now, it still can give interesting results.
That way we can quickly (and roughly) animate the skeleton to see it moving. I think it helps grasp a better understanding of the muscles roles i.e. all these bones need to be linked together somehow ! As a preparation for the muscle layer tissues study, it’s cool.
Need a fancy turnaround to showcase to…anyone interested in your WIP ?
We can also use a few editing tricks to in DaVinciResolve to neaten things up !
Studio talk
For once, I think the very long break down of this project needs a conclusion. I rarely do that but, let’s face it, this particular exercise is more like Research and Development for me.
In short: for this one, I did nothing in the order I initially thought it should be done.
Passed the first draft, animation, refinement and texturing went all at the same time because what I found on some subjects had consequences / gave me some insights on others. I had to go back and reformulate things, remove others and completely re-do some.
Maybe it’s because I did not make enough researches at first, maybe it is always a bit like that.
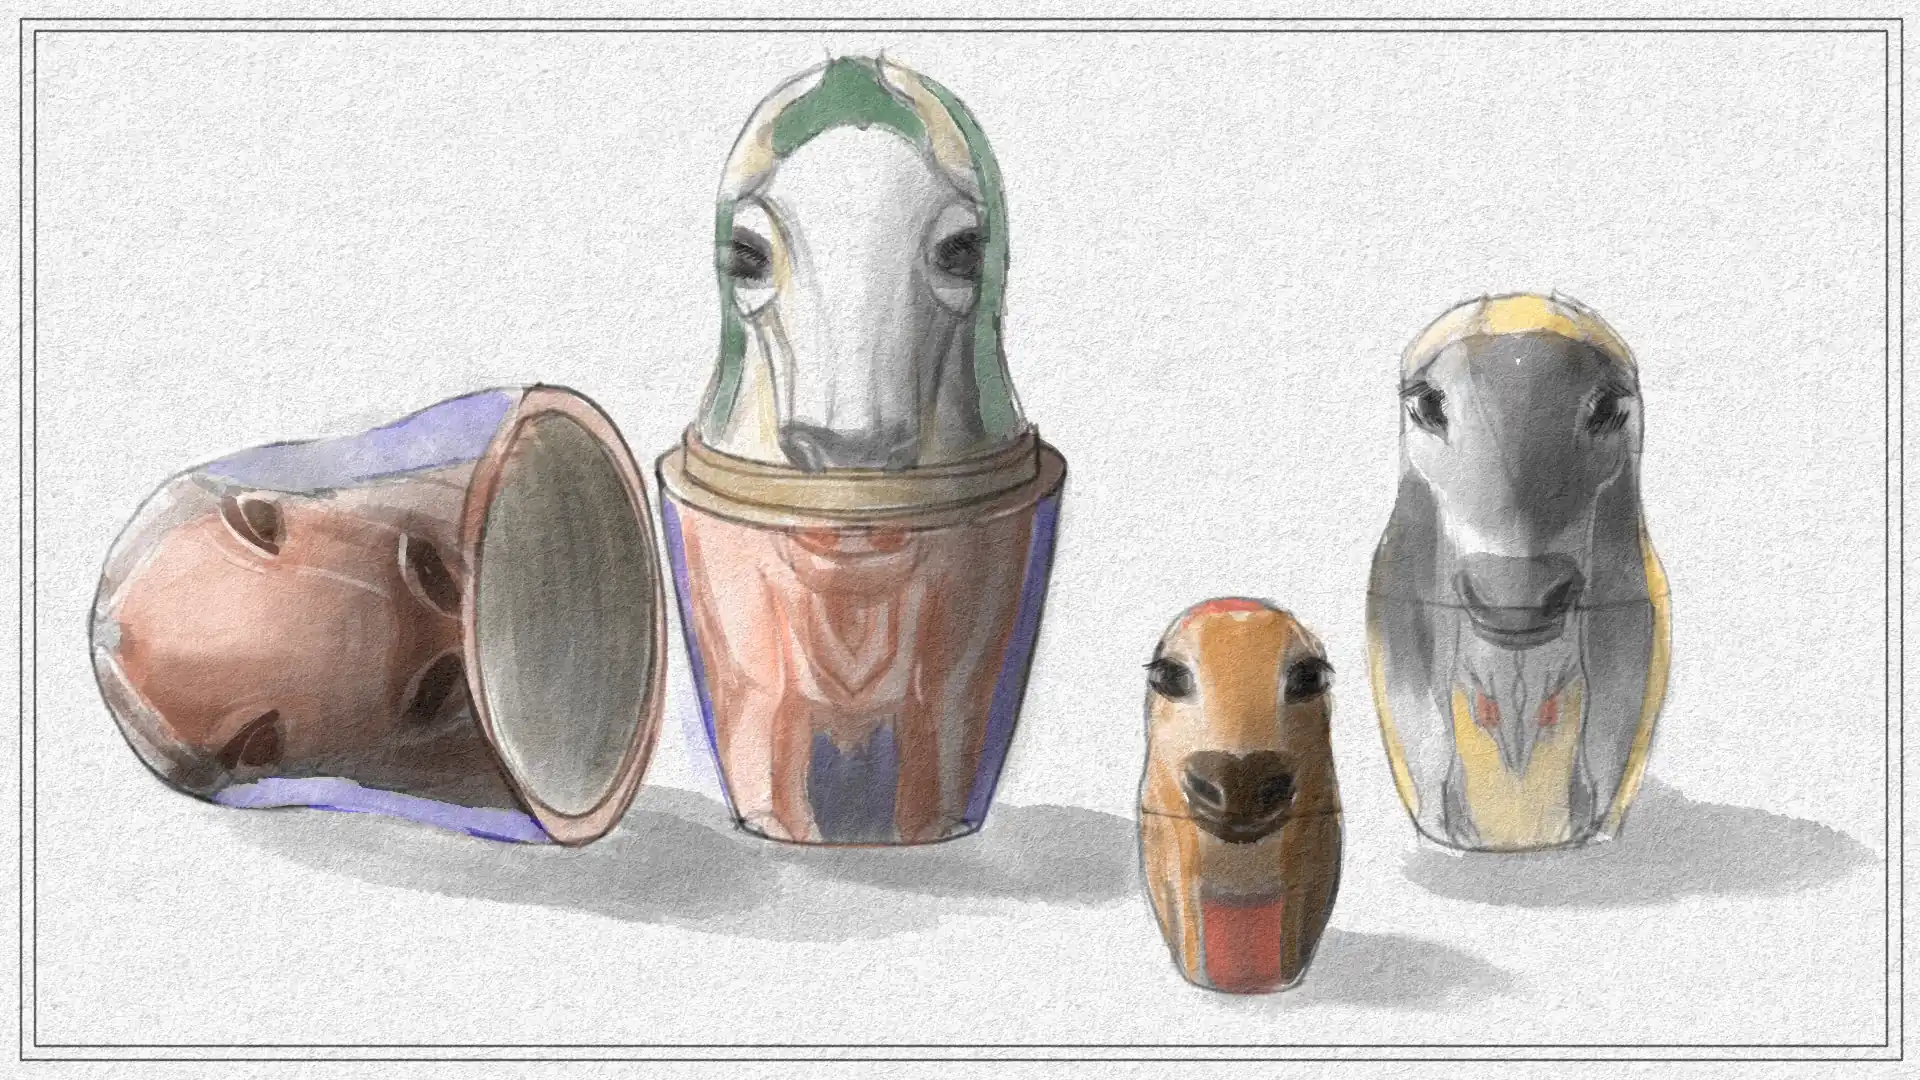
This brought a particular challenge I did not anticipate : the Matryoshka doll effect. Just like peeling an onion, one subject brought another one etc. This was both fascinating in terms of knowledge acquisition and tough in terms of never being able to grasp a full picture of things before the very end. Thus having to redo stuff.
I will have to see if it is something that will happen again in the next projects or if it is something that had to be done once. Then, with this experience in mind, the next ones are more easily circumvented and so on along every new project. Or maybe I’m just too scattered brained…
One thing I noticed and will try to maintain throughout the projects is organization. As for everything, a little time taken organizing and labelling things will go a long way to allow for “easy” modifications afterwards. That way, I can go further faster-ish. I’m still refining my own methods and processes and I have already shifted from past projects but, yeah, the whole base pipeline and organized workflow thing can be a good thing, not matter how tedious renaming things can be !
Credit
Unless otherwise mentioned, all images credit to LGS.